The Twenty Second Rule {Twenty-Second Icing}
Yeah, I know…completely different than anything you have heard or seen…
I guess I am a rebel. Or lazy. Maybe a little of both. Whatever the case, this works, and once you get the hang of it, it will save you time and frustration when decorating cookies.
This is a visual example of “Oh, @#*! Icing {view post here}
I most often use this when I have waited until last minute do work on a set of cookies, but it also works for achieving certain textures and effects.
This first video is what I call the 20-second rule.
According to our tests it’s really the 19.7, 19.4, and 19.9 rule, but for ease we’ll go with 20…
When you are watching this, pay attention not only to the rate at which the line dissapears, but also the icing as it drops back into the bowl. It’s thicker than normal flood icing. The recipe I use can be found {HERE}
‘
Now that we’ve covered thickness, I want to show you HOW I get the icing into the bottle. You know those measuring cups and mini-spatulas I’m always pushing on you? This is EXACTLY why I hoard them. They WORK!
Now to the decorating. When you use this type of icing, it’s all in the order that you work. It’s a little hard to explain, so just watch. This is step 1.
After this, wait a while. Twenty minutes, thirty…watch a show. You’ll save so much time not filling bags, you can find all kinds of things to do.
Finally, move on to step two. {Some cookies will require three}.
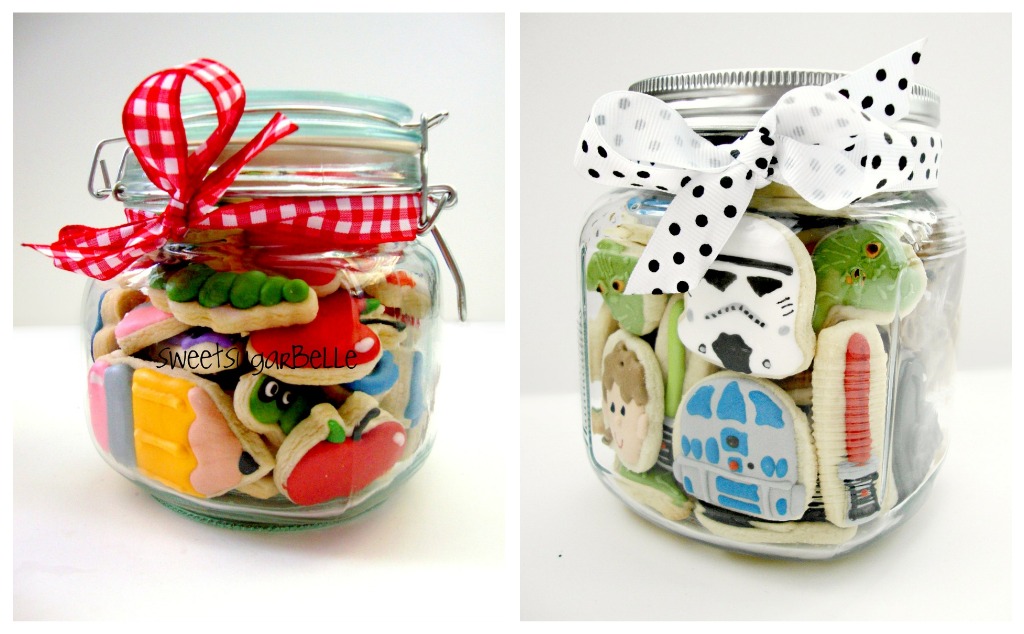
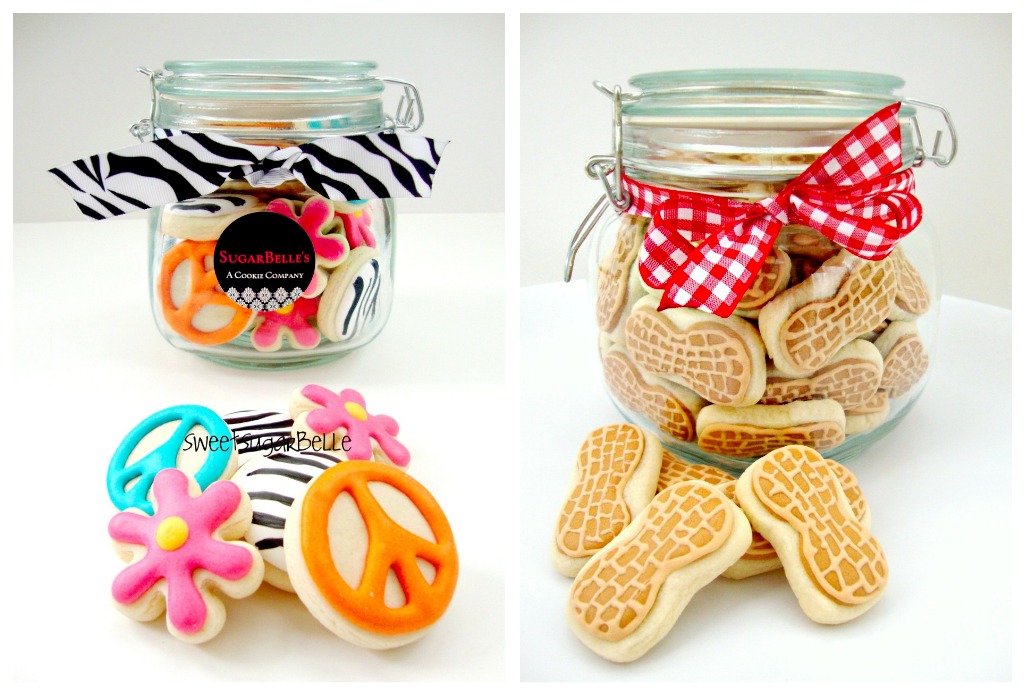
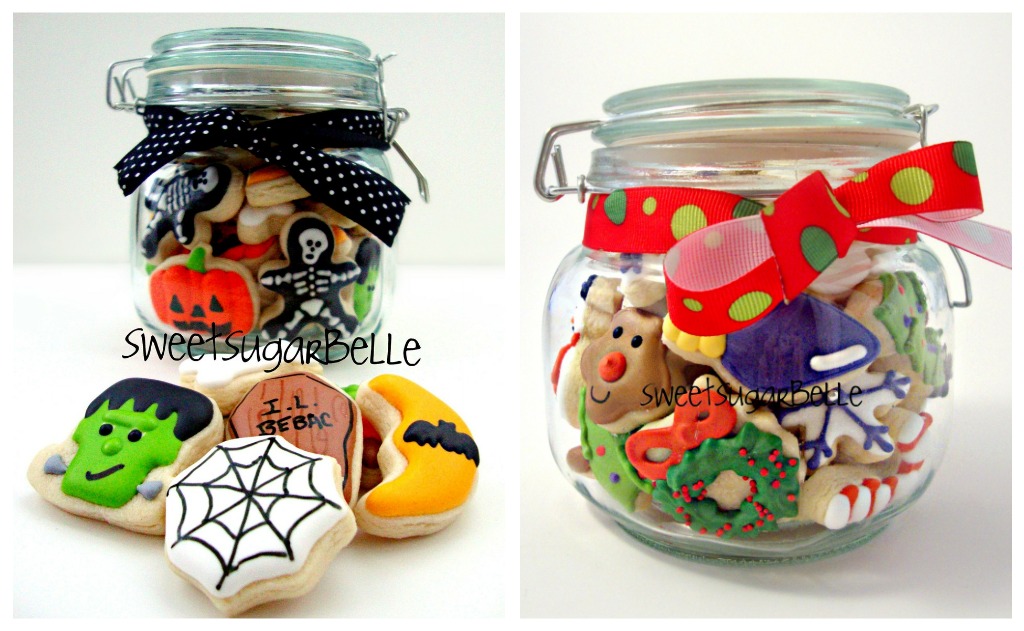
When the cookies are complete, give them the normal 6-8 hour drying time, and you’re done. You can use them to top cupcakes OR I LOVE putting mini cookies into jars and giving them as gifts! They are SOOOOO cute!
*Icing bottles can be found at Karen’s Cookies, Fancy Flours, Country Kitchen, Global Sugar Art, or even Wal-Mart.
*I use the Wilton recipe for my RI.


Hi,
Love this icing recipe but do you recommend outlining sometimes and thinning using a flood icing or can I use this icing and technique for all the great cookies on your site? I always shy away from decorated royal icing cookies because of the two step process of outlining and then flooding. This 20 second icing recipe has me inspired!
Heather
https://youtu.be/OfiRfWrdw5Y
Pingback: Simple Tutu Cookies
Pingback: Baby Triceratops Cookies
Pingback: Cute Ladybug Cookies
I was also wondering what size tip you are using? Thanks for the great tutorial.
Pingback: Decorated Triceratops Cookies
Pingback: Decorated Ballet Slipper Cookies
Pingback: How to Make Denim Pocket Cookies
Pingback: Decorated Hula Girl Cookies
I usually pipe and flood, but today I made 20 sec icing for some cookies I decided to make spur of the moment for a party tomorrow. My icing flowed well and held up to making a border (didn’t flow off the cookie), but it has dried smooth on some cookies and kind of bumpy or cratery on others. Is it too thin? Does that mean I’m not using enough icing on the cookies? Please help. Thanks!
Pingback: Shark Fin Cookies
Pingback: Decorated Cheerleader Cookies
Pingback: Texas Homecoming Mum Cookie
this recipe made hard icing?made ??a recipe I found and after 12 hours were soft
Could u possibly get those videos to me, none of them are available to view on here…
Pingback: Easter Egg | Suz Daily
Pingback: Easy Stadium Cookie
I want to make my husband some cookies to send to him overseas. Would this icing hold up on a roughly 2 week trip?
Pingback: Halloween Candy Bucket Cookies
Pingback: Decorated Pilgrim Cookies
Pingback: Cut-Out Sugar Cookies with Royal Icing | Boston Girl Bakes
Pingback: Can’t Catch Me | La Pêche Fraîche
Which tip are you using on the bottle? Also, do all these types of bottles work with the tips?
Where do you store the icing during the 30 minute waits between stages? Or do you have to make fresh each time? Just wondering if the icing in the bottle gets hardduring the waits?
What size hars are these? Thanks!
Pingback: Decorated Rose Cookies
i can’t see the videos – it says the user deleted their account. when i go directly to youtube and search for you, it says the same thing.
same here – what did you do
None of your video links work 🙁 Will you be re-posting them?
I am working on getting youtube back up! I will release my first video tonight, and add more as soon as possible.
Love your website & all your gorgeous cookies. However, I noticed non of your videos exist. Is there a way to view them? Please advise.
Many thanks in advance.
What happened to your videos!?!?
I am so sad all the videos are missing when I most needed to see them 🙁 Bummed out.
Kept trying but video was not working.
Pingback: Decorated Rose Cookies
When I go to watch the videos tutorials on this page, it says “This page does not exist” anyone else have a problem seeing these?
Says videos do not exist. I really needed to see them lol
Pingback: Decorated Hydrangea Cookies
Pingback: Icing Consistency
Is there a place to view the video? Thanks for the tips.
Please fix your videos – I really want to see them. Your site is so helpful, I’m sure the videos are equally so. Pretty please?
Another request for your informative videos. Is there any were else to view them? Hope so.
Found her youtube channel here.
https://www.youtube.com/channel/UC66Q1xZsX1ssyDZeijZQoFg
Please fix the videos. 🙂
Hi! I would LOVE, LOVE to see these videos as I’m planning to use the 20 second rule very soon. It says they don’t exist/won’t work. I searched on YouTube as well and cannot find them–is there a link you might add or a way to fix them? Thank you!
I will have to redo. I am so very sorry! Coming soon, for sure!
Thank you for re-doing them! I’m looking forward to watching once they’re available 🙂
Where did the video go?! I used it at Cheostmas for monogrammed cookies but now it’s gone! Help! ?
Pingback: How to Make Bunny Slipper Cookies for a Sleepover | The Sweet Adventures of Sugar Belle
I’ve been using 20 second icing every single time I do a batch of cookies for the past 2 years now! 🙂
Hi Amy, can you direct us to her site for this recipe. Would love to try it in time for Christmas. Many Thanks
Pingback: Stenciled Halloween Cookies | Beansy Loves Cake
Pingback: American Flag Cookie Cups - a Guest Post from Sweet Sugarbelle - Cookies and Cups
I miss your videos!!!
Pingback: Christmas Puffer fish Cookies with The CookieMonger | The Sweet Adventures of Sugar Belle
i know the videos were there when I bookmarked the page. Now they aren’t. And I know you rarely comment on any posts made to your pages. Just letting other people know, so they aren’t frustrated at lack of replies.
Thank you! I actually had to restart my youtube channel and the original videos are lost. I am working on replacing them this year. Thanks for replying =)
Hi Sugarbelle,
My name is Viviane and I’m from Brazil. I have a daughter and she will do her 1st year. I work a lot and have no time to organize a party, but now I decided to make a little picnic. I was looking for something to give to friends and i’ve found this decorated cookies. .. a lot of them. But here in your site i found the most beautiful. I was studying the technics ok the royal icing and the videos you talk about doesn’t exist anymore. What happened? Where can i find them? I’ve tested other recipe and tutorials, but it was not so beautiful as yours. I just wanted to try. .. I have just 2 weeks to do everything. Can you help me with the consistencies?
This recipe would be much easier to follow if any of your videos existed in the UK.
Hi,
I love your recipes and wanted to try the 20 mins RI, will you be posting the videos back up?
Can anyone please tell me where the videos are located. Unfortunately, I was unable to click and watch. Message stated the videos are not available. Thank you
Videos please!!!!
Whenever I click on a video, a message comes up saying your video doesn’t exist. Would you be able to repost them?
Thanks!
your videos say they dont exist
Same here. What happened to the videos?? Please repost them. I love your site and videos. Thank you!!
please post new videos…need to see how to turn the RI into 20 second icing!!!
Please lead us to your 20 second site. I’m so curious. Big fan. Thank you
Im needing these for my granddaughter’s dance class this monday. Is there any way you can link us to the videos that work? Im.so glad I snagged that Wilton shell cutter!!! I was just about to order the tutu cutter. Now, off to search for a ballet slipper! I wonder if I could make my “flip flop” cutter work?
Do you have your 20 second icing videos available on another link? I tried to watch the one’s posted on here but they won’t play. 🙁
Thank you.
I have been buying all of your cookie cutter sets; when will your instructional videos be up and working; been waiting and excited for their arrival.
Thank you for creating such cute, whimsical and creative cookie cutters – love, love, LOVE that we could use one cookie cutter for multiple shapes/characters.
I own you Craftsy class and love it!!
Hi,
So I have followed all the questions and its been 2 years. Any chance of the videos ever showing up?
Is it maybe in your crafts class?
Hi, just wanted to know when you’ll be posting more videos. I’d really like to see how you make your 20 second icing. If you don’t have a video can you please put up some written instructions? It would be much appreciated. Thank you!
Hi, I am new to your blog and I was very excited to learn about piping since I have trouble getting the right consistency for it. I read the original videos were lost. I would love to watch a “piping tutorial” from you. Thank you!
The link for the video isn’t working – can you update the link?
Each video says unavailable. I would love to watch them!!
Why are the videos unavailable