Custom Alphabet Cookies
Maybe it’s just me, but I’ve always dreamed of having my own little family of cookie elves. They’d spend their days singing happy little cookie tunes while washing dirty icing bowls and making custom cutters to suit my every need. A girl can dream, but until they show up creative thinking and hand cutting are the best solutions for me.
I usually prefer re-purposing to hand cutting cookies but sometimes it’s the easiest and most inexpensive way to create a completely customized cookie. Especially for designs I might only make once…like single letters in special fonts.
 When designing cookies like this I begin by Googling the letter I plan to make. In this case I literally searched “cursive letter L“, clicked over to images, and picked one I liked. Once I found the perfect style I resized, printed {two since I planned to Kopykake}, and cut a template.
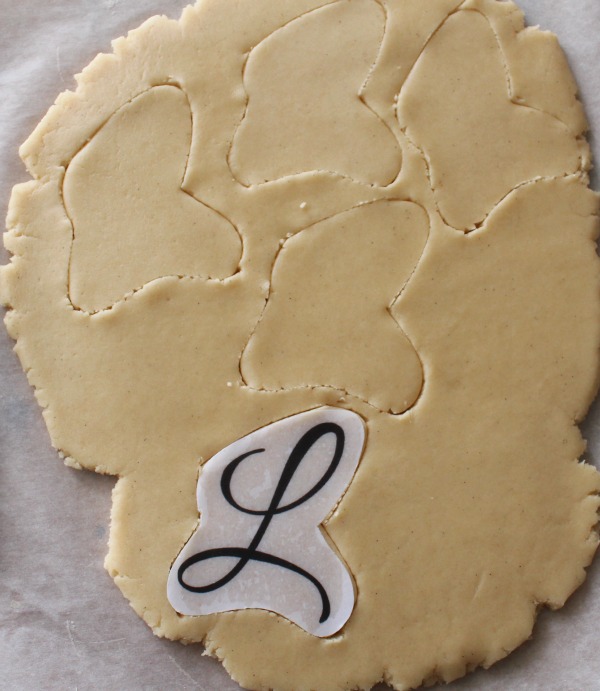
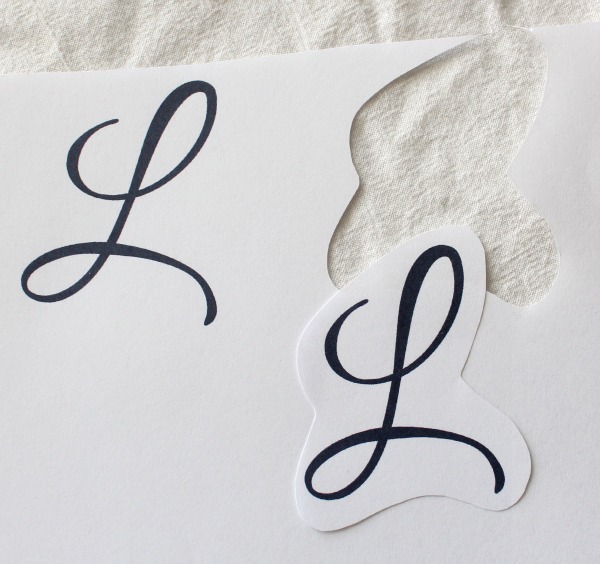 After making a template you can definitely laminate it {especially if you like it enough to keep}, but I skip all that and simply cut around it with a paring knife.
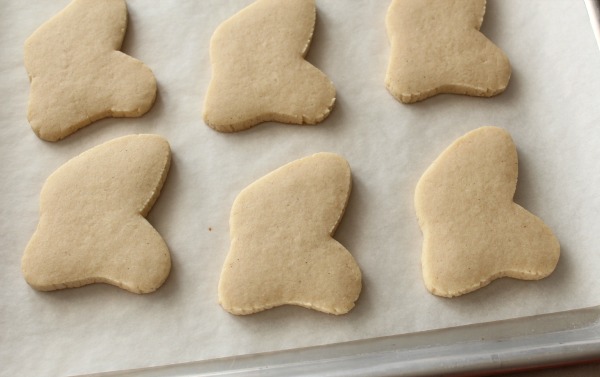
 Once baked they look like this. The rough edges don’t bother me much, but if you prefer a smoother cut, these easy DIY cookie cutters are a good solution.
 Although I liked the shape of this letter, I wanted the cookie version to be a little more substantial. So, before decorating I used a Sharpie to thicken it up a little.
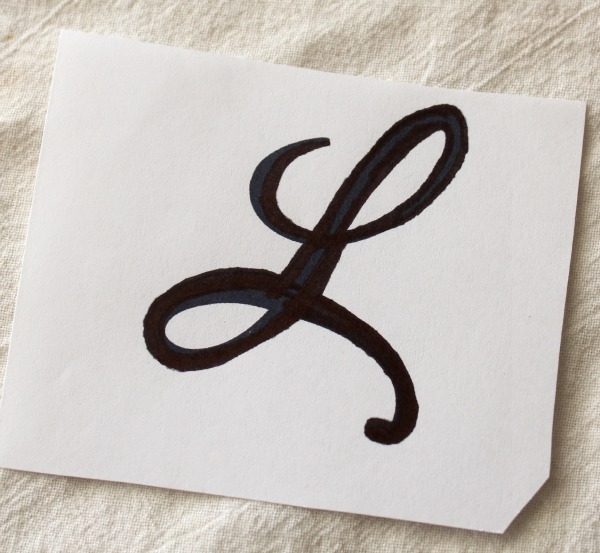 I outlined and flooded the cookies and let them dry overnight. The next day I popped the image into my Kopykake and used 20-second icing to transfer the design.
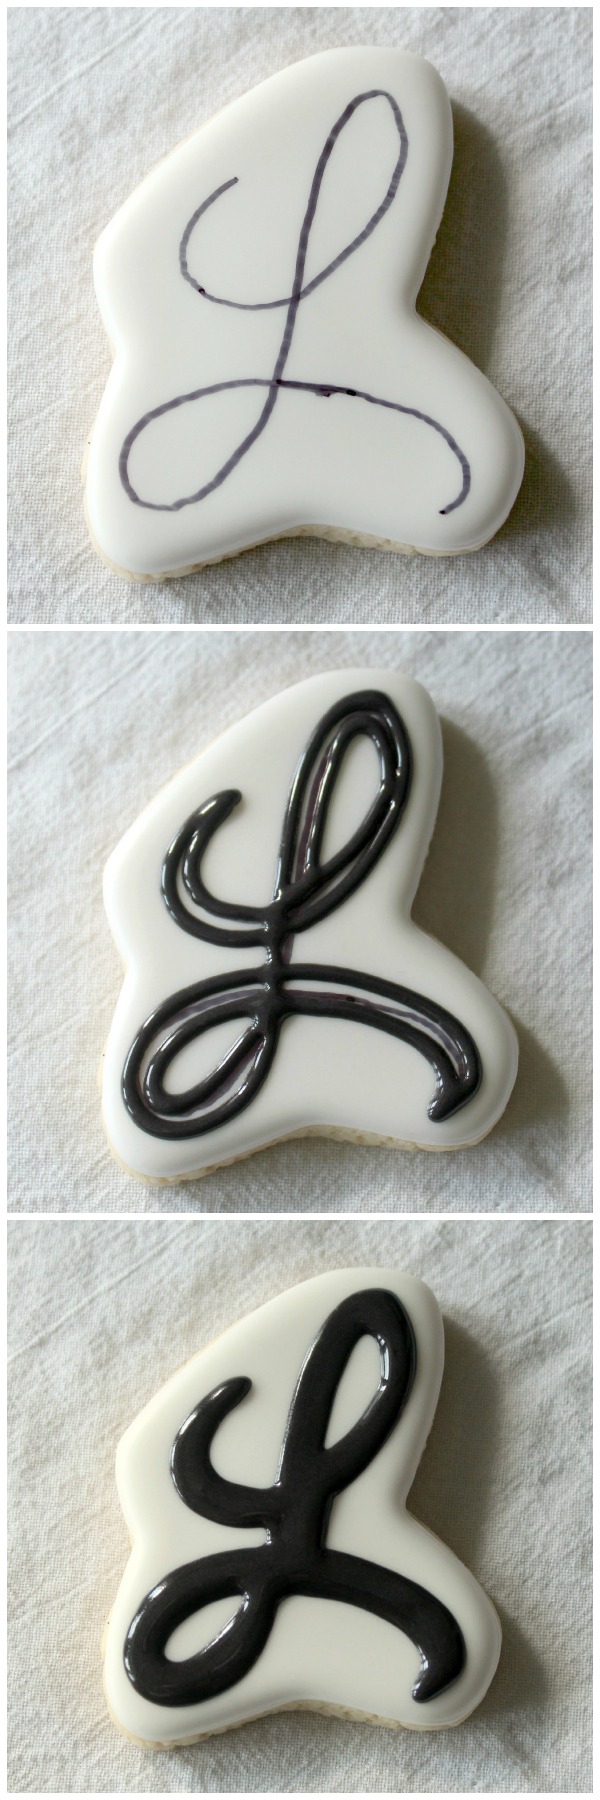
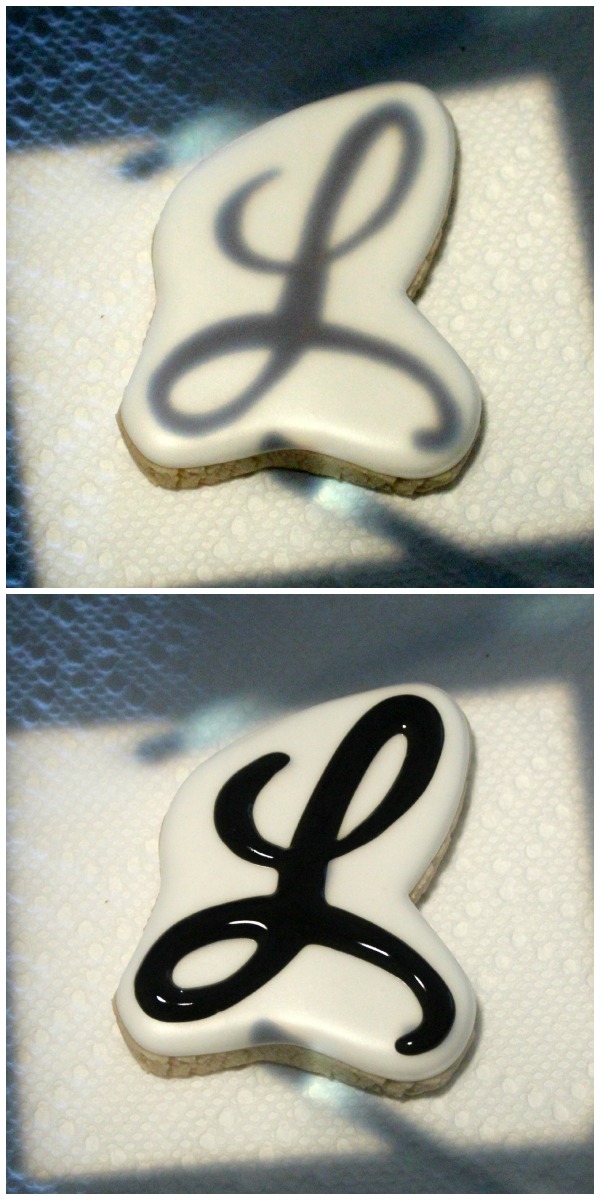 Don’t worry if you’re without a projector, it’s quite easy to draw the shape onto the cookie with a marker and go over it with icing. If you’re not exactly sure what I mean you can read more thorough explanations here and here.
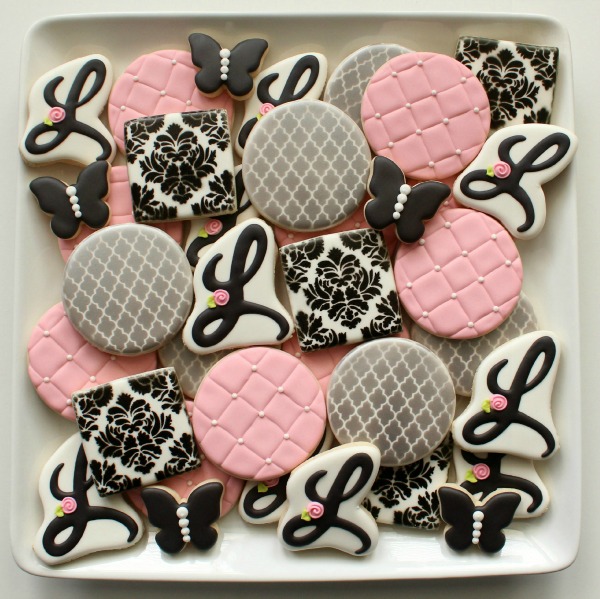
 I tied everything together with a simple rose detail and pretty cookies in various patterns and prints.
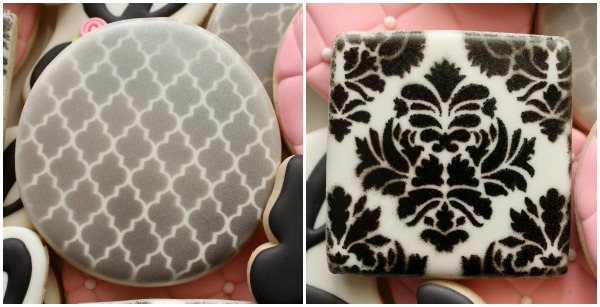
 I found my quatrefoil stencil here and the damask here. To create the shimmery gray color simply mix moonstone lustre dust with Everclear and apply with an airbrush. If you don’t have an airbrush, silver Wilton color mist will also work.
 Its amazing how simple designs and colors can come together to make a such a dramatic statement.
 Sometimes I’m pretty flexible with a design and sometimes I want a very specific look. I probably could have used an existing cutter {like a butterfly} for this project but in this case I wanted an exact fit. It’s times like this that I hand cut.
For more helpful hints, check out these posts:


Just beautiful! Hand cutting always seems like such an effort to me but I think sometimes it’s worth it. You make it look so easy 🙂
One of my favorite sets of yours (and there are so many)! This is so gorgeous……
These are beautiful!!
I see a sideways butterfly with a little stretch of the wing there! – such great cookies, as always! Thanks for all your tutorials and everything!
Your blog is so inspiring! I’ve followed several tutorials (including this one) and I read it in the middle of the night when I’m up with my baby – so thank you for that!
Thank you so much! It means a lot to hear that because I have totally been there! I am so grateful to live in a time where company and information is just a click away!
Wonderful ideas, hand cutting is pain in the butt but is one of the best ways to get the exact shape you need. This is one of my favorite set, I love the pink round cookie.
How do you do the quilted look- the pink cookies?
Here’s a quilting tuto Lee Ann https://www.sweetsugarbelle.com/2013/07/quilted-royal-icing/
Cookies are one of the most beautiful I have seen, excellent job. I love the web, congratulations for the work they have done.
regards
Will you be mad if I say your “L” reminds me of Laverne and Shirley? Because I am totally digging it and would hate for you to be offended. 🙂 It’s a beautiful set!
Not at all, lol! I love those gals!
Love this idea…. and the whole set is just stunning…. Thank you for sharing… Kris
Love the simple, striking style!
You always make everything look so easy – not only am I in awe of the beautiful cookie results, I am drooling over how perfectly smooth the icing is. I think I’ve said that before, but it is true-smooth icing is NOT easy to achieve!
This set really makes a statement and the statement is STYLE! I don’t mind hand cutting every now and then. Especially if you get a gorgeous set of cookies like this!
i LOVE these!! I need to figure out how to use a KK
Lol! You don’t need one!
Hey Callye, I love these cookies! Just gorgeous. Hope you don’t mind me saying but when I look at your cut out “L”s, I see a Christmas Stocking shape…. bet you could easily use it instead of hand cutting.
Hugs,
D.J.
Genius! I need to add that!
Oh! These cookies are sooooo pretty! I wouldn’t even want to eat them.
So cute!
So pretty!
Those cookies are beautiful! How do you make the quilted look on the cookies?
Yes, I also would like to know how to “quilt” a cookie. 🙂
Coming in a day or two…
Here’s a how to for the quilting 🙂 https://www.sweetsugarbelle.com/2013/07/quilted-royal-icing/
I will post in a day or two.
Here ya go! https://www.sweetsugarbelle.com/2013/07/quilted-royal-icing/
Almost too pretty for words! Great work Callye.
Pingback: Ebay Exact Makes It Easy To Buy Custom 3D Printed iPhone Cases | Accessories
I got the best two tips ever for cookie decorating here. Putting icing in plastic wrap then putting into the icing bag was the best tip! I saved so much time with this. Also, I was a corn syrup icing user and got the confidence to use royal icing on your site. I flavored it like you suggested and it turned out great. I’m making heart shaped sugar cookies for a wedding and the colors are coral and navy blue. Any advice on how I can make coral and navy? Any other suggestions would be wonderful. Love your site and all your great advice, you’re inspiring! keep it up!
I have a post on navy, about ten down that will help you. For coral start with terracotta if you have it. Terracotta is your friend. If not, mix red, pink, yellow, and maybe ivory or brown.
I have to tell you, again, that you inspire me beyond words! Because of you I have fallen in love with cookie decorating. It is actually something that no bakeries around here do, so I have an edge. I’m going to have a bake sale because I have convinced myself that I NEED a Kopykake!
Pingback: How to Make Quilted Cookies
Hello
I want to tell you how amazing, blessed, espectacular person you are
Tks for sharing, you are my teacher
Tks again
Adriana
You are wonderful person, you are one of a kind and never run out of making way to help people like me who wants to learn and trying hard to be a baker 🙂
thanks to you! you help me a lot in many ways and you dont know that 🙂
Thank you for your kind heart. sweet and always lend a hand to help.
I pray for your good health and may the good Lord continue to give you wisdom and knowledge. God bless you.
How does your black not bleed on that cookie?? What am I doing wrong.
Do you use a fan or dehydrator to dry your cookies? That is one of my top tips to prevent bleeding.You can read more about it here https://www.sweetsugarbelle.com/2011/04/my-1-fan-wfmw/