Decorated Chevron Print Cookies
I know, I know. Everyone is pretty much over the whole chevron thing, but I wanted to come back to this popular print once more.
This time, however, in addition to the pattern, I want to answer another frequently asked question…how to apply sprinkles to one part of a cookie without them sticking to another.
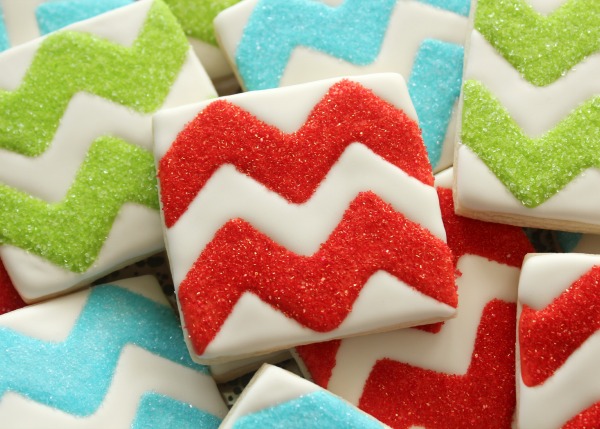 You can make chevron print cookies with or without a projector, but I prefer this method to save time. If you don’t have a Kopykake, you can still make cookies like these by following the steps here or here.
To make these cookie you will need:
- Printable chevron Kopykake template {this also includes the line template I used here}
- White 20-second icing
- 20-second icing in the color of your choice
- Matching or clear sanding sugar
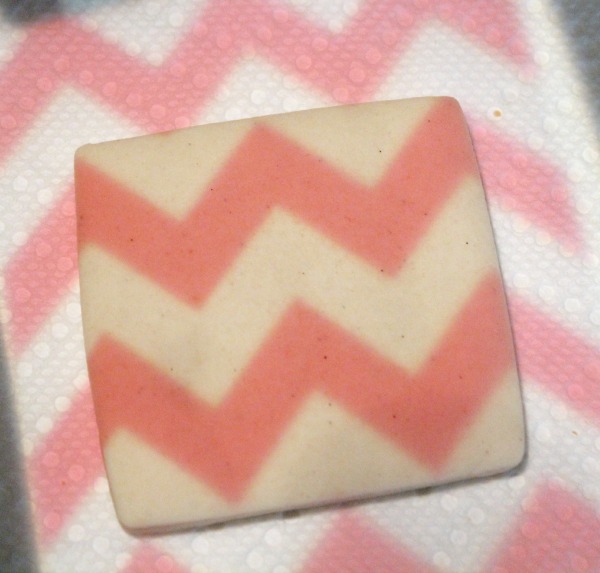
Begin by placing the image into the Kopykake and centering it on the cookie. I usually like to go wider with the pattern to prevent cratering and those awkward little spaces.
 Flood alternating sections with 20-second icing. For clean crisp edges, I outline first and then flood. You’ve got to move very quickly to so that everything runs together without a noticeable seam.
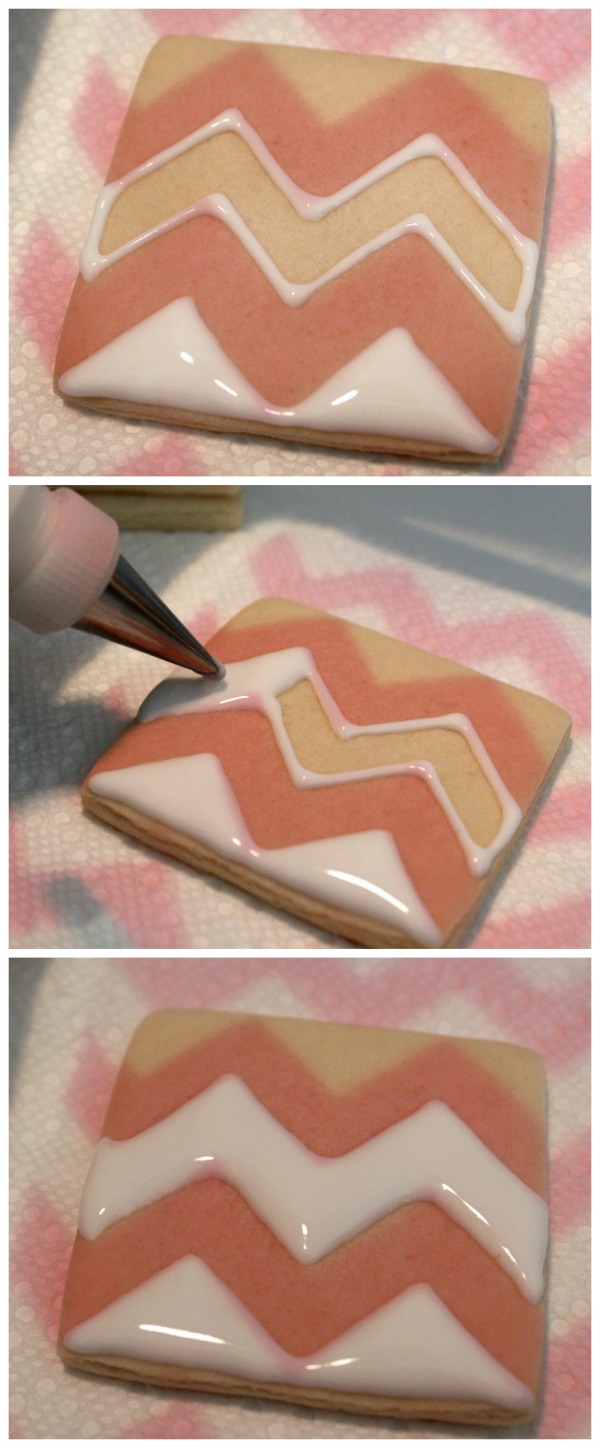 To prevent overflow, go easy on the icing. Here’s the view from another angle. See how thin the layer is? This is an important step in ensuring that the icing doesn’t overflow.
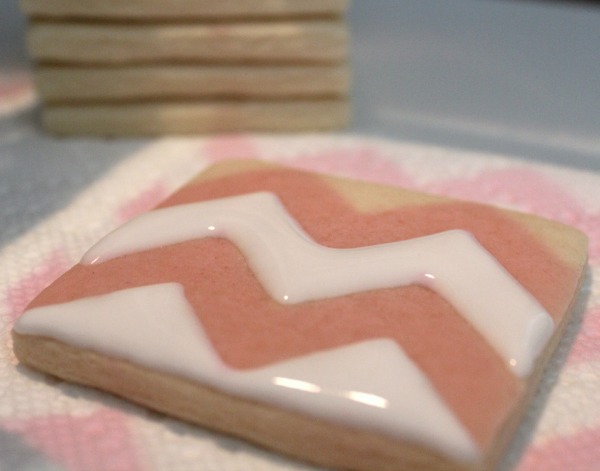 Once the white sections are filled it’s important to make sure they dry completely. Overnight is best. This is the KEY to making sure the sprinkles stay where they should.
The next day…or HOURS later, flood the remaining sections in the color of your choice. After a few minutes sprinkle with sanding sugar.
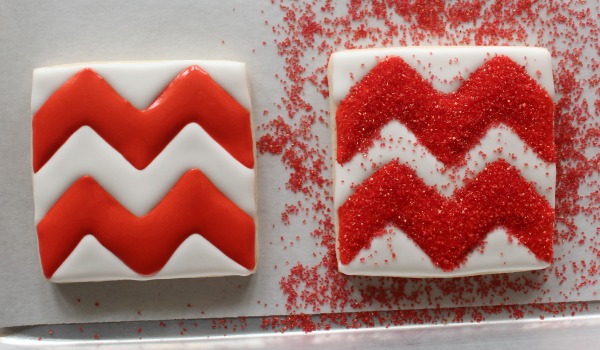 Once the second application of icing is completely dry, use a clean brush to gently remove any stray crystals and that’s all there is to these pretty, sparkly, chevron cookies.
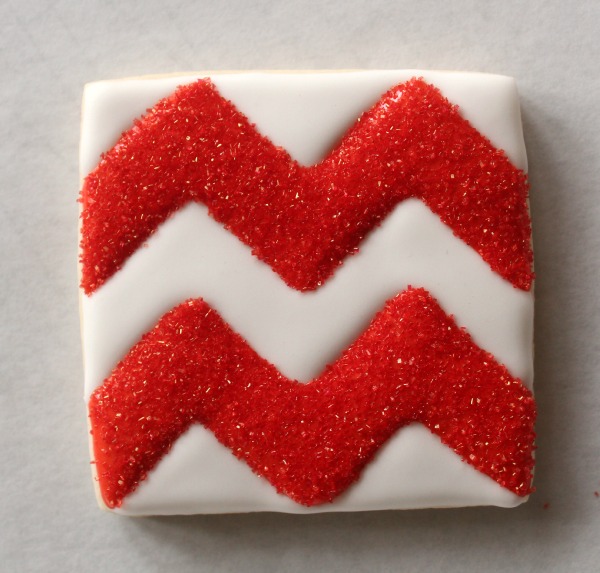 For more tips on perfect chevron print cookies, be sure to check out these products and posts:
- How to Use a Kopykake Projector
- Chevron Print Cookies without a Kopykake
- Easy Chevron Print Cookies
- Chevron Heart Cookie Tutorial via LizyB Bakes
- Chevron Cookie Stamp via Cheapcookiecutters.com
- Wide Chevron Mini-Stencil via The Cookie Countess {a great alternative for those of you who don’t have a Kopykake}
- Accenting Decorated Cookies with Stencils
- Perfectly Stenciled Cookies with Magnets
- Chevron Cookies via Sweet Ambs


These are perfect! I love sanding sugar effect. Happy Thanksgiving Callye.
You ALWAYS make things look so simple…even with my KK, I find Chevron prints to be a little difficult because there really is no margin for error. If one line is off, it can spoil the whole look. Yours are of course, perfectly done…great job!!
People may be over the chevron *thing* but I never get tired of looking at your cookies. Confession: I have yet to make chevron anything!! 🙂
So pretty! And the little brush really helps! I sometimes forget and try to shake it off after it’s dry and it’s too late! hahaha
Your lines are perfect!
Hi! Firstly- you do amazing things!
I was asked to make chevron cookies, and I’m wondering how big the cookies in this tutorial are?
Also – I know chevron has been around for a long while, but I haven’t really seen a/t replace it. So what’s next?