Cookie Quickie: Cute Ladybug Cookies
With summer in full swing, I’m probably not the only one who’s a little short on time. So, I decided it’s the perfect time to try out something new, a “Cookie Quickie.”
“Cookie Quickies” are the same tutorials you’re used to, minus a bunch of photos. I’m not one-hundred percent sure how well this will go, but I thought it was worth a try.
Anywho, here goes.
Once upon a time, I would have told you there’s no such thing as too many cookie cutters. Five years later, I’m back to say, I might have fibbed a little. After coming back to the same cutters over and over again, I finally realized it was time to downsize. Not only did I free up a ton of shelf space, I rediscovered a few cutters in my collection that had previously gone unnoticed.
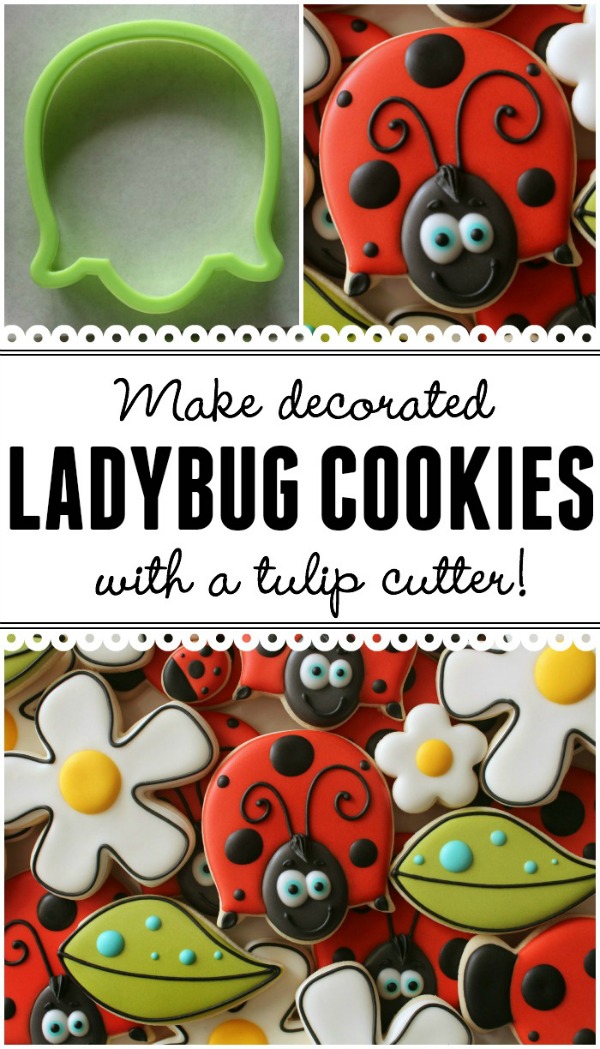
 For example, this wonky tulip. To be honest, it almost went to cookie cutter Heaven. Then I noticed that my tulip, as weird as it might be, would make a pretty nifty ladybug.
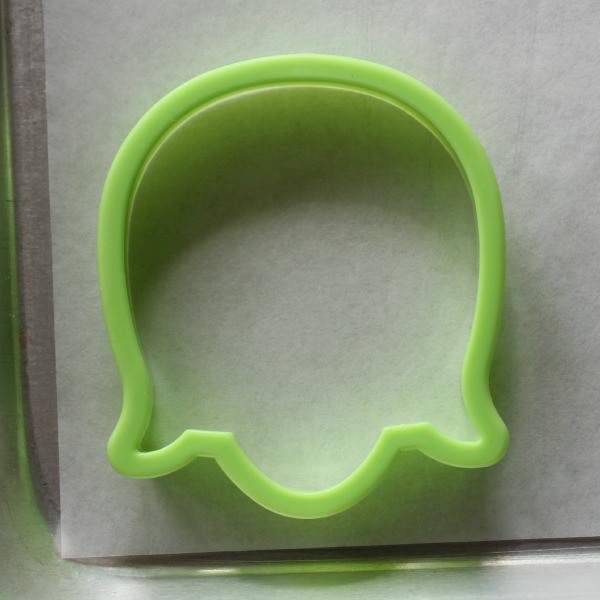 The rest is history. Unfortunately, I’m not sure where I picked up my random tulip cutter, but you can pick up a similar version here. To decorate this cookie, follow the steps below:
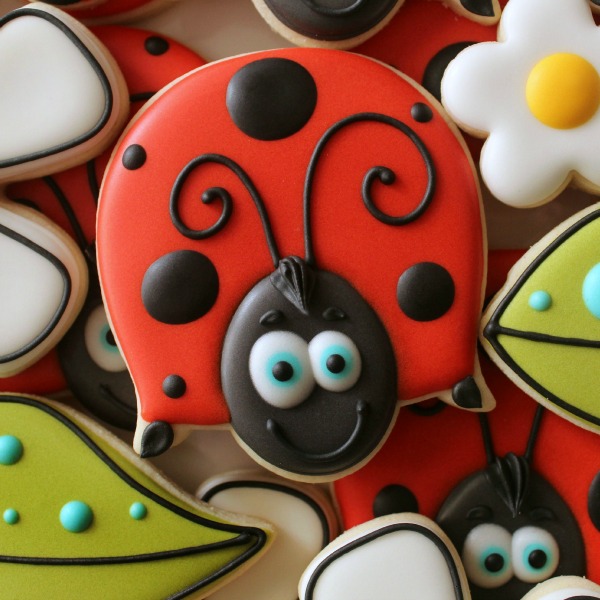
- Use black icing to outline and fill the face section, let dry.
- Use red 20-second icing to fill the body.
- When the base layer is completely dry, use white icing to create an eye, then quickly add a drop of blue.
- After the first eye is set, repeat the steps to create a second eye.
- Use black piping icing and a #1.5 tip to pipe antennae, eyebrows, a smile, and feet.
- Use a small star tip {#13-#18} to pipe a tiny sprig of hair between the antennae.
- Finish up by using black 20-second icing to add spots to the ladybug’s back and pupils to eyes.
 For related posts, check out the following links:
- Decorated Ladybug Cookies {this design is a great substitute if you don’t own the tulip cutter pictured above}
- Simple Ladybug Cookies
- Decorated Flower Cookies


I love your little “cookie quickie”! That ladybug is super cute. As far as too many cutters…..I may be with with you on that one soon enough. Seems I use the same ones over and over and there are tons I haven’t even used yet. Still, I’m going to horde them up a while lol. Feel free to dispose of your unwanted cutters right outside my front door haaaaa.
G~
I’m not a cookie decorator, but I follow your blog and live vicariously through you! I just love all the adorable and ingenious designs that you show here, and it’s always a happy moment when I see you’ve got a new post up. Just wanted to say “Hi” and “thank you” for providing such wonderful art in a genre that’s really different from other things I do, but which is so enjoyable to see. 🙂
Quick and to the point. Thanks for sharing. Beautiful work as always!!
Callye
You make everything look so easy. You took a Tulip cutter and made a ladybug. I would of never seen that. Such a neat ideal with the flowers cookie you showed yesterday. I’m going to make the flower cookies for my Birthday which is Saturday July 26. No one has offer to make me a cake or cookies so I will make those easy flower cookies.
These are so cute!! When I first saw them on IG, I guessed a tulip but thought you pieced the head with an oval cutter! I have to make some ladybugs in a couple weeks, I may have to give these a try! TFS!
Callye, July 26 is my birthday, too. Doubt if I will get any lady bugs! But I got the recipe and maybe somebody in my family will get some!
Adorable!! 🙂 & love the “cookie quickie”!! like janis said- quick and to the point!!
thank you.. i havnt made any cookies lately due to moving 2 different times in like 3 months!!!! But im ready!!!! i totally want to give these a try!!!
xoxo -Sara
Where is “cookie cutter heaven?” I live in Lubbock and was hoping it was nearby. I have over 1,000 cookie cutters and there is no place local, with anything new.
On Step 2, did you outline in red with piping consistency before filling?
No outlining. Just thickish (20-second) icing.
On Step 4, do you make eye with 20-second icing and Step 6 with stiff icing? I just wan tv to mak ed sure i’m understanding the consisteny usage.
As long as the consistency is consistent (say that three times fast) it can be anywhere from 10-20 second icing for the eyes. Just make sure it doesn’t run all over the place.
For step 6, the icing must be thick enough to hold it’s shape.
So…if I don’t have a wonky tulip, then what? 🙂
There’s a link to an alternative cutter at the bottom of the post, but I bet with a little thinking any old tulip will do.
LOOKIE! Good news 🙂 https://www.etsy.com/listing/184438100/miss-ladybug-by-sweet-sugar-belle-cookie?ref=listing-3
Gotta love 3-D printers!!!
It also looks like the head for a little girl with short hair. 🙂
Nice tutorial thanks so much for taking the time to do this.
Liz
This little guy is so cute!! Love that you’re scaling down on cutters. I’m not going to lie here. I love all the pictures you post. It’s like additional support or um hand holding that I DESPERATELY need lol
🙂 Shari
You could post anything and I would love it. I especially love the “simple” or “easy” posts because I am still a beginner – these types of things make me feel like I can still create something cute even with just basic skills. Thanks for sharing these – I am going to make these ladybugs soon. And probably the flowers and leaves too.
So cute, as usual!!
That cookie cutter would work great for a turtle too!!
What consistency icing for Step 1. Outline with piping consistency and fill with 20-second icing?
At which time would you outline with piping icing and fill with flood consistency?
AND
At which time would you outline and fill with 20-second icing?
You can interchange the two based on personal preference, the look you’re going for, and efficiency. This is more of an intermediate design. It would be good to practice with simpler versions and work up to this one as you learn what consistencies you prefer working with.
Try this post… https://www.sweetsugarbelle.com/2012/03/consistency-is-key-twenty-second-icing-and-more/
Can’t wait to try these!!
Recipe was great and cookies are adorable! I used mini oreos for the head so I didn’t have to draw it on 🙂