Cookie Quickie: Cute Ladybug Cookies
With summer in full swing, I’m probably not the only one who’s a little short on time. So, I decided it’s the perfect time to try out something new, a “Cookie Quickie.”
“Cookie Quickies” are the same tutorials you’re used to, minus a bunch of photos. I’m not one-hundred percent sure how well this will go, but I thought it was worth a try.
Anywho, here goes.
Once upon a time, I would have told you there’s no such thing as too many cookie cutters. Five years later, I’m back to say, I might have fibbed a little. After coming back to the same cutters over and over again, I finally realized it was time to downsize. Not only did I free up a ton of shelf space, I rediscovered a few cutters in my collection that had previously gone unnoticed.
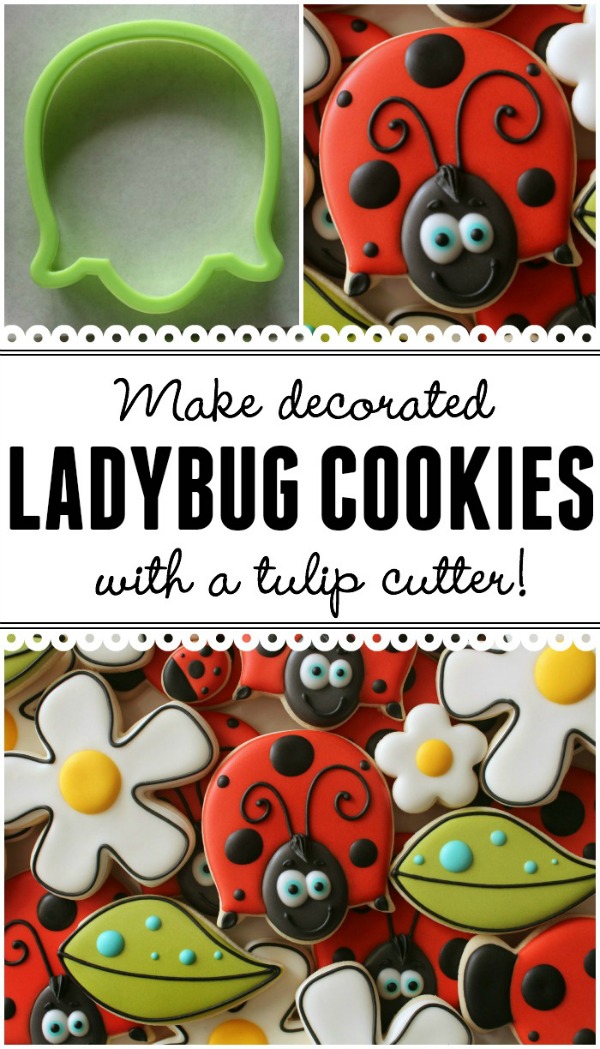
 For example, this wonky tulip. To be honest, it almost went to cookie cutter Heaven. Then I noticed that my tulip, as weird as it might be, would make a pretty nifty ladybug.
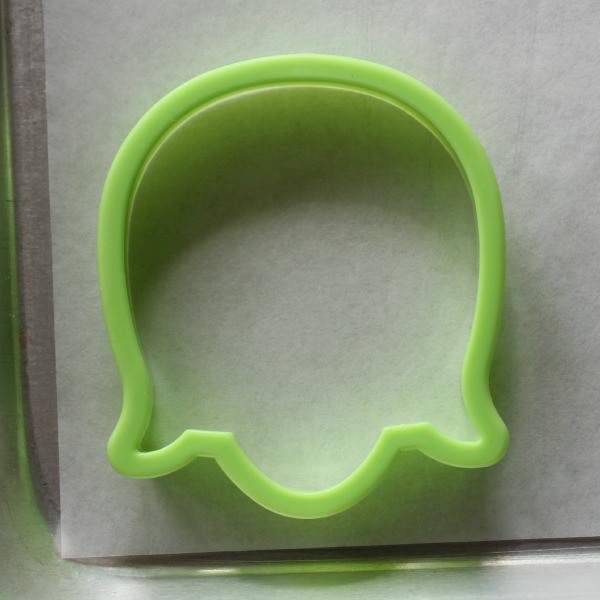 The rest is history. Unfortunately, I’m not sure where I picked up my random tulip cutter, but you can pick up a similar version here. To decorate this cookie, follow the steps below:
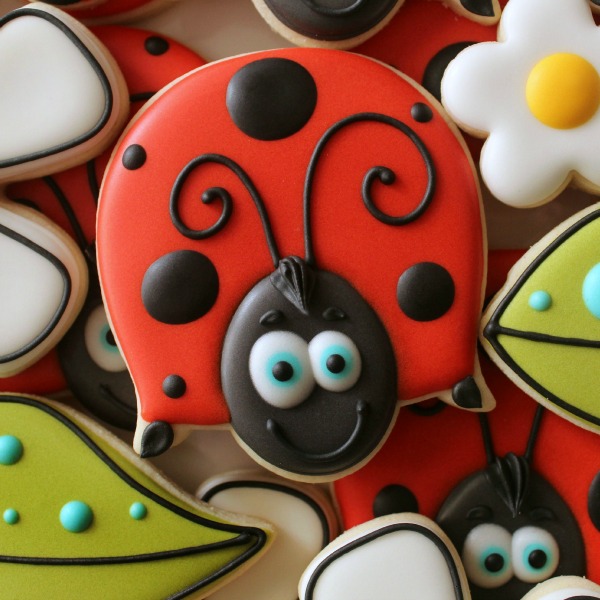
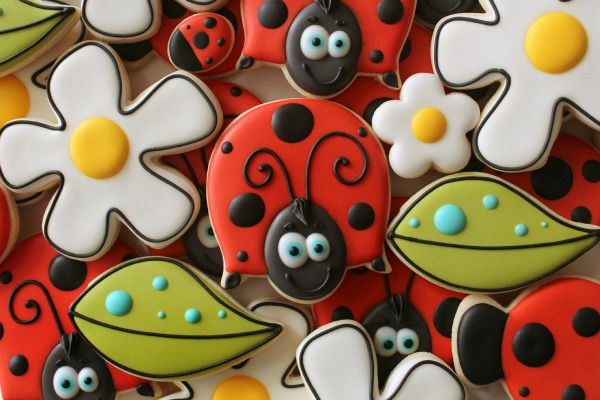
- Use black icing to outline and fill the face section, let dry.
- Use red 20-second icing to fill the body.
- When the base layer is completely dry, use white icing to create an eye, then quickly add a drop of blue.
- After the first eye is set, repeat the steps to create a second eye.
- Use black piping icing and a #1.5 tip to pipe antennae, eyebrows, a smile, and feet.
- Use a small star tip {#13-#18} to pipe a tiny sprig of hair between the antennae.
- Finish up by using black 20-second icing to add spots to the ladybug’s back and pupils to eyes.
 For related posts, check out the following links:
- Decorated Ladybug Cookies {this design is a great substitute if you don’t own the tulip cutter pictured above}
- Simple Ladybug Cookies
- Decorated Flower Cookies


