Silly Decorated Monster Cookies
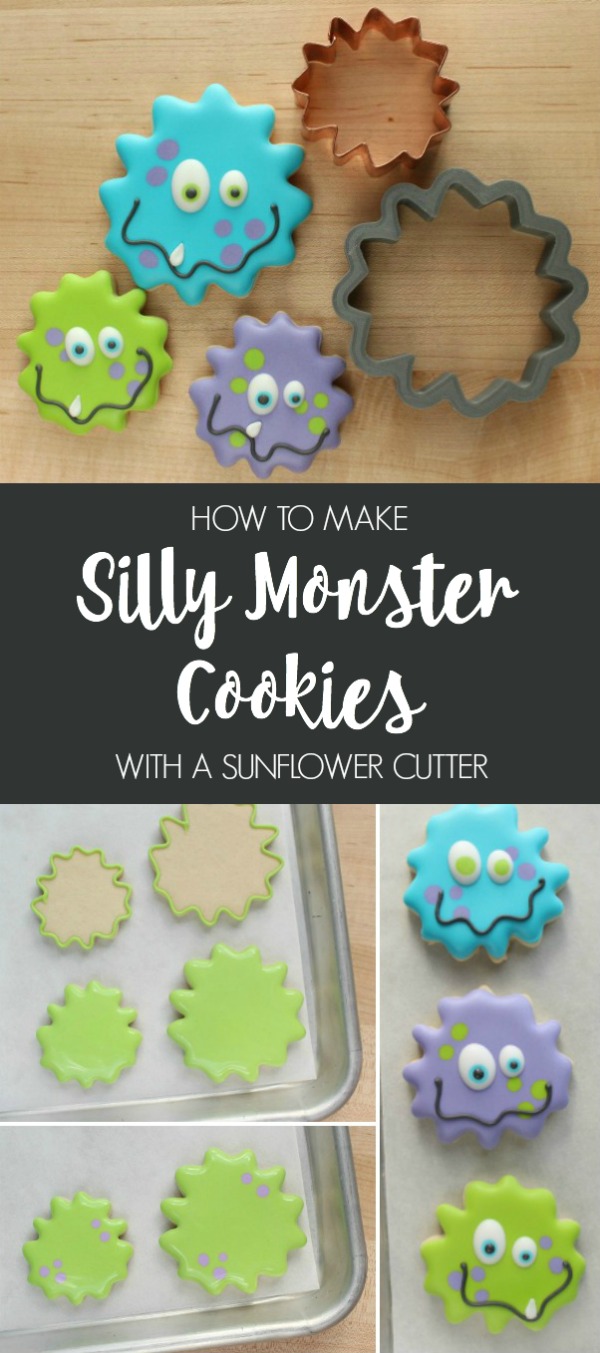
Seriously though, although it’s a little late, I didn’t want to let another Halloween slip by without sharing these silly decorated monster cookies.
This Halloween has been the year of the monster for me, but this particular interpretation has always been a fave. Besides being adorable, they are quick to decorate and always a crowd pleaser. Best of all, they give me a chance to use one of my favorite cookie cutters EVER, this strange, dinky little sunflower I got years ago in a random pack of cutters. I liked it so much, I had Truly Mad Plastics print a larger version (the original is only about two inches) which can be purchased here.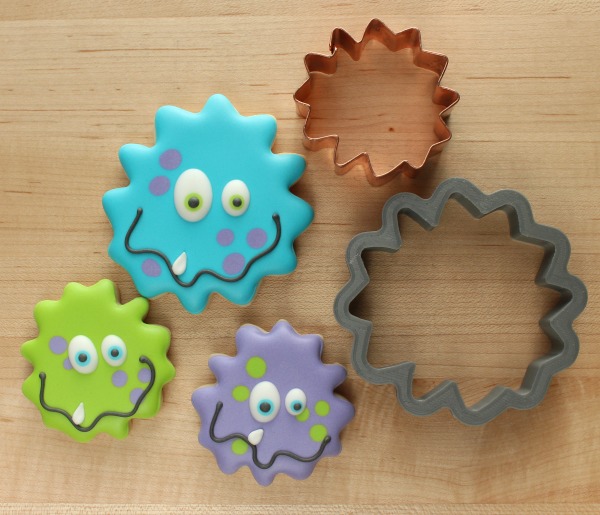
Although I’ve never used it for a sunflower, “the Tumbleweed,” as it’s affectionately known, has come in handy for a plethora of cookie projects. If you don’t have this cutter, because really, who doesn’t own a cheap funky sunflower cutter…substitute a similar shape.
To make these cookies you will need the following:
- “Monster” cookie cutter (this can be a flower, sun, or even something entirely different)
- Bright green piping and flood icing
- Bright blue piping and flood icing
- Purple piping and flood icing
- White piping and flood icing (a small amount)
- Black Flood icing (a small amount)
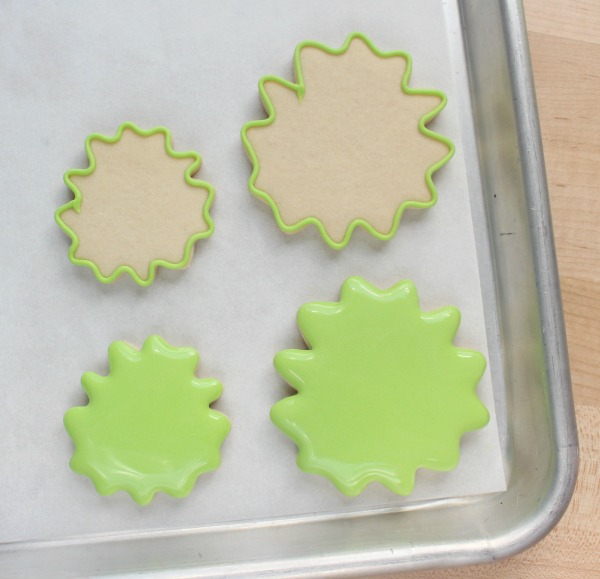
Step 1: Begin by outlining the cookie with a #2 tip. Give it a few minutes to set up, then immediately fill the outline with matching flood icing.
Step 2: Next, quickly drop a few dots into the wet icing using a contrasting color. I chose purple.

For those of you who are interested, here’s a quick tip. Give the icing about forty-five seconds or so to set before adding dots. This will reduce spreading and create a nice clean look. The most important thing is not to let it sit too long, or the dots may not fall flush into the icing which will create a bit of a raised appearance. Drying times vary based on where you live, so, it you are new to decorating, you might need to experiment until you are familiar with how royal icing behaves in your climate.
Step 3: Let the cookie dry (this can take anywhere from 4-24 hours depending on where you live) and then add eyes. Begin by using white flood icing to pipe two oval-shaped eyes, then, using the same wet-on-wet technique explained above, use another color of flood icing to, drop in two “pupils.” Let dry.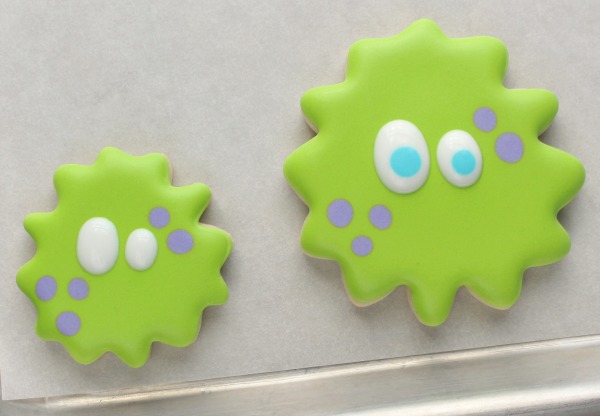
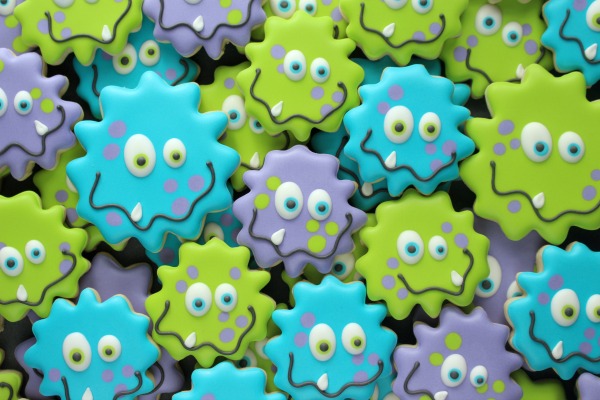
Step 4: Once the eyes have dried (this won’t take nearly as long as the base) it’s time to add the final details. This will be done in steps as pictured below.
I started by using a #1.5 tip to pipe a squiggly mouth, use black flood icing for pupils, and after the mouth is dry, finish up by using a #2 tip to pipe a single white tooth.

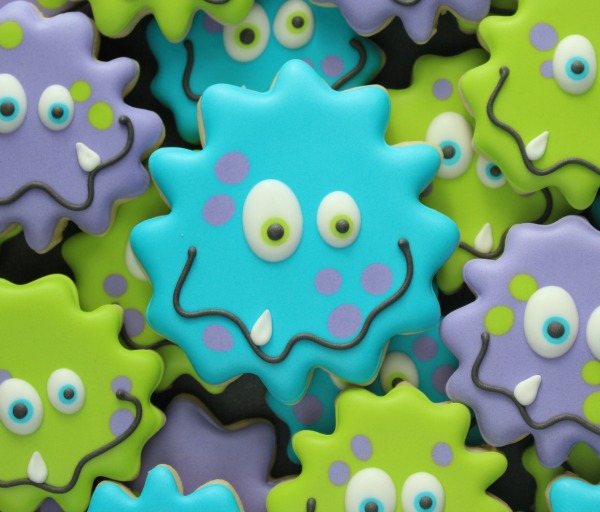
These silly monster cookies always make me smile. If you decide to make them, don’t be afraid to get creative! Use different cutters, change up the color palette, use an airbrush for shading, try different expressions and facial features, or add sprinkles to make them even more unique. The possibilities are as endless as your imagination!
For more creative monster cookie ideas be sure to check out my Monster Cookies board on Pinterest, or click on the following links:


Love your cookies! Also, I love your cookie cutter sets. I own way too many.
These are GREAT!
Too cute!
So happy to see your post!! Happy Halloween!! ??Hope you’ll post something for thanksgiving & Christmas ?
So cute ?
I just LOVE these guys and the colors too. Good to see you posting again.
I just love the squiggly grins on these little guys!
Thankful to see a newer post; getting worried about you! I LOVE these! So cute!
I have missed you soooo much!! Although I know how busy you must be with your cookie cutters ( I have all of them except Christmas which I will get next and love them) and your family. I learned cookie decorating from you and I still use your blog almost everyday. Thank you for everything and I wish you continued success with your business, you deserve it!! Judy
These are the cutest monsters ever, Callye! XO!
These monsters are so cute! Tried to search this exact cookie cutter but no luck under Monster, tried sunflower but there are several, can you please just give me the item number on TMP? I would be so grateful for the time saved! Thank you 🙂
What color do you use to make the green?