Sew Lucky Printables and Button Cookie Tutorial
This week my friend Mique and I teamed up to come up with cookie favor ideas for a “craft night”. I loved this cute little printable and the colors she chose. {click on the photo to get yours}
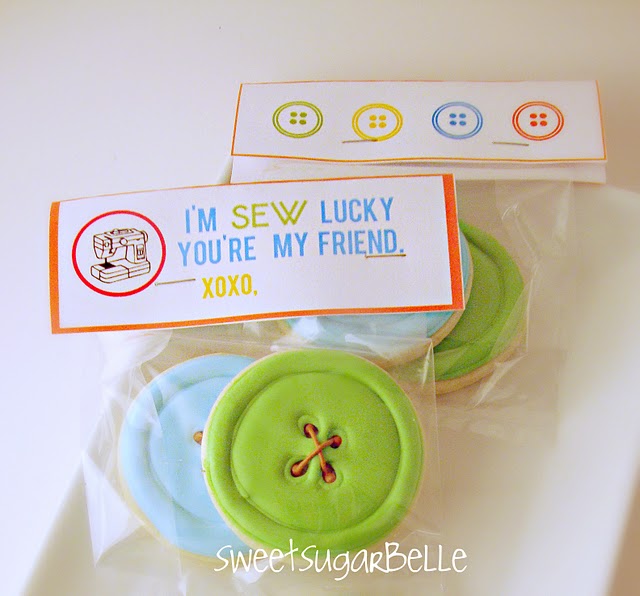
For some reason, button cookies can be hard for even an experienced cookier to get right, so, I came up with this step-by-step tutorial on making button cookies.
I actually have two metods of making these…the other uses the “Oh, @#*!” icing, but that one is a little more advanced, so we’ll start like this.
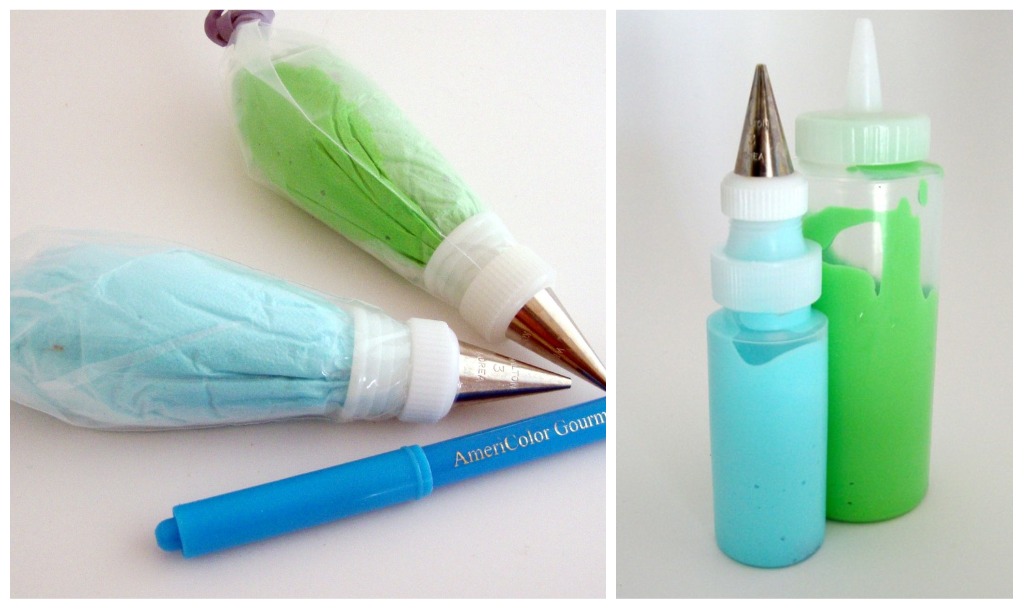
These are the materials that you will need.
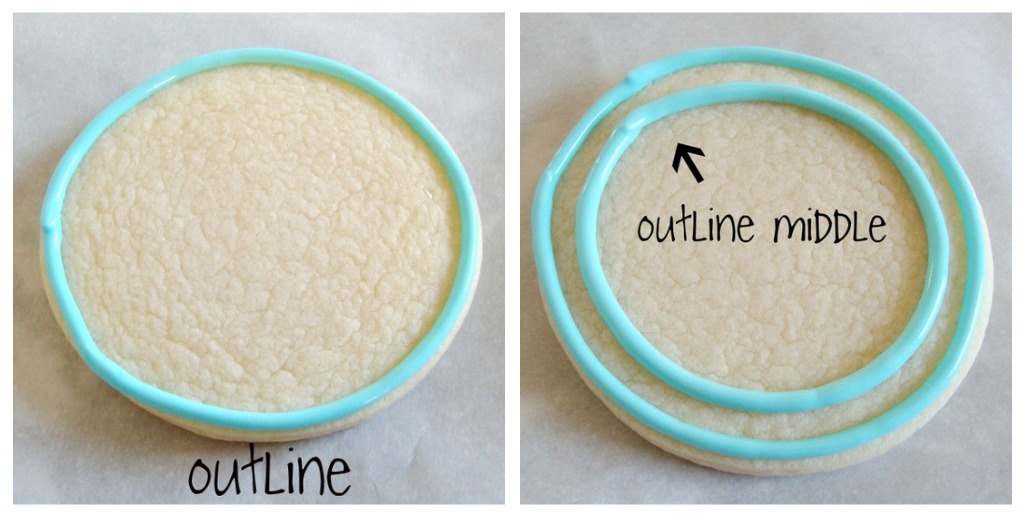
First outline your cookie as pictured below
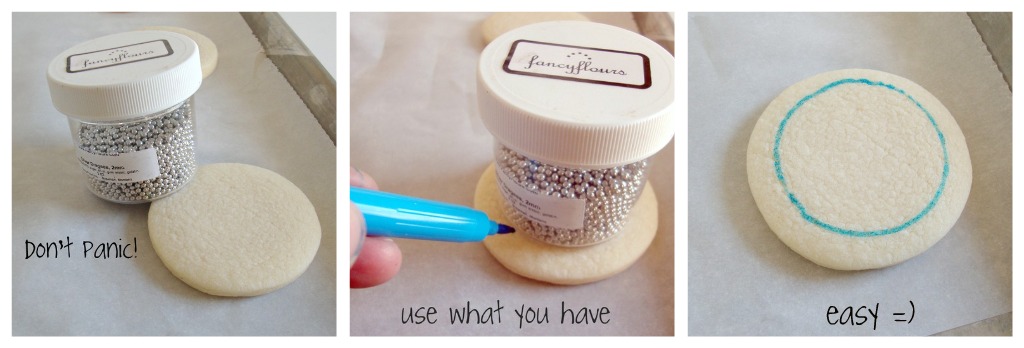
If you aren’t quite comfy with making circles freehand, never fear, I have a tip
Button holes are where things can get a little bit complicated. A little something I always forget to do is mark the center. This ensures that you don’t get lopsided buttons.
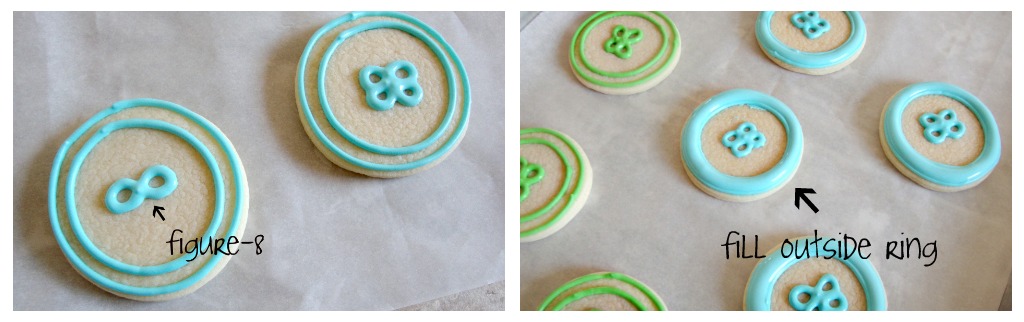
When the outside ring is completely dry, fill the middle. At this point, you will need to let the cookies dry for at least a few hours. {notice my photos went from day to evening}
When the cookies are dry, use a PME 1.5 tip to pipe the thread.

Now listen up, this is important info. I think one of my all time favorite tools is the 1.5 PME tip. If I was a cookie Jedi, it would be my light saber {oops, I think my geek just showed}
But seriously, this is a cool toy. I have a collection of them, and I value them more than jewelry. I always tell Bern-Dogg if our house was on fire, after the kids, they are the next thing I would grab =)
If you would like to get your hands on some, check Karen’s Cookies or Global Sugar Art.


Where do u buy the 1.5 PME tip??
Pingback: Sewing Cookies for Mother’s Day
Pingback: Glorious Treats » Sewing and Quilt Cookies
So awesome!
What’s the Oh #&%$ icing, and the method for the other version of button cookies?
Dying to know!