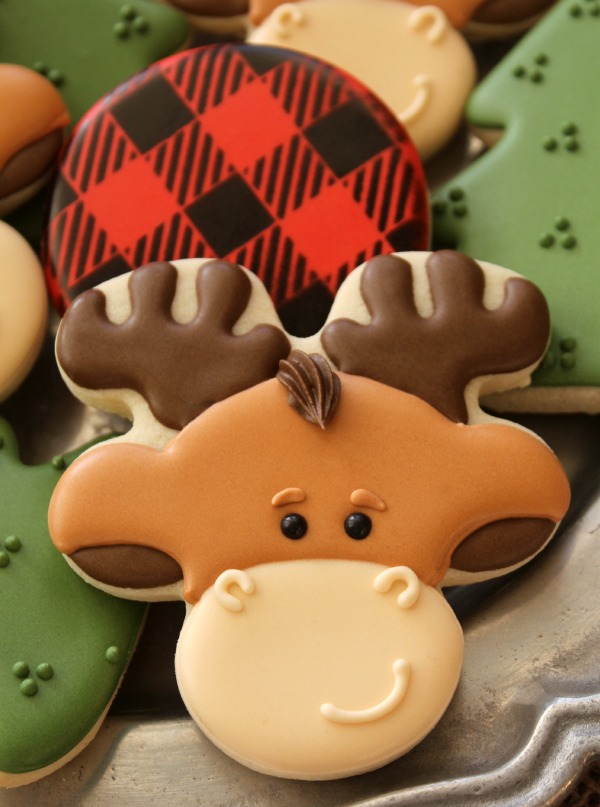
Decorated Moose Cookies
Last week, when I shared my decorated bear cookies several of you wanted to know more about Mr. Moose.
You know that old saying, “Ask and you shall receive?” I’m pretty sure it wasn’t referring to moose cookies, but we’ll overlook that today.
 The first time around I used an older Wilton bear cutter to make these cookies. I liked the angle of the arms and the extra ear space the lower body allowed.
However, since this cutter is no longer available, I chose to use a simple gingerbread man. Either one works well, but you’ll have to do a bit of trimming if using the bear…a small cut between the legs and cut the ears from the head.
 To make these cookies you will need:
- Dark brown 20-second and stiff-ish piping icing
- Tan piping and flood icing
- Ivory piping and flood icing
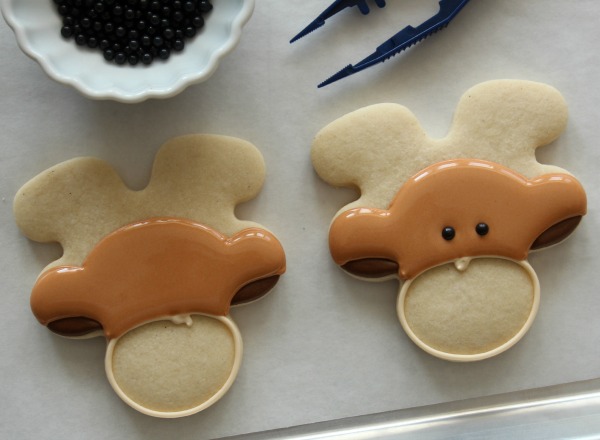
- Black sugar pearls
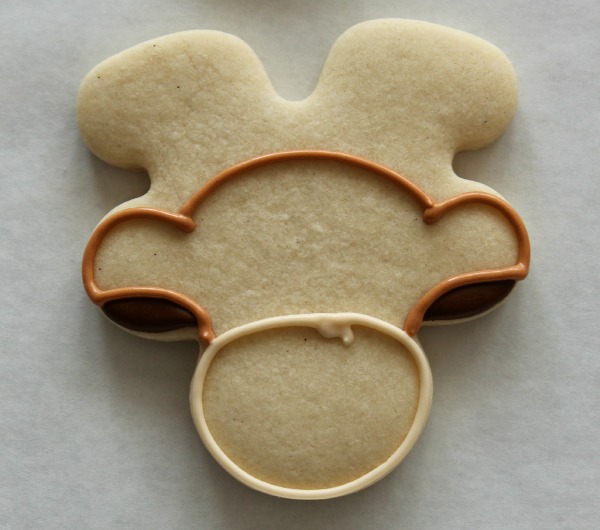
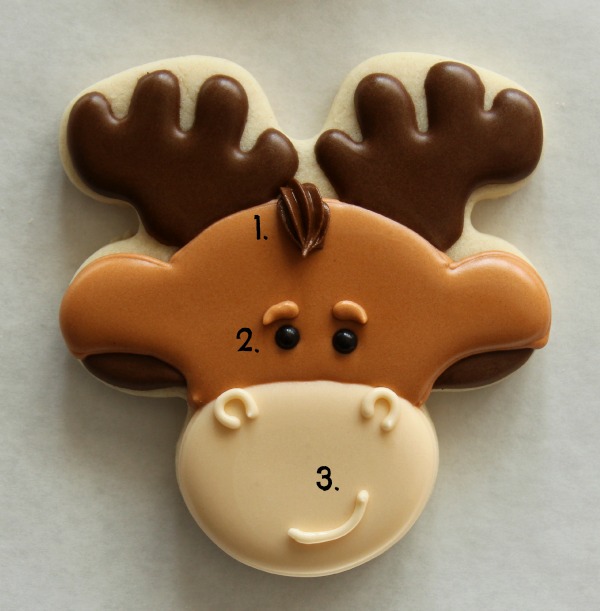
Begin by using dark brown 20-second for the inside of the moose’s ears.
 Next, outline the head as shown below. I’ve found it helps to start with the snout and work up. If you look closely, you can see that the top portion of the head was actually outlined in sections. Don’t be afraid to take this approach for a more symmetrical design.
 Once the face is outlined, flood the top section and use tweezers to quickly drop in “eyes”.
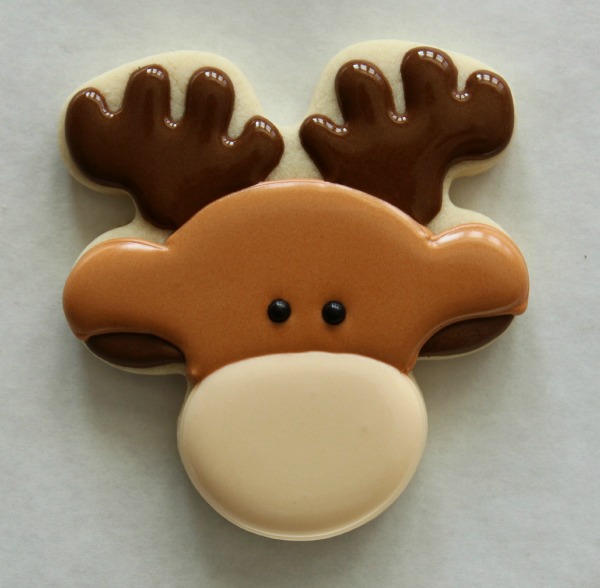
 Let the tan icing set, add antlers, then flood the snout. Let dry.
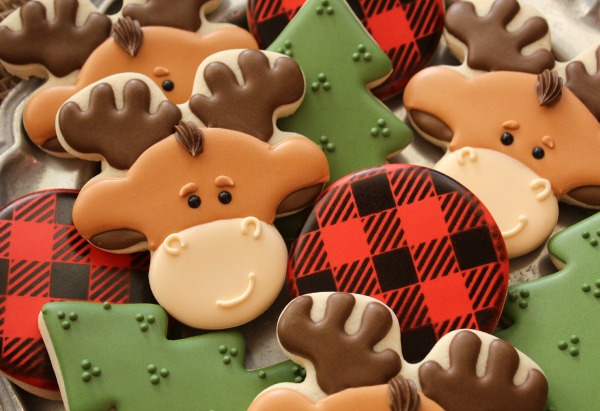
 Add a few final details and you’ll have the most adorable moose cookies you’ve ever seen!
- Use a #18 tip and stiff brown icing to pipe hair
- Add eyebrows
- Pipe nostrils and a smile
If you’re feeling frisky {I obviously wasn’t} you can even use a little petal dust to blush the cheeks.
 I’m not quite sure what occasion calls for moose cookies, but if the need ever arises, you’ve come to the right place.
 If you’re moose cookies are on your to-do list, check out the following posts:
- Chocolate Moose Cookies via The Bearfoot Baker
- How to Make Dark Brown Icing
- How to Make Tan Royal Icing
- Decorated Bear Cookies
- Rudolph the Red-Nosed Reindeer Cookies via Semi-Sweet Mike {this would translate well to a moose}
- Whimsical Reindeer Cookies via Cookies with Character
- Little Lumberjack Party with Cookies via Flour De Lis


This set of cookies are perfectly adorable C! Here in Canada any occasion would be good for Moose Cookies! 🙂
Ohhh man, these are just too cute! Your blog is pulling me closer and closer to a cookie addiction!
– Taryn Elise xx
blog.sugarpushcakes.com
My guess was right…a gingerbread man under all that icing perfection!
It’s adorable!! Gonna have to try this one.
Before this moment I’ve never wanted to hug a moose. But this one is so darned cute!!!
Yep, definitely need to make some moose for my Canadian uncle. ;-).
But that flannel! How in the world did you pipe flannel that perfect?? Wow
Thanks so much! I love this set. Now all I need is the check stencil.
Callye, they are precious!! Now I want to make moose cookies!! Thanks again as always for sharing your creativity with us!!
I have been meaning to ask you forever–how does your flood icing not have air bubbles in it?? It’s just perfect! Mine always has air bubbles and it drives me crazy!!! 🙁
You are the best!
Big Hug
Paula
Great job Callye, I think I need to “fill in” my cookies a little more, mine seem to be flatter. Can you post which stencil you used for the red/black plaid cookies. Awesome job all around. Thanks for sharing.
Super cute Callye and cute isn’t easy when making moose cookies! Another cookie coincidence, I posted a moose early this week! Different cutter and a very different look though. Hugs and hope you’re feeling well! xo
Love the moose but how did u get the plaid pattern. That looks so neat too.
Love the plaid cookie in the background!
Thank you for posting on how you did the moose cookies! This is going on my bucket list to try and make. I did purchase the stencil for the plaid as well.
This moose is adorble! Really, the whole set is amazing. Thanks so much for linking up my reindeer. 🙂
You NEVER cease to amaze me, Callye! Hope you and baby are doing well:) <3
Agreed, how’d you manage the plaid flannel red and black cookies?
I used a stencil and airbrush.
Woah, this really is so creative! I never would have thought to do this… the cookies look PERFECT!
I have found an occasion for the Moose Cookies. I hope I can make them to take with me to my WOW group.
Pingback: Hunting Cookies | MAKE.cookie
Hey, great cookie! Very cute. What size sugar pearl you use for the eyes?
Can you tell me where to buy the cutter?
Do you have a video of the plaid air brushing?
Mine have over spray and smudging. How did you get yours so beautiful?