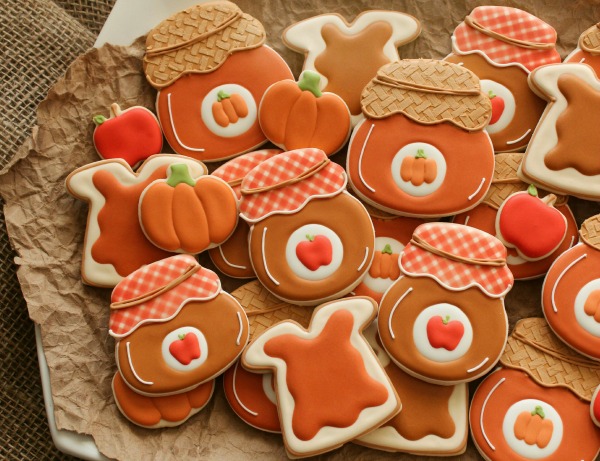
Decorated Jelly Jar Cookies
Jelly jar cookies have been on my to make list for a very long time. I meant to make them over summer, but it slowly slipped away without any cookies.
My jars were almost forgotten, until I dug out my Halloween cutters again saw jelly. So instead of fun fruity jam, I ended up with autumn butters. Almost the same thing, right?
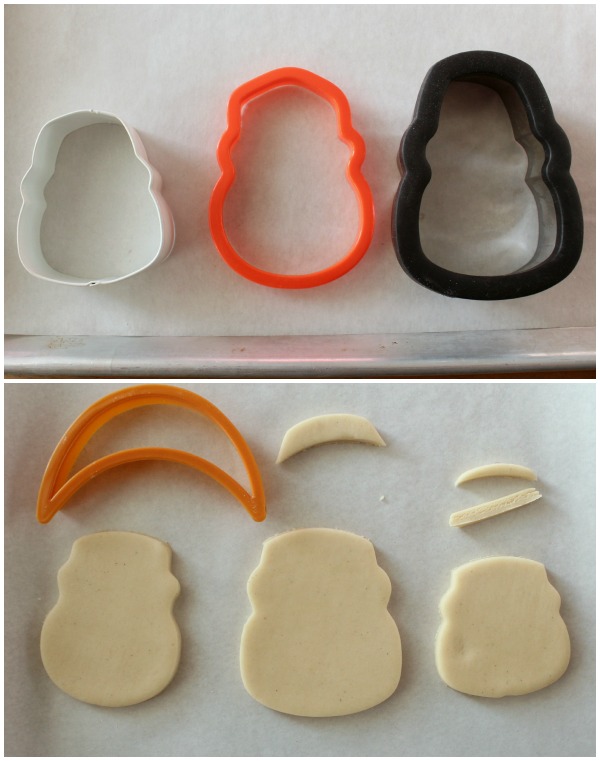
 I used a variety of trimmed skulls for the cookies. The black and white cutters are both Wilton brand, while the orange skull came from this set.
To trim the cookies, I used a large moon cutter but if you don’t have one, this genius tip from Klickitat Street will help you out.
 To make these cookies {apple butter} you will need:
- Ivory piping and flood icing
- White piping and 20-second icing
- Gingham stencil {I used this one because I had it on hand, but the mini-stencil I linked to is easier to maneuver}
- Red food color or airbrush spray
- Tan piping and flood icing
- A tiny bit of red 20-second icing
- A tiny bit of green piping icing
Begin by outlining and flooding the lid section.
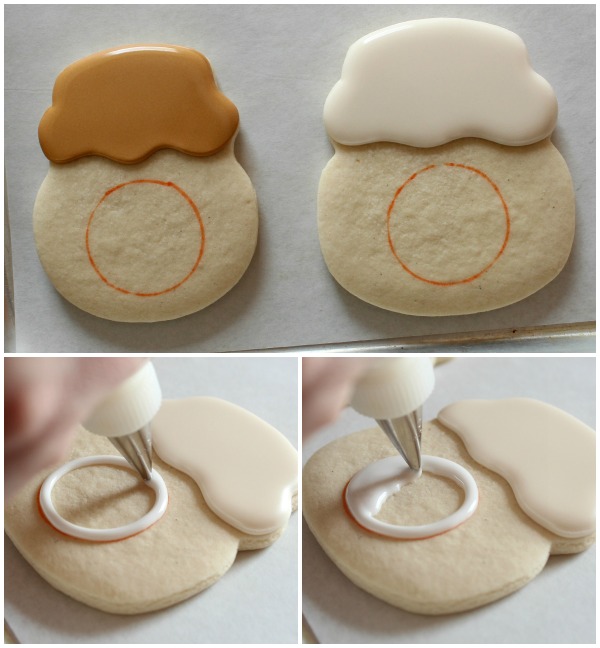
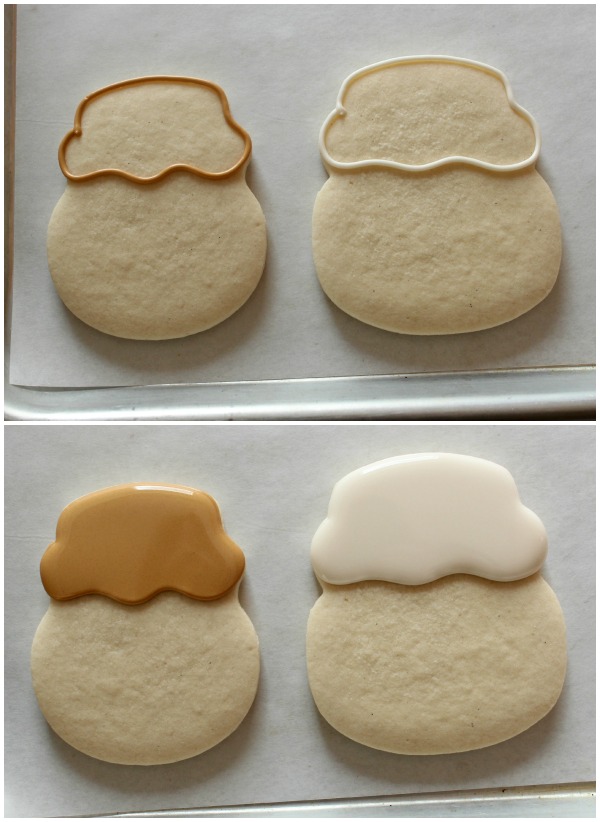 Next, use a fine tipped food color marker to pre-mark a round label and fill with white 20-second icing, as shown below. You could do this prior flooding {to be on the safe side}, but for the purpose of spacing I wanted to see the lids before positioning the label. Let dry.
 When the cookie is dry, it’s time to add gingham print to the lid. Mask the label with Press and Seal wrap {we talked about this here}. Then, using the magnet tip I shared, position and secure the stencil as shown, and lightly mist with red.
I used Wilton color mist, but an airbrush works too. Regardless of the product, the key to success is a light even application. If you go spray crazy the color is more likely to puddle and seep underneath the stencil.
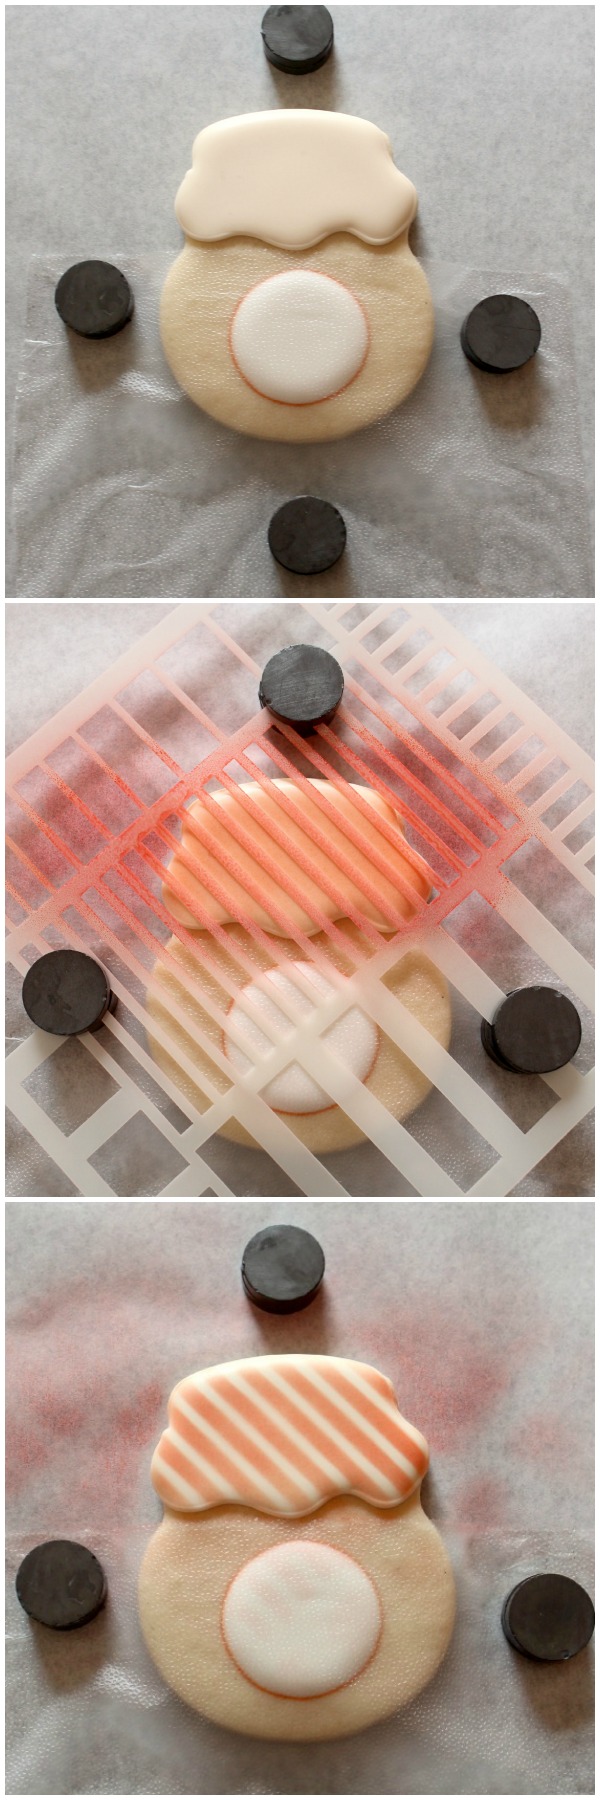 After applying the first layer, reposition the stencil as shown {clean between applications, if necessary}, then add another light mist of spray. Gently remove the stencil to reveal a perfect gingham pattern.
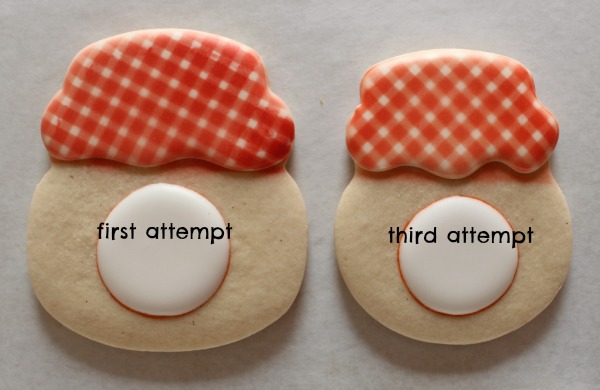
 As I’ve mentioned before, stenciling takes practice. You can definitely see the difference between the first and third cookie. Again, the key is a lighter spray.
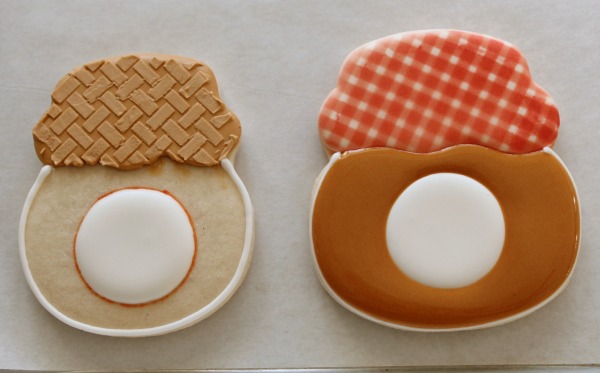
 When the lids are finished, outline the and flood the jar. I used white icing for outlining and flooded with tan.
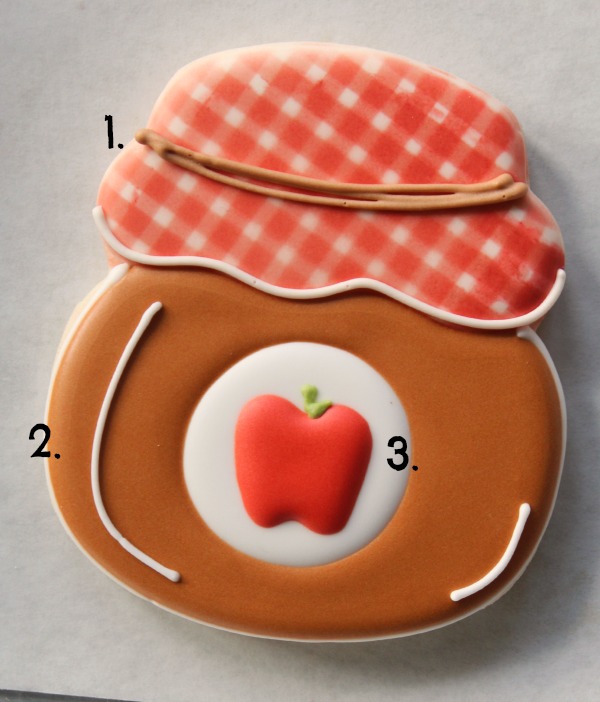
 When that is set, add the finishing details:
- Use a #2 tip to pipe twine around the lid
- Add accents to the jar
- Pipe a tiny little apple on the jar label
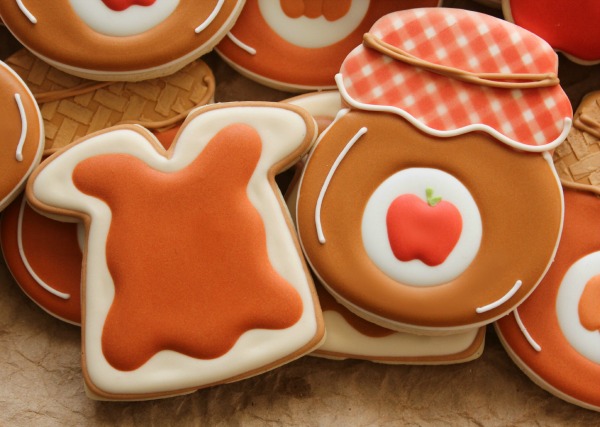
 Since most people like toast with their butters, I added a few slices. To see the cutter I used {and a how-to} click here.
 For the pumpkin butter version of this cookie follow the same basic steps, but use the technique shown in this post for a burlap lid cover.
 For more tips and inspiration, check out these links:


