Wilton-Style Roses for Cookies {WFMW}
This is the second part in my three part series about putting roses on cookies.
I have mentioned before that I am a Wilton dropout. It’s TRUE. I took the first class and then never made it back. It had nothing to do with the class, but more with the fact that it required a sixty-mile drive and cake baking. And y’all know how I feel about cake baking!
However, I learned one of my favorite tricks from this class, the Wilton rose {in my own sloppy way}.
They are so pretty and very relaxing to make. I’m kind of obsessed with it.
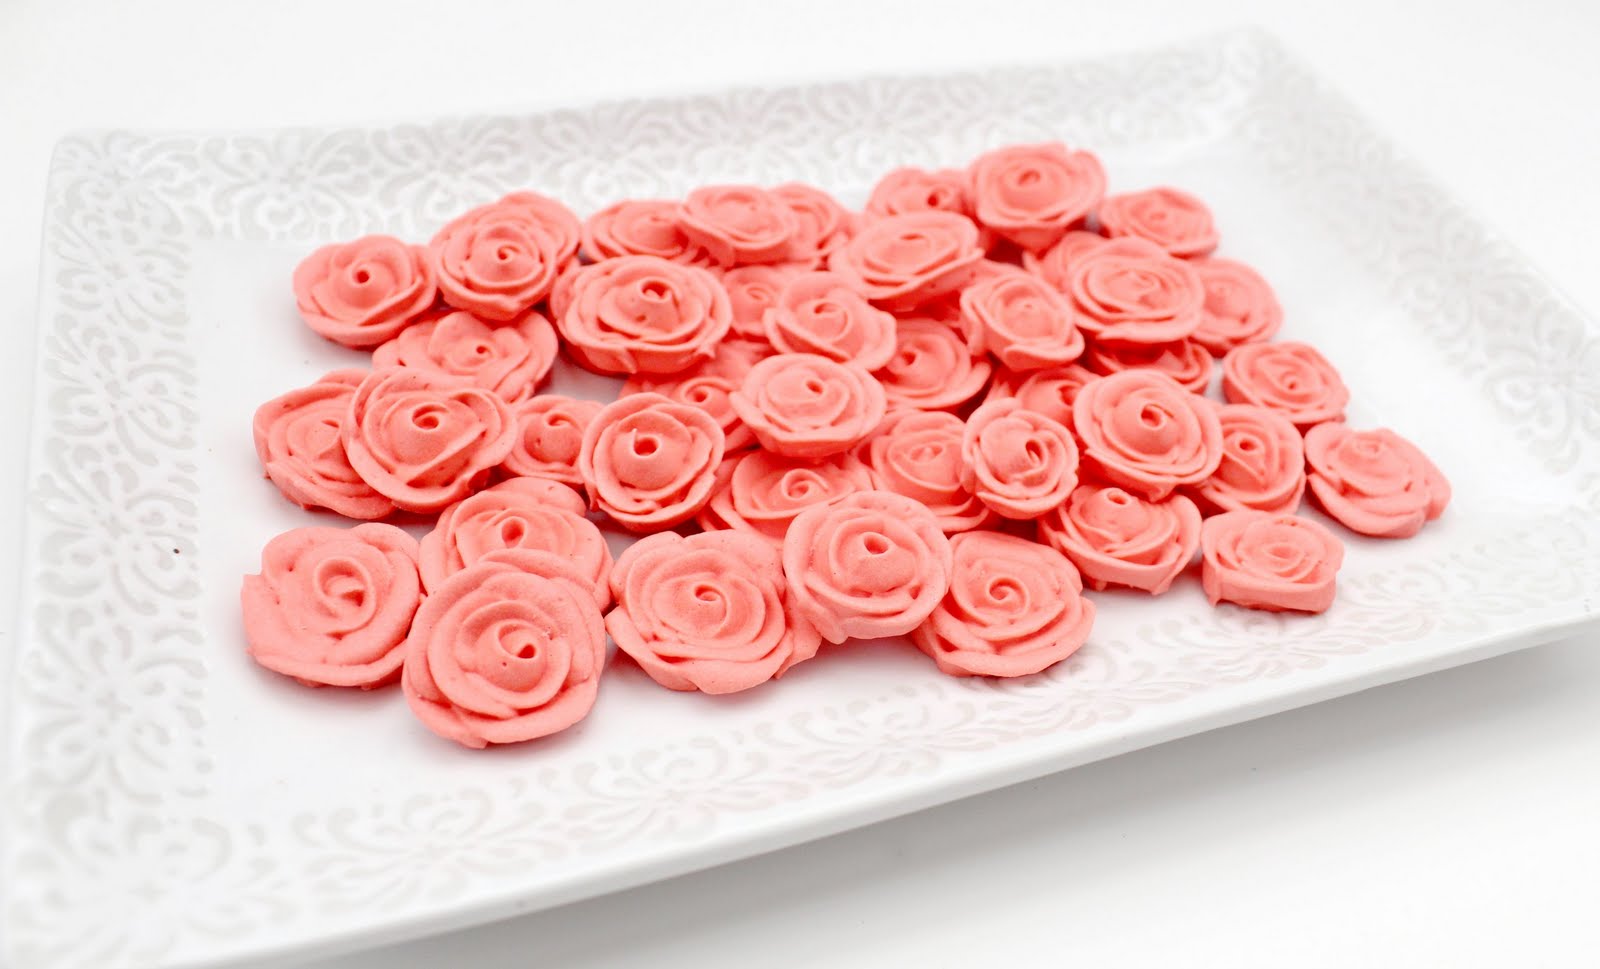
I had to adapt this to cookies, mainly so they’d be smaller.
To make Wilton-style royal icing roses for cookies, you need:
-
two bags of stiff royal icing in the color of your choice {by stiff I mean it completely holds it’s shape like the fourth photo down in THIS POST}
-
a #3 and #101 Wilton tip
-
a #9 flower nail
-
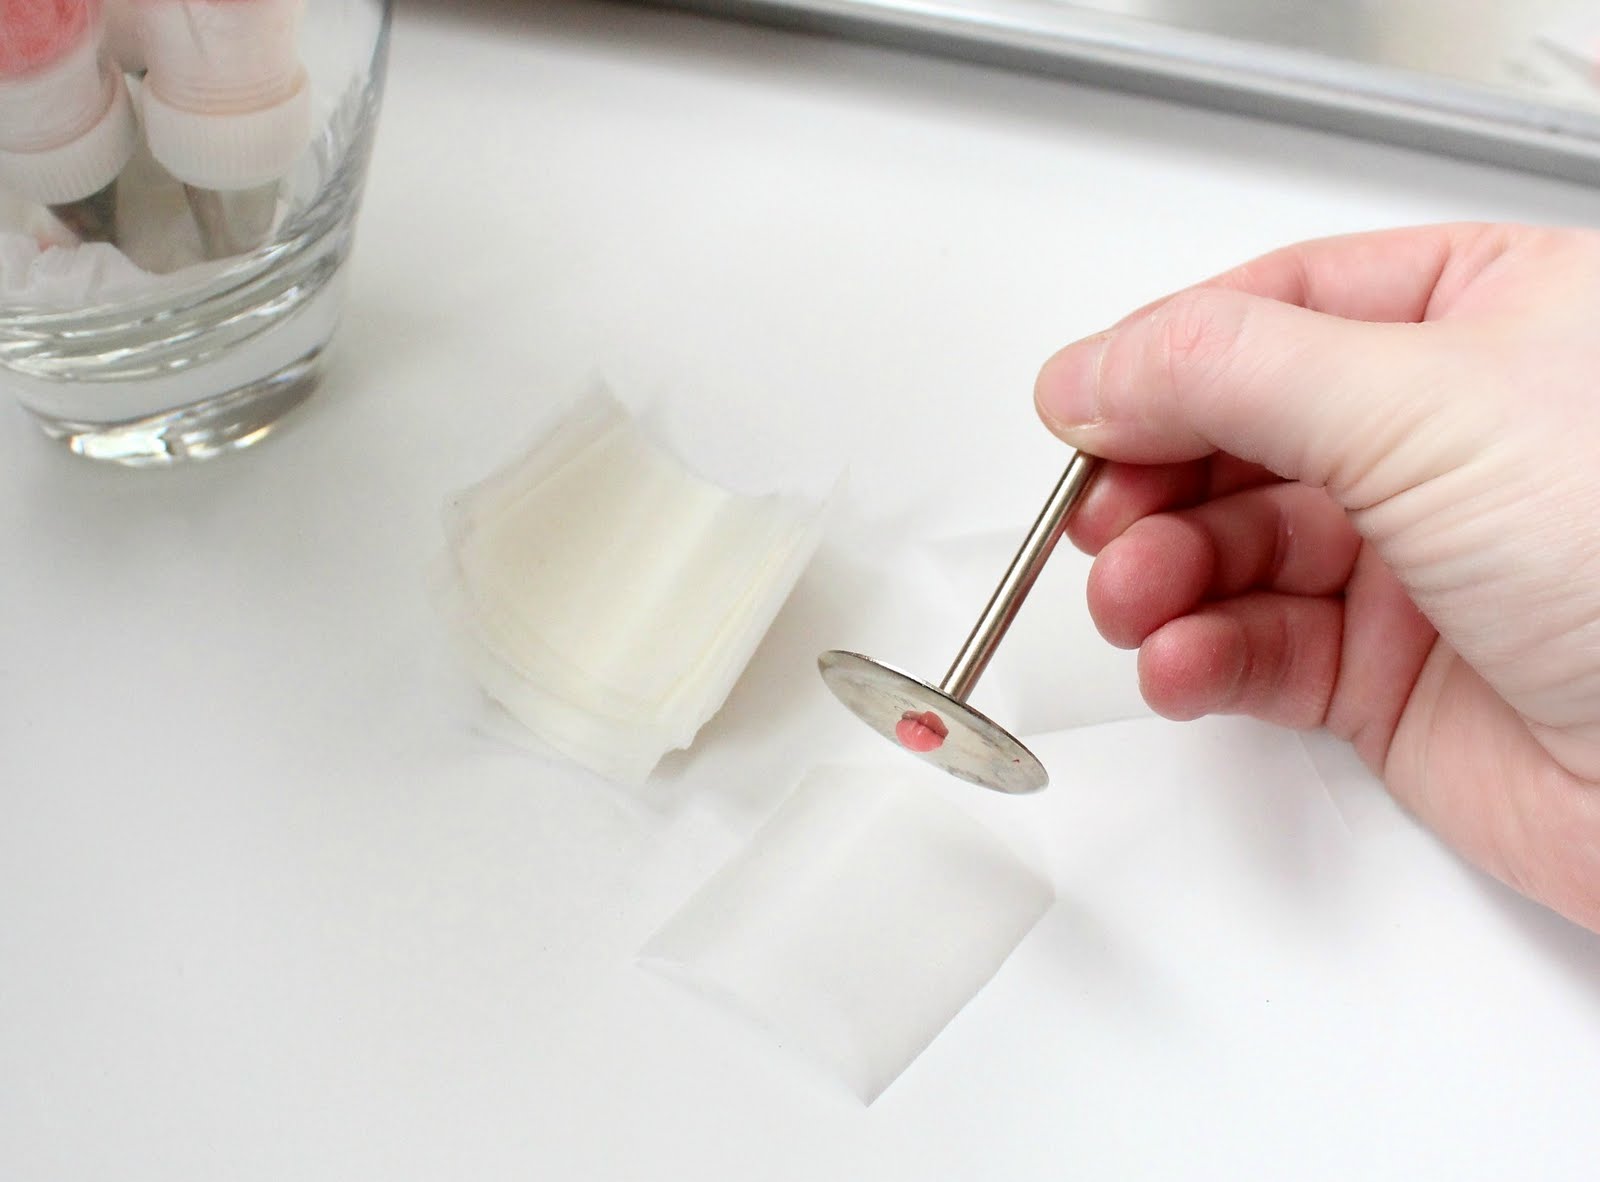
1×1 squares of wax paper
-
clean cookie sheet
You can actually buy pre-cut squares of waxed paper, but my Nanny’s angry ghost comes to visit me anytime I consider it, so I make my own. It’s much more economical.

This is how I do it. KEEP IN MIND, Wilton has a nice, pretty, perfect way to do it that you can see HERE, but as always, I did it my way…
To begin, I put a tiny dot of icing onto the flower nail, with the #3 tip,
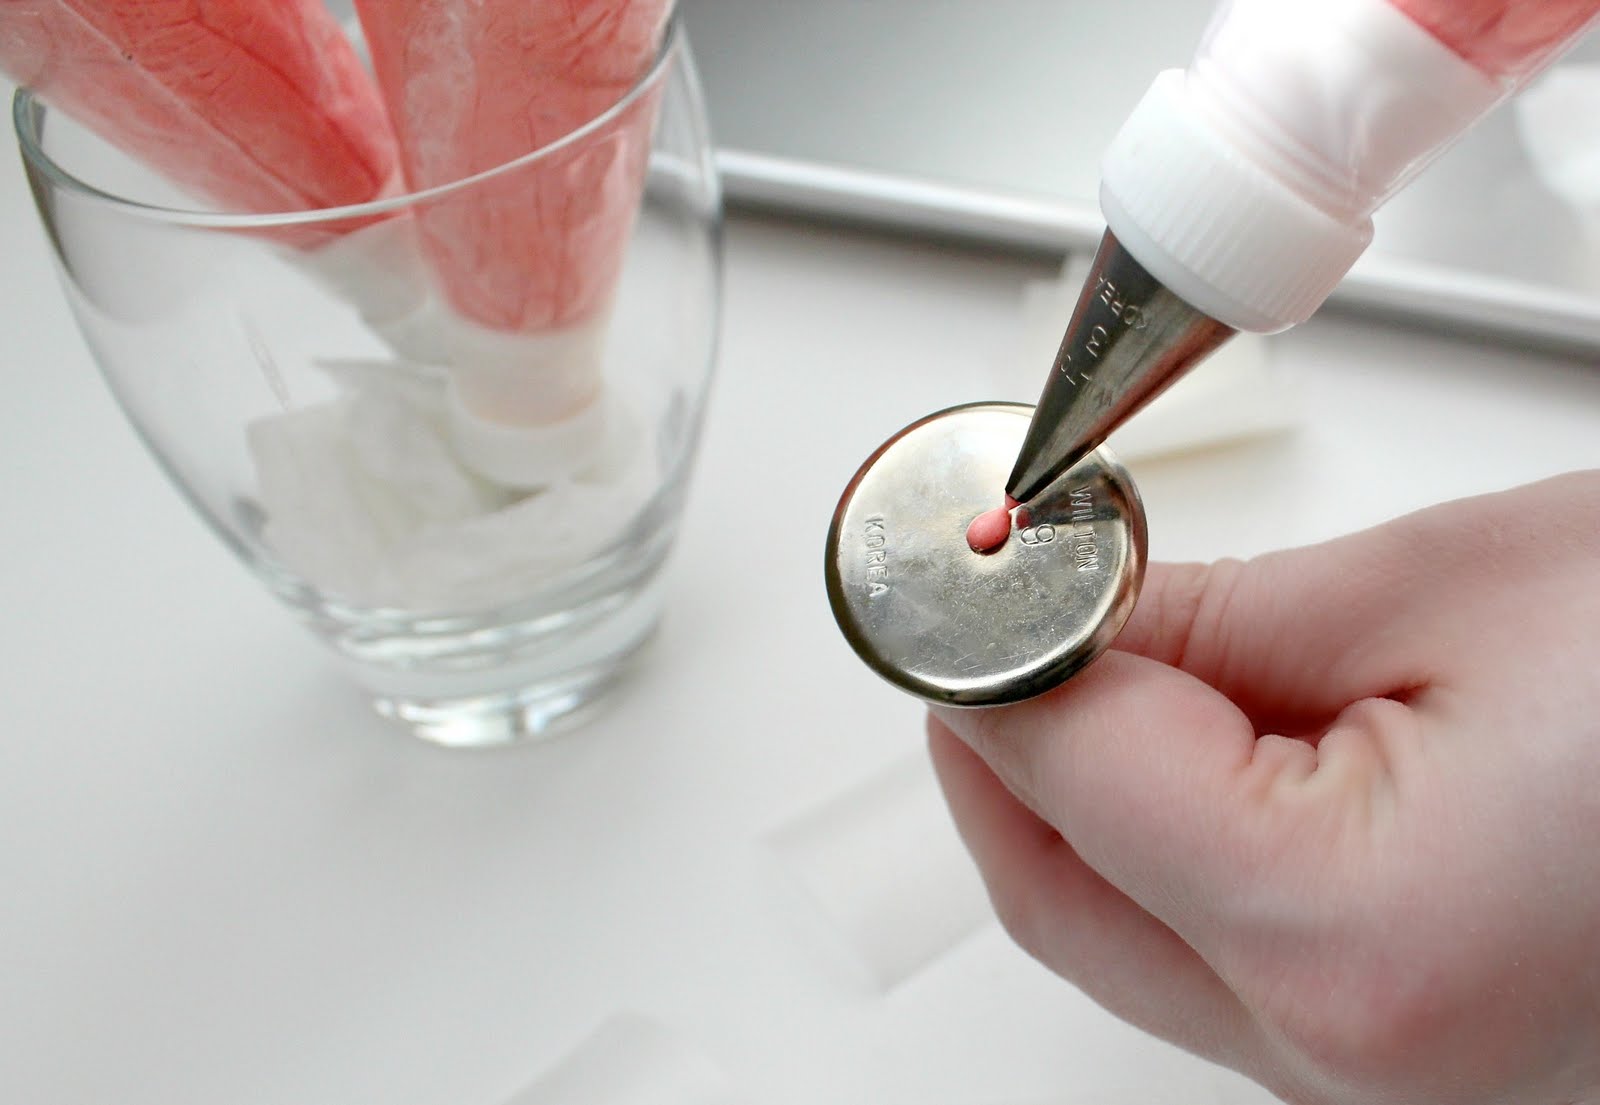
which I used to secure a wax paper square to the nail.
Once it’s secure, you are ready to begin piping a rose.

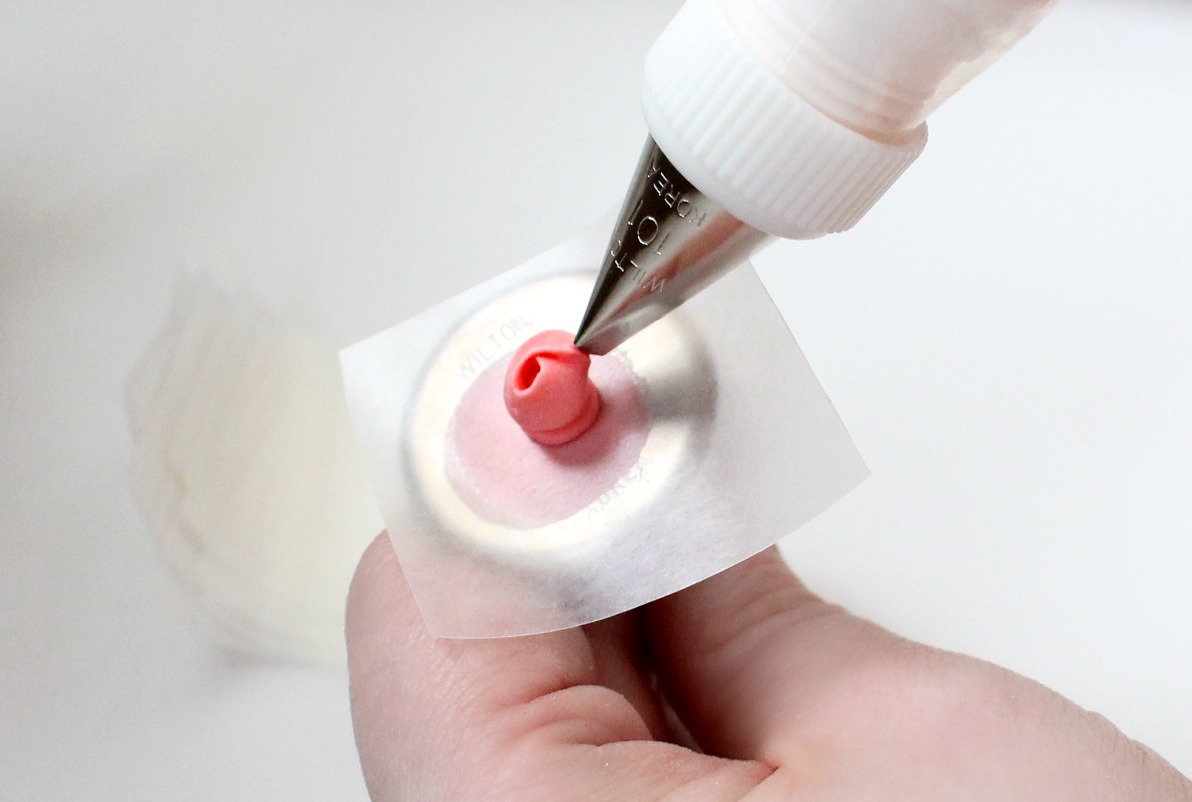
Use the bag with the #3 tip to make a little cone-shaped mountain in the center. You need to make it about 1/2 an inch tall so all of the petals will fit around the base. To get the thin tip, release pressure on the bag as you pull up and you should end up with a nice perfect point.

When you have done that, use the bag fitted with a #101 tip to make the center. I included tons of photos, because this is where it get a little tough to explain, and absorb.
The wide side of the tip will be down, and the thin part on top. Angle the wide end close enough to the rose to touch, and simultaneously spin the nail while piping. Make sure to only cover the tip, not the whole base.

Keep going until you have made a complete rotation, and touch the tip to the base to close the center.
Next, add petals. This is where I get a little sloppy. Wilton has a method. I call it the 3/5/7 method, three petals on the first row, five on the next, and seven on the outside. It works well and the roses are perfect.
I, on the other hand, DON’T do that. I start out with good intentions, but depending how it goes, I just keep on piping until the thing looks okay.
It worked okay at first. I managed to get three on the first row.

To do this, you put the tip, wide part down, into the same angled position as you did to make the centers, and then squeeze an “arch” onto a section of the base {ideally a third of it}. Make sure to tilt the thin area slightly away from the base so you get that thin petal edge.

So far so good.

This is the point at which I get off course. It’s kind of a tiny space I am working with, and a VERY tight squeeze, so from here on out, I do the same thing as above but I keep going…

And going…

and going, until they look pretty to me.

As I finish each one, I line them up on a cookie sheet to dry. As you can see, I like doing this.

I make tons and tons of them when I have leftover icing. It really is relaxing.

If you missed my how-to on simple roses, check it out HERE.
Using the “almost” Wilton-method for making icing roses works for me, and I hope it works for you too. For all of you beginners, I would highly recommend signing up for the 3-4 part class at your local Hobby Lobby or Michaels. Even if you aren’t into cakes, it’s a valuable resource for learning the basics of decorating. Many a fine decorators got their roots in a Wilton class.
If I left anyting out, or you’re still feeling a little bit nervous, you can view Wilton’s how-to HERE. Just use the tips I suggested so that they will be smaller.

Good luck and happy decorating! Stay tuned next week for part three!


I think the moisture of the freezer would damage them. They don't need be
stored really carefully. Just in a dry darkish place, as they do fade…
Could you just freeze these and use whenever you needed them?
I took a Wilton course and I didn't enjoy it at all :S Your instructions and pictures are easy to follow 🙂
– Sheryl aka: a litre of sunshine (www.alitreofsunshine.blogspot.com)
I keep debating about a Wilton class, only because I have never been to one, but I am thinking it would be very repetitive to what I learn around the web, and I learn in my jammies!
This is cute ! Check out my blog : http://nothinlasts.blogspot.com/
These look great! thanks for the tips!
After seeing your post on making your own flowers, I whipped up a small batch of royal icing last weekend and piped close to 100 daisy-type flowers to put on flip-flop cookies. I have paid $1.29 for ten 1/2" sugar daisies at my local cake decorating store so DIY is the way to go. Thanks for saving me a ton of $$$!
They should be stored in a cool dry place. They last indefinitely.
great tutorial post! I've been wanting to take the wilton class for awhile now but haven't been able to fit it in my schedule. maybe i"ll just read your blog instead 🙂
COOL! How do you store them and for how long?
I need to do this with my leftover icing. What a great idea. I have taken the Wilton courses, but I think I need a refresher. Mine never looked as good as yours. Yours are beautiful!! I need to get busy practicing. Thanks for reminding me!!!
My idea of a frosting rose is…having someone else make them for me…lol. Wilton now sells them in a package. 10 in each. 🙂
roses still scare me…one day I will make another attempt. mine were positively scary-looking
I still cant do those. Youll have to teach me in September
These are absolutely gorgeous!
You know, I think your roses are gorgeous! They have character and they ARE perfect in their way! Since you've developed your own method, I say call them SimplySugarbelle Roses! Sure, you were influenced by Wilton… and by lots of other stuff too!
Who needs a Wilton class when you provide such great instructions? I'm a student of Callye's Class and I don't foresee myself ever dropping out 🙂
I love these, they remind me of the icing roses my grandmother used to do. She probably learned through Wilton though I never got to ask her.
Pingback: Plastic Daisy Cookie
Pingback: Baking Market Blog
Pingback: How to make simple roses with royal icing
Pingback: Make Icing Accents From Leftover Icing
I work in the Wilton test kitchen. Your roses and technique are very good! I loved your most recent post about the royal icing carrots. Those are too cute.
You LUCKY LUCKY girl! Best job ever! I mean if you have to work, what a fun way to do it, right?! Tell Wilton I love ’em! Keep the good stuff coming!
Hello can you help me to find a tutorial to decorate cookies, whith a toothtoothpick
Pingback: How to make Ribbon Roses
Love the tips! I included you in my latest post!
http://www.chic-sugar.com/2012/06/current-crush-thursdays-pink-with.html
Pingback: 101′s Tips – Ribbon Roses « Sugar & Spice Baking Guild
I was looking, and you’ve done beautiful roses. If you want them to “open” more (or fit the 5/7 petals on the two outside rows), you can tilt your bag for the second row to about 40 deg. and the next row tilt the bag to about 80. =)
Either way, your work, tutorials, and all of the helpful hints have saved me TONS of time. So thank you, very very much. -April
Hi,
I found your blog and i`m looking at it for hours. I wanna ask you something : how can we store these roses? i want to made some flowers for birthday cake of my father .
Thank you,
Oooh… Such a great idea! I wonder if this would also work with a cookie recipe for spritz, since that type of cookie is meant to be squeezed in a pattern? I’ve only seen pictures, but if I ever try making spritz, I’ll try to keep this idea in mind so I can try it!
Question.
How do you store them? And how long can it last?
So beautiful…
I am a wilton instructor and I find myself here looking for a rose other than the Wilton method rose- I HATE making roses lol. Thanks for all the great techniques!
Pingback: Decorated Rose Cookies – The Sweet Adventures of Sugar Belle
I finally mastered these!