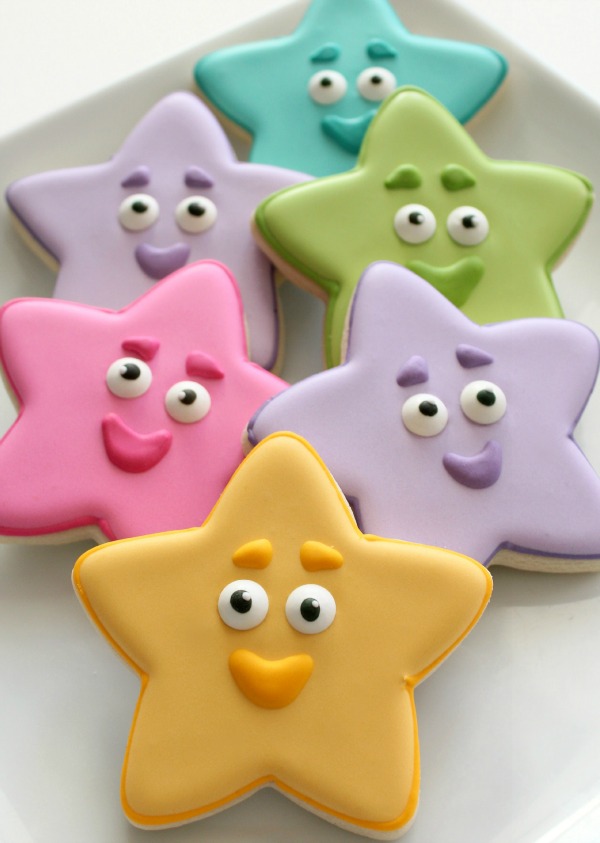
Simple Dora Star Cookies
One of the best tips that I can offer to a beginning cookie decorator is not to get overly ambitious your first time out of the gate. Starting the decorating adventure with a complicated cookie design can quickly turn something that is supposed to be fun into a nightmare.
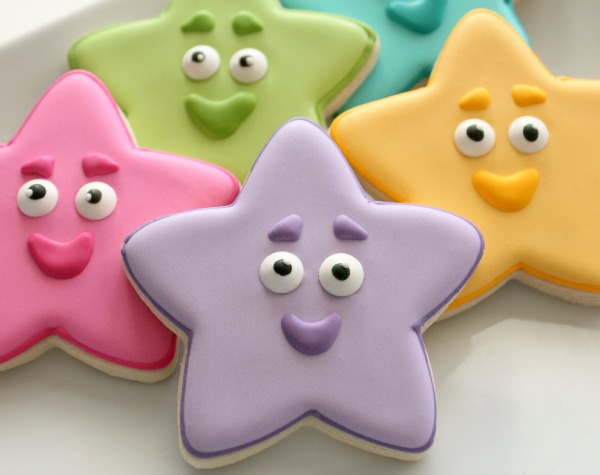
A great example of starting simple is easy Dora star cookies. Recognizable to kids but simple enough for a beginning decorator.
To make these cookies you will need:
- Piping icing and 20-second icing in the color of your choice
- Slightly lighter shade of flood icing
- Royal icing eyes, I bought mine, but you can always make them yourself {the Bearfoot Baker has a great little how-to HERE}.
To simplify things further I suggest mixing the dark outline color first, then, once the cookies are outlined, thin to 20-second consistency {reserving a bit for facial details}, and finish up by adding enough white to create lighter flood icing.
So, now that I have thoroughly confused everyone…begin by outlining and flooding the cookie. 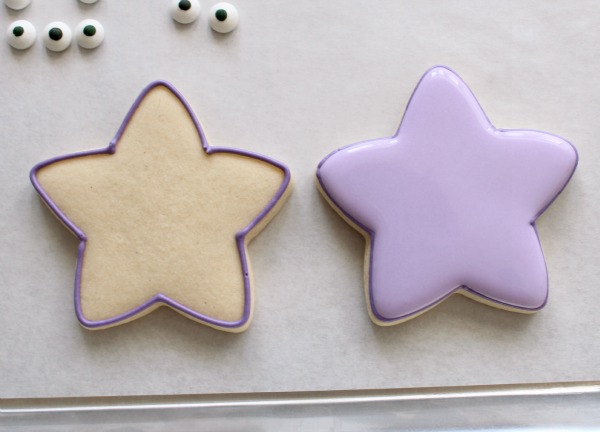
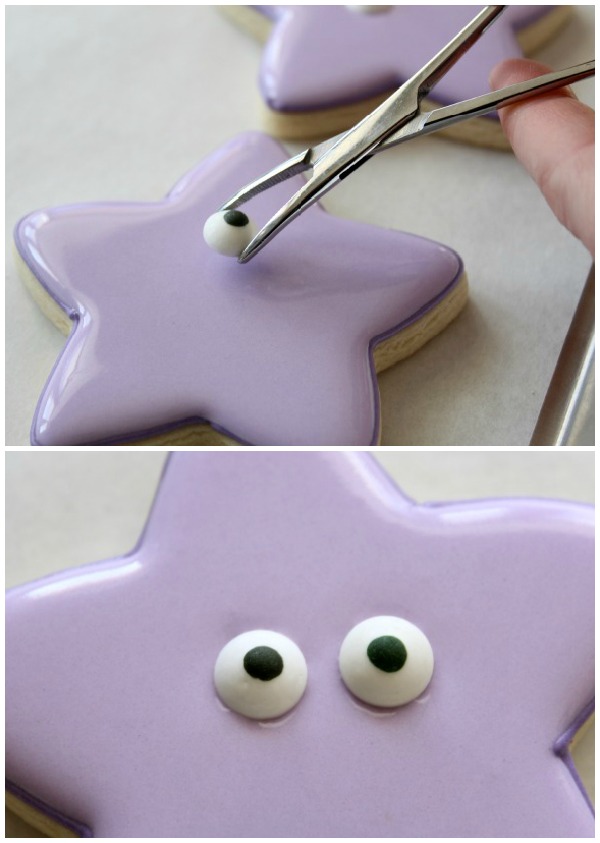
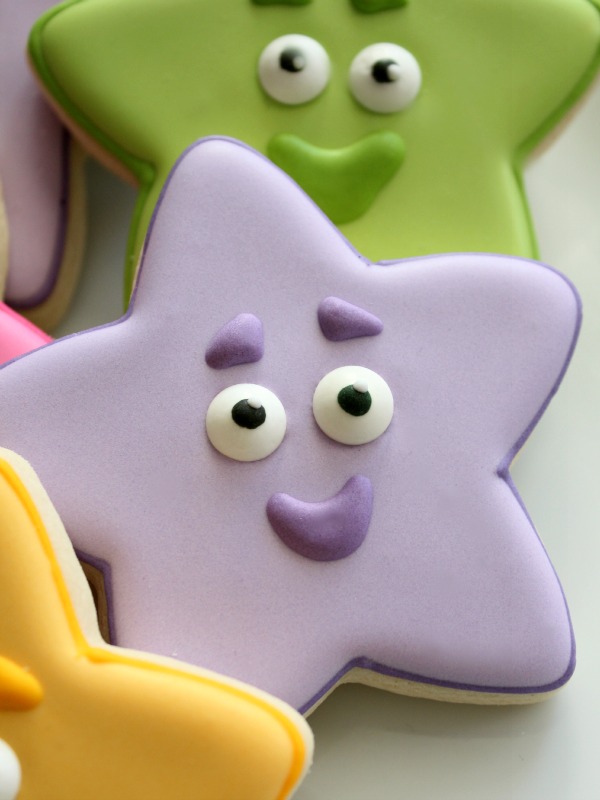
Next, use tweezers to drop eyes into the wet icing. Place them about halfway down the cookie about half a centimeter apart for a more authentic look.
Let the cookie dry overnight, then use 20-second icing to add eyebrows and a smile. I like to use a #1.5 tip for this.
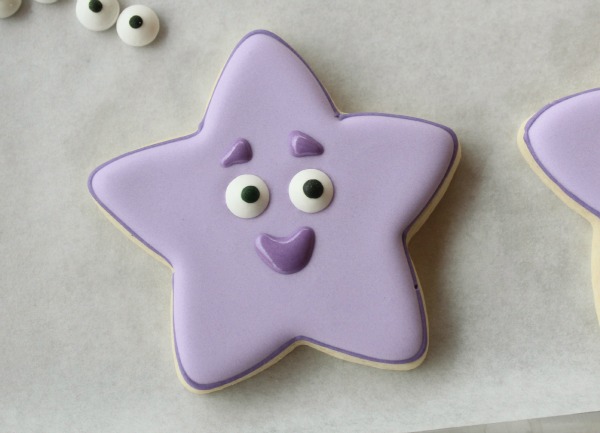
If you’re feeling ambitious, use white 20-second icing to add a little twinkle to your star’s eyes. It’s a small detail but it packs a lot of punch.
 Even if you aren’t a beginning decorator these cookies make wonderful filler cookies when you need to stretch that Dora platter a little bit further.
For those of you that are up to the Dora challenge, check out my list of common cutters that work perfectly for Dora cookies.
Remember, picking projects in tune with your skill level is a good way to keep the decorating process fun as you learn. While it’s always good to challenge yourself a bit, don’t pick something so tough you end up frustrated. The best thing about cookies is that even the simplest ones make people smile!


