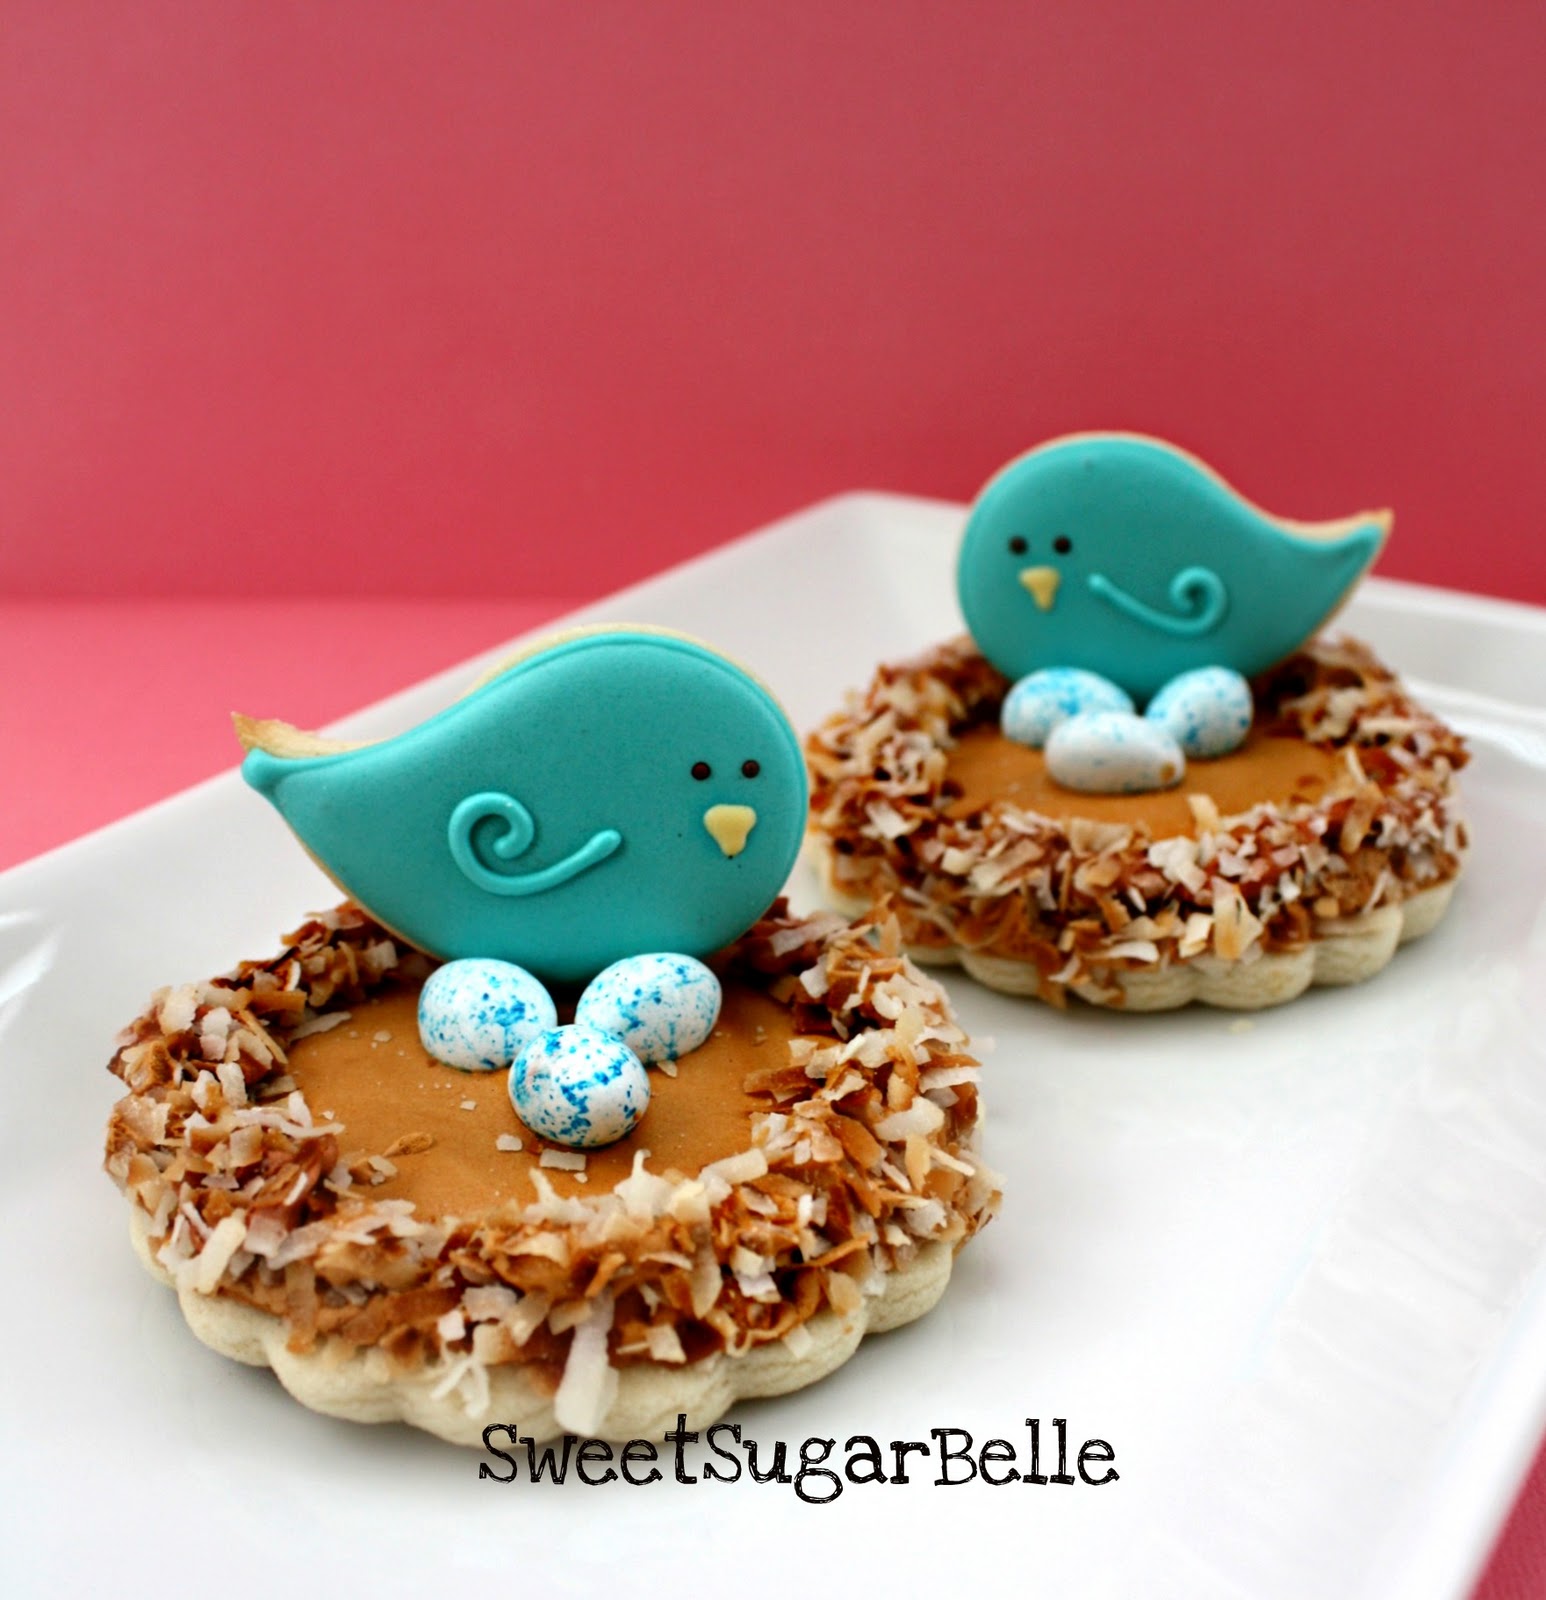
Spring Bird Nest Cookies
I’m thinking Easter and spring cookies are my favorite because that’s about when my brain goes on idea overload.
These nest cookies were a case of an idea that snowballed {wish I could think of a spring-ier term for that} HATCHED =), thanks Brenda!
When I began, I only intended on making nests, but by the time I finished, I had nests, birdies, and little cupcake toppers!
Maybe I need to get out more =)
To begin this project, you will need to either tint or toast some sweetened coconut. To learn how to do this without filling your house with burning acidic smoke, check out this little article on {how-to toast coconut} over at Baking Bites.
Word to the wise…this task requires your 100% attention. It only takes a few minutes, and watching it is far better than smelling your mistake for hours.
I actually did this twice without burning it, which is a miracle!
PS-I did a little experiment for those who might prefer to color it instead. Americolor gold made a very nice color. I think it would look even nicer mixed with warm brown tinted coconut.
When you are ready to begin, you will need various sized round cookies {I chose one, two, and three inch versions}toasted coconut, and some sort of small edible Easter egg candy or jellybeans.
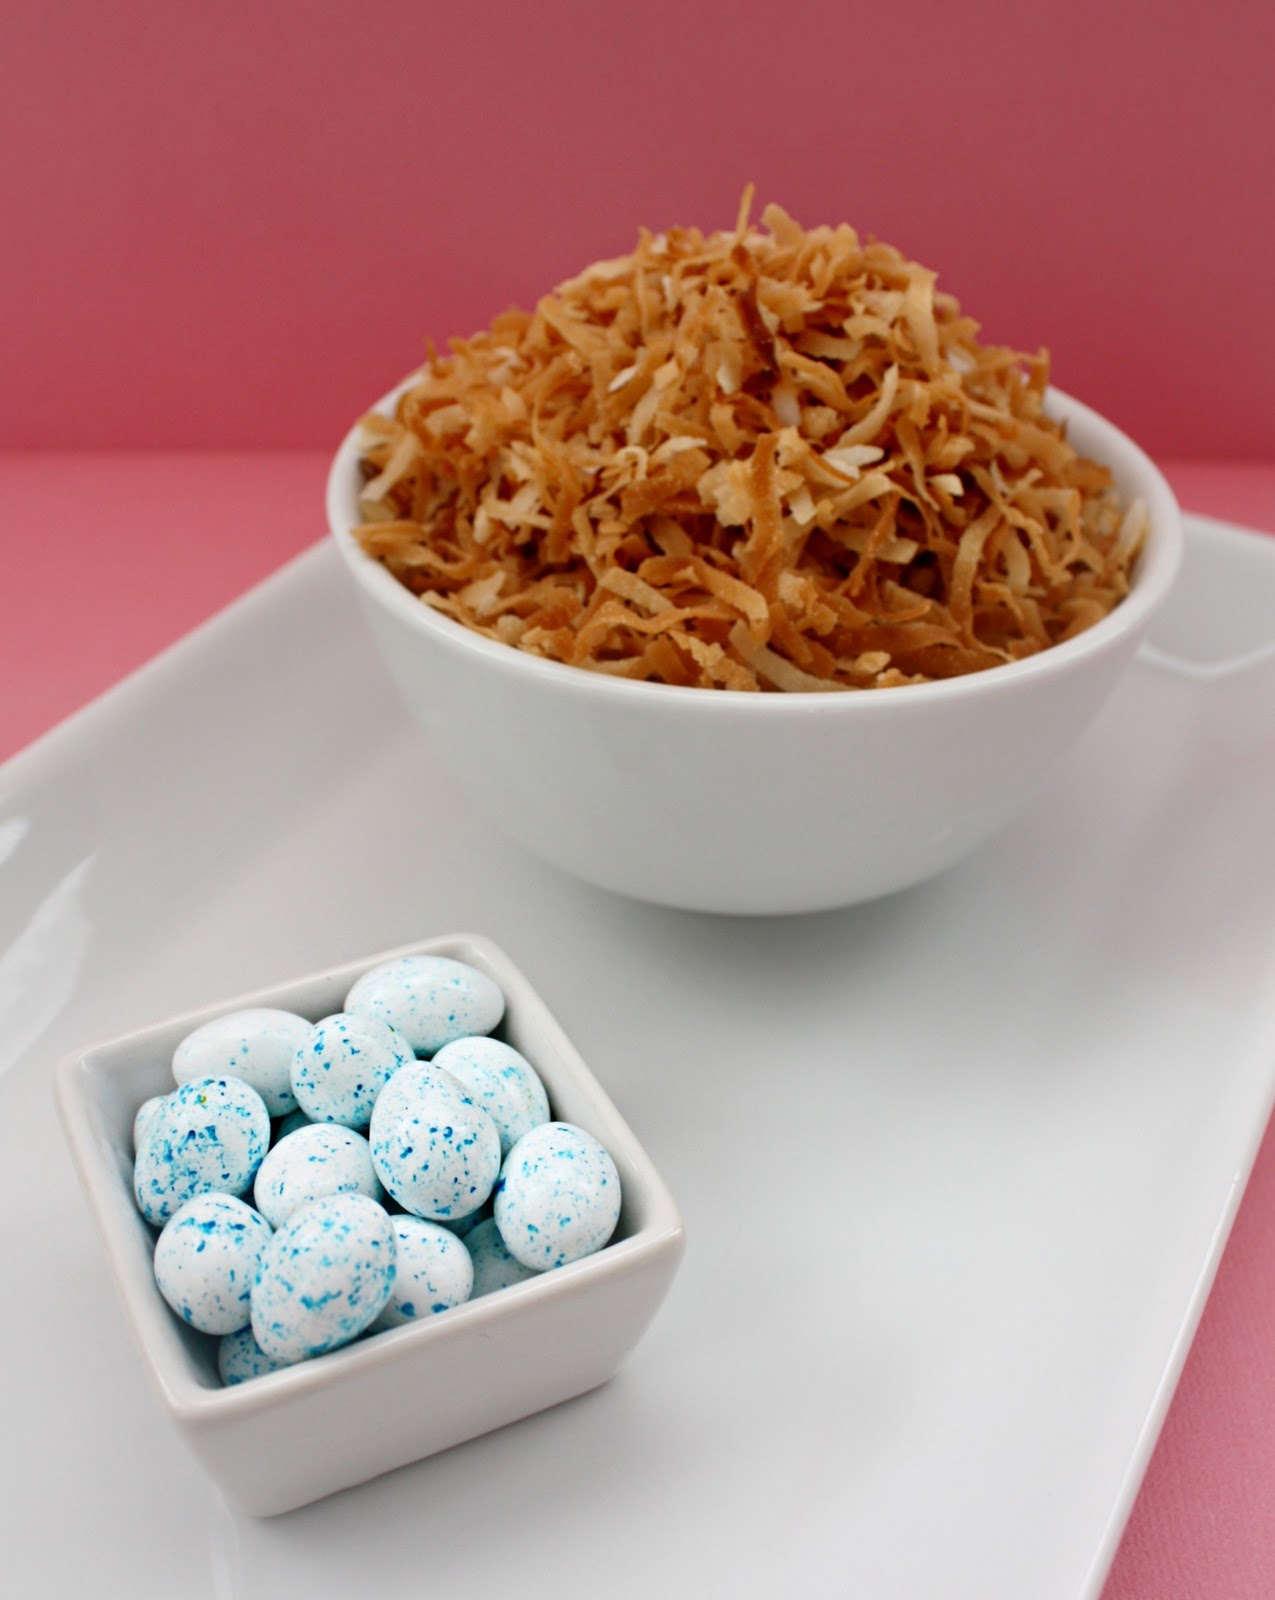
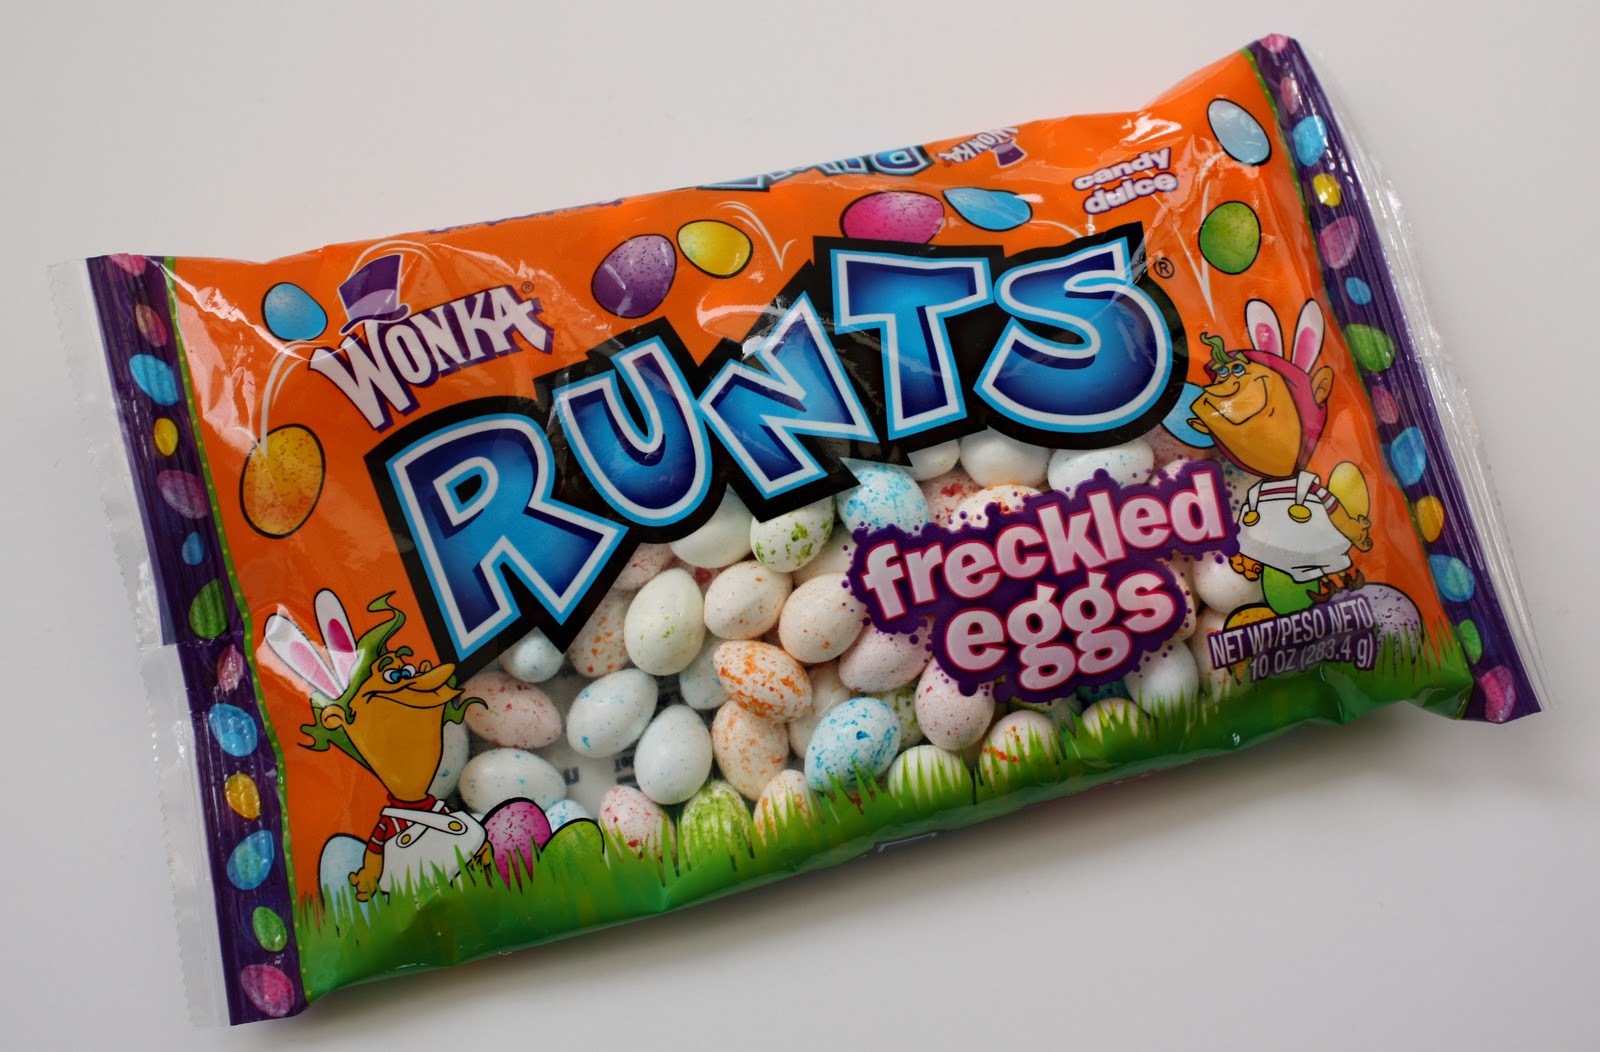
I used Runts because I thought they were the prettiest, and they are my favorite leftover candy to eat. I just picked out the blue ones.
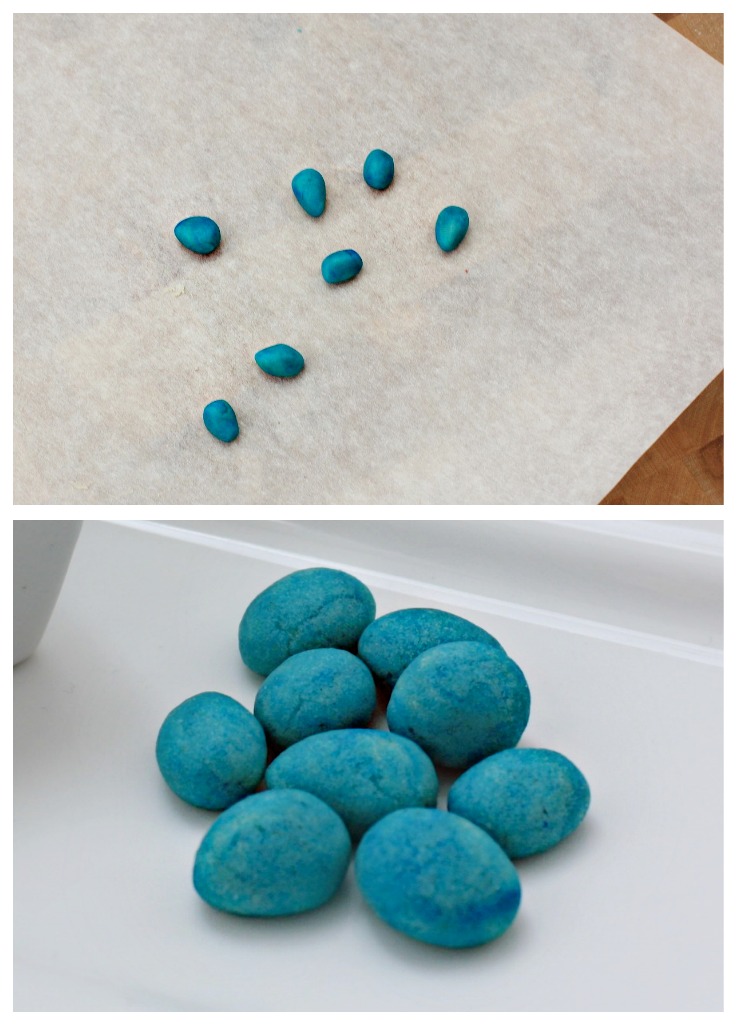
I did make another cool little discovery in the meantime with the help of my little boy, who for two months has been set on making marble cookies{who knows} Anyway,I had some left over colored dough that I was letting him use for this, which gave me this little idea…
COOKIE EGGS!?
I didn’t really plan on using them, but if I had known they would work so well, I’d have spent a little more time shaping them…
They need a little work, but, I was so tickled with the idea, I just wanted to throw it out there…
or you could even use these little pre-made beauties from Fancy Flours {click on the photo to find them}

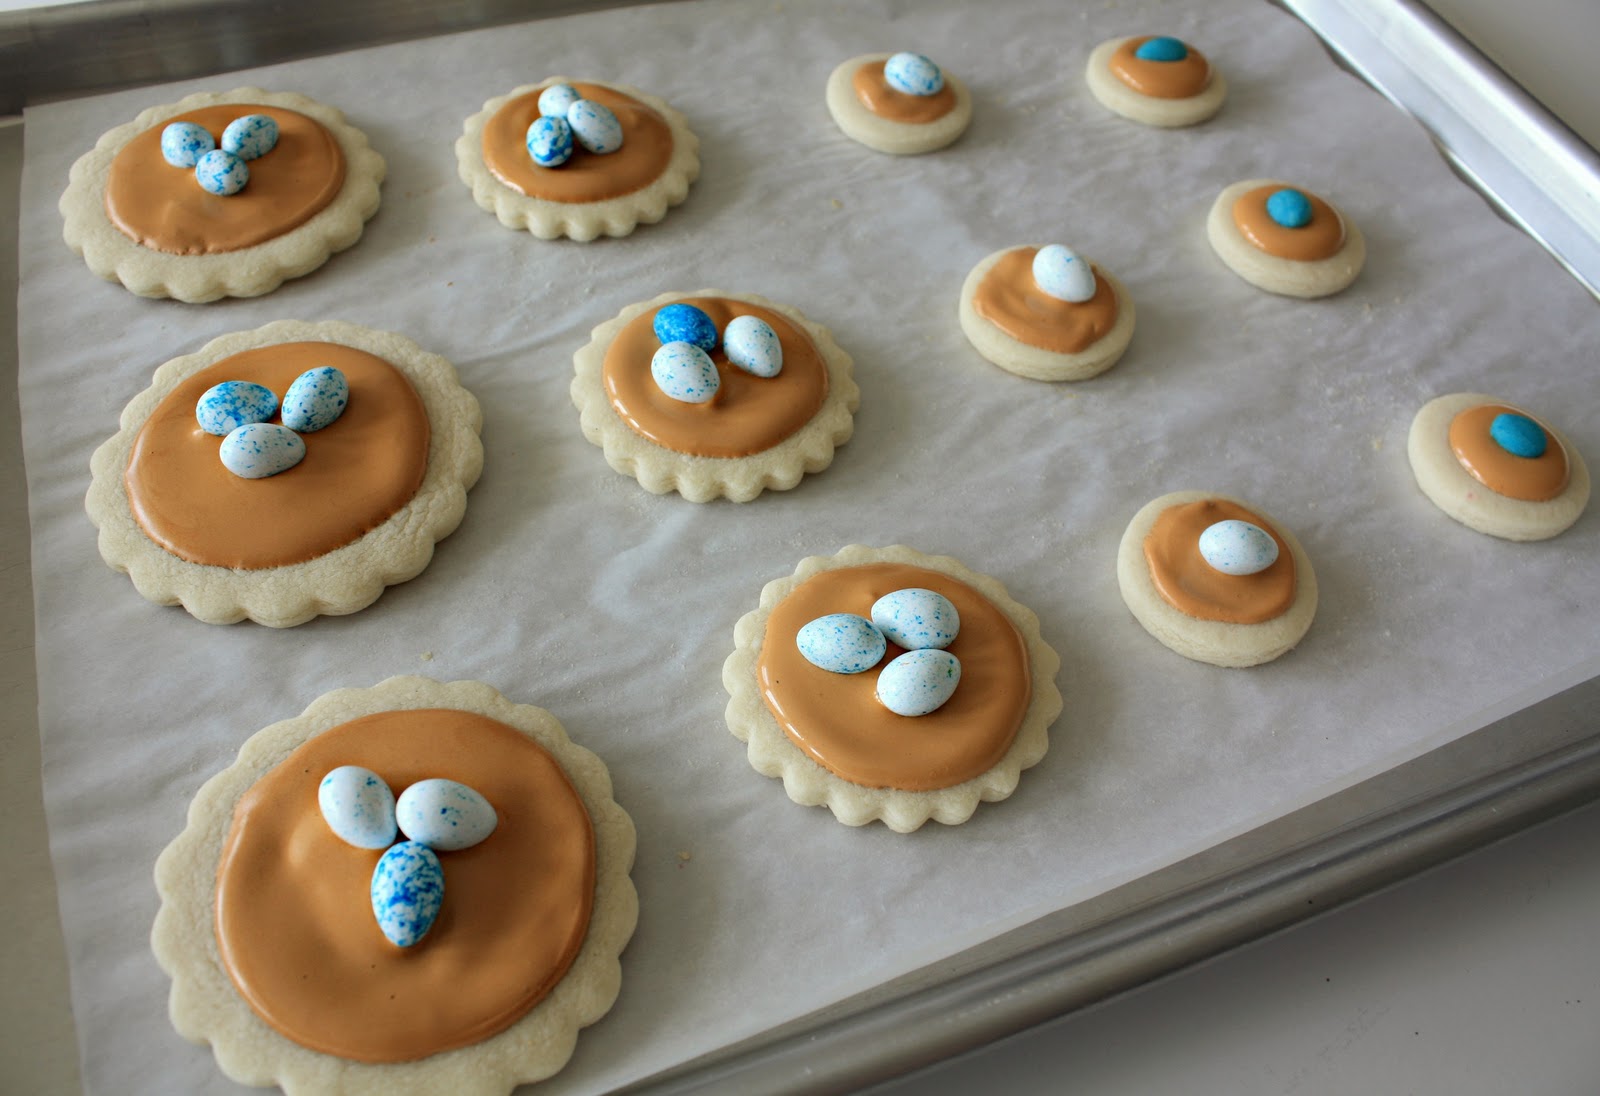
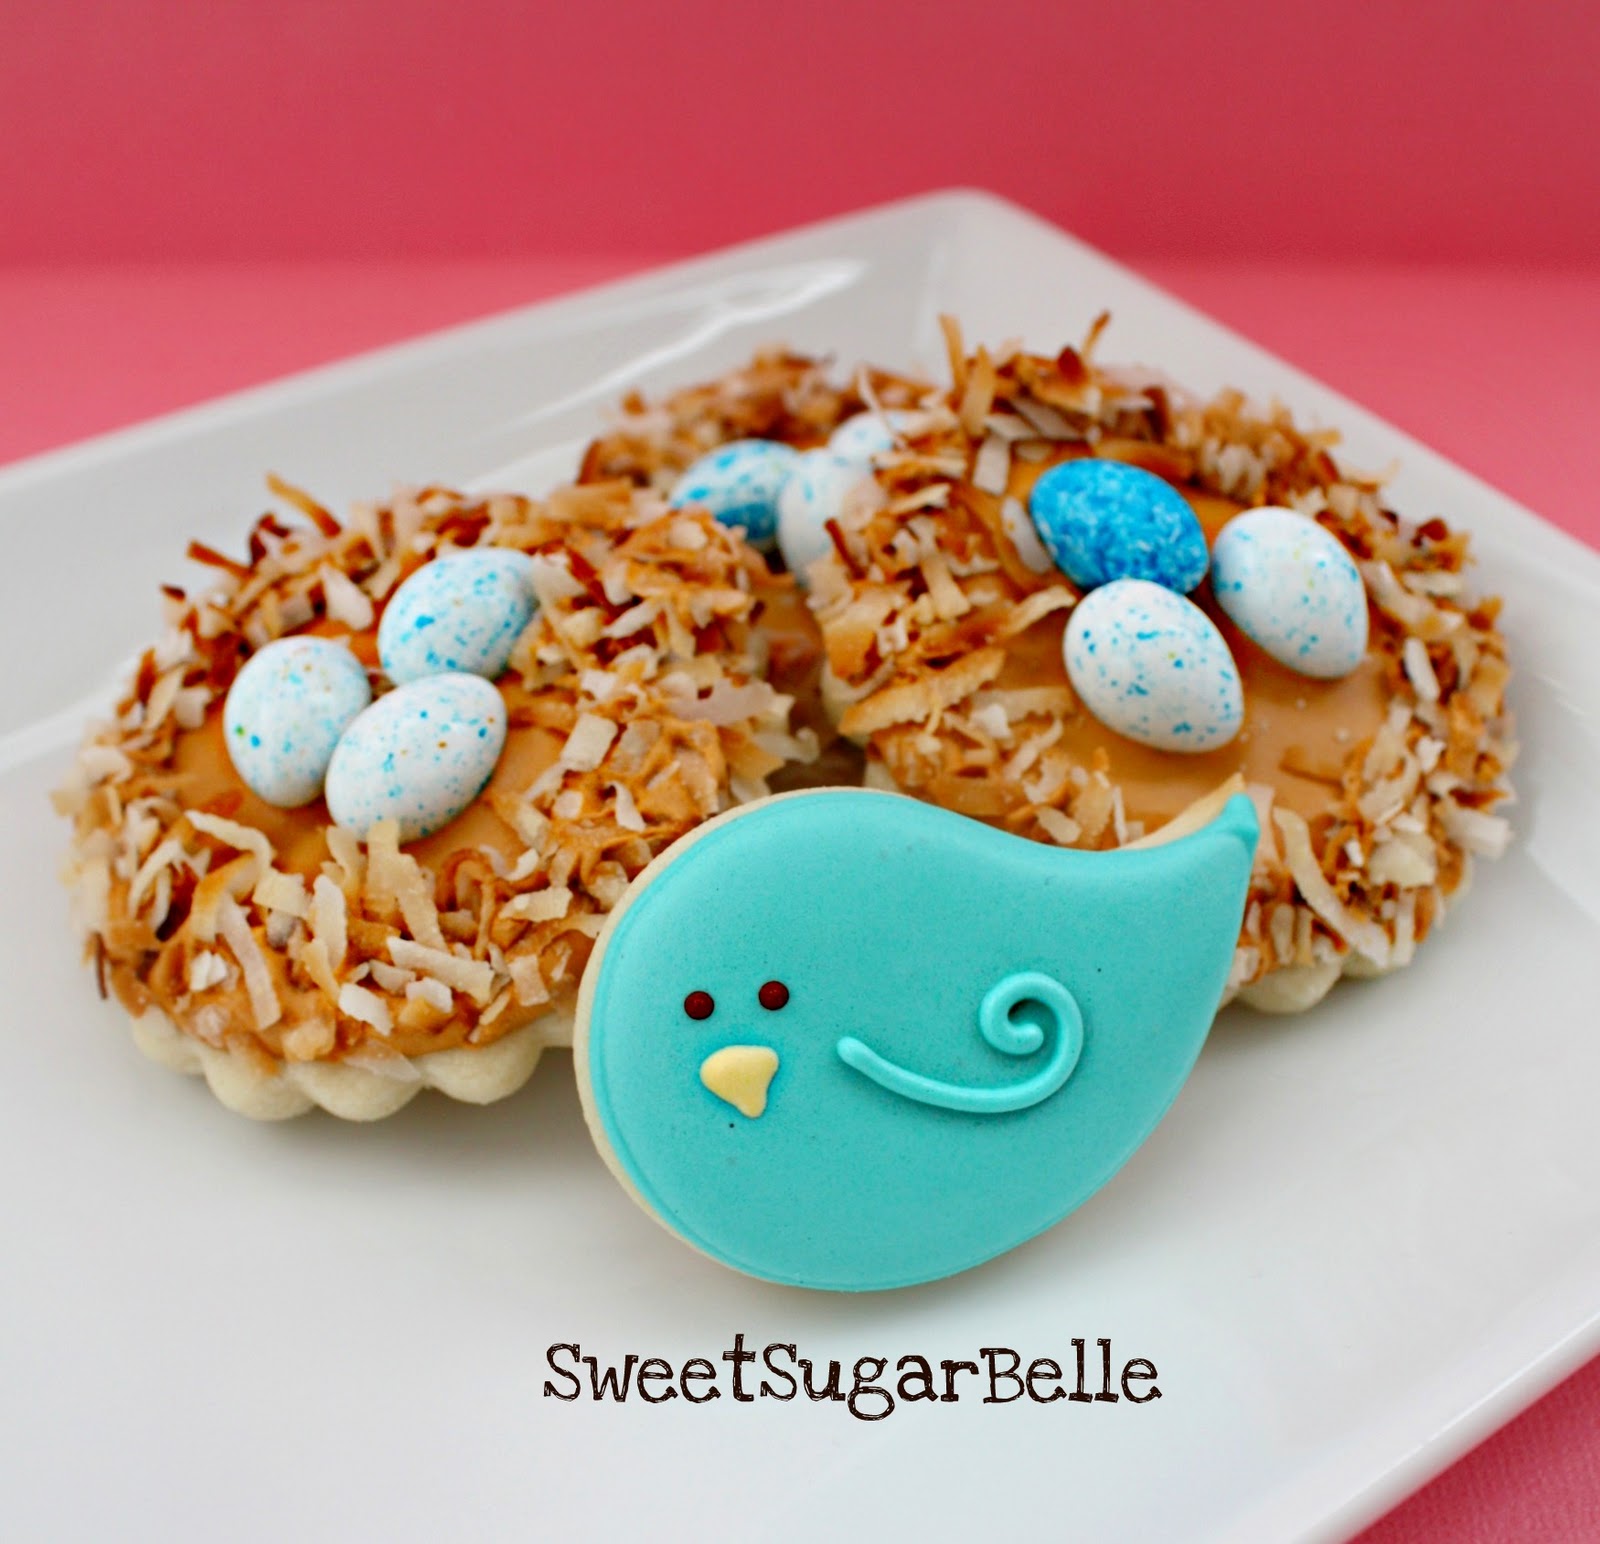
Now, onto the nests. I followed these steps to create the base of the cookie “nest” and added the candy eggs while the icing was still wet.
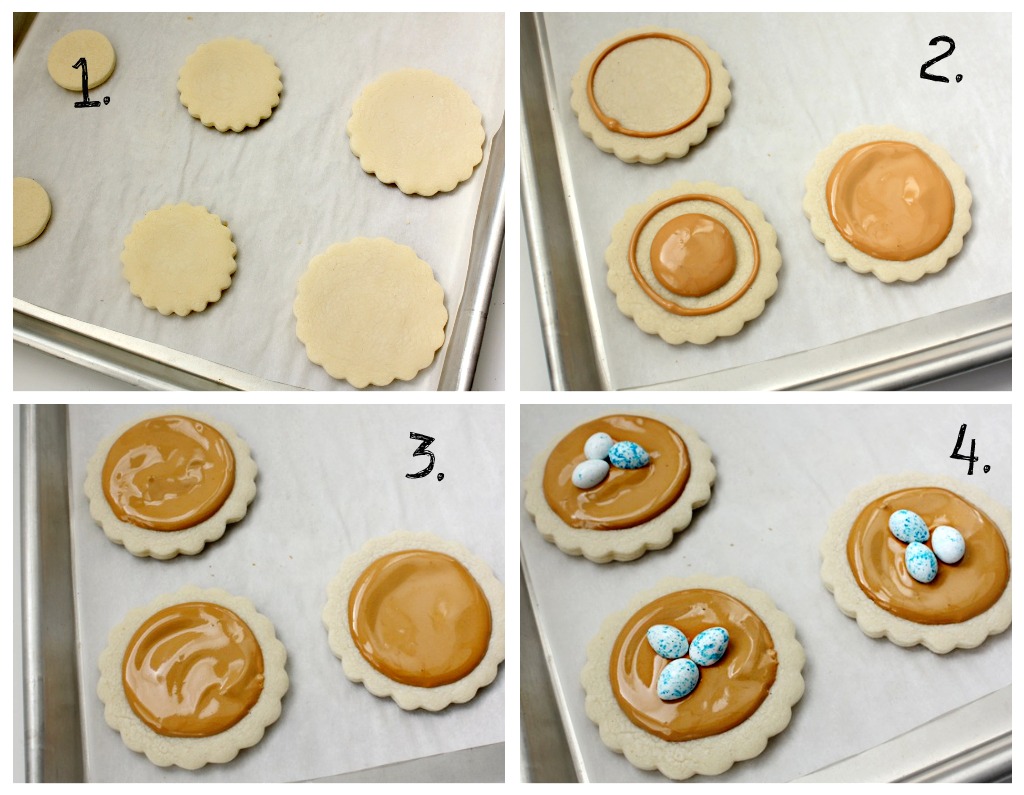
Notice, how I placed the eggs onto the cookie…I did this for a reason. I wanted to create a space to place my birdie cookie between the eggs and the edge of the finished nest. So, keep this in mind as you set the candies.
After this, let them dry completely before moving onto the edges.
Next, I used very thick flood icing {think melted caramel} around the edges as an adhesive for the coconut.
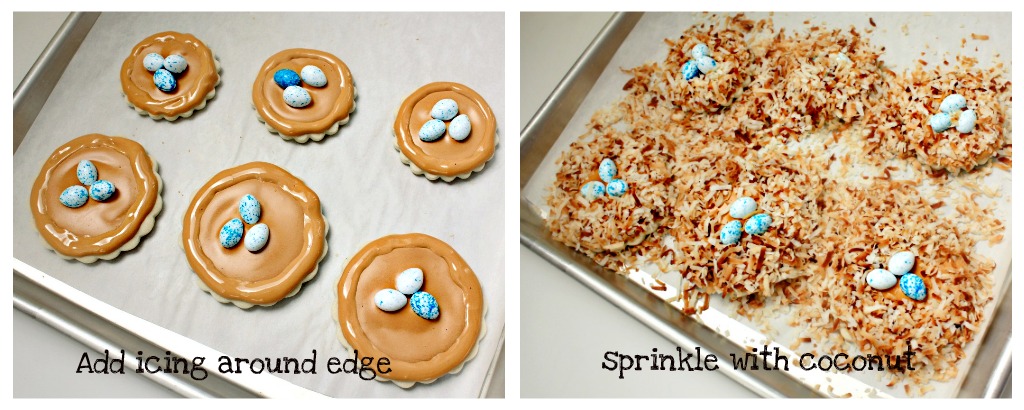
Let them sit for an hour or two, then carefully shake off the excess and you will be left with these.
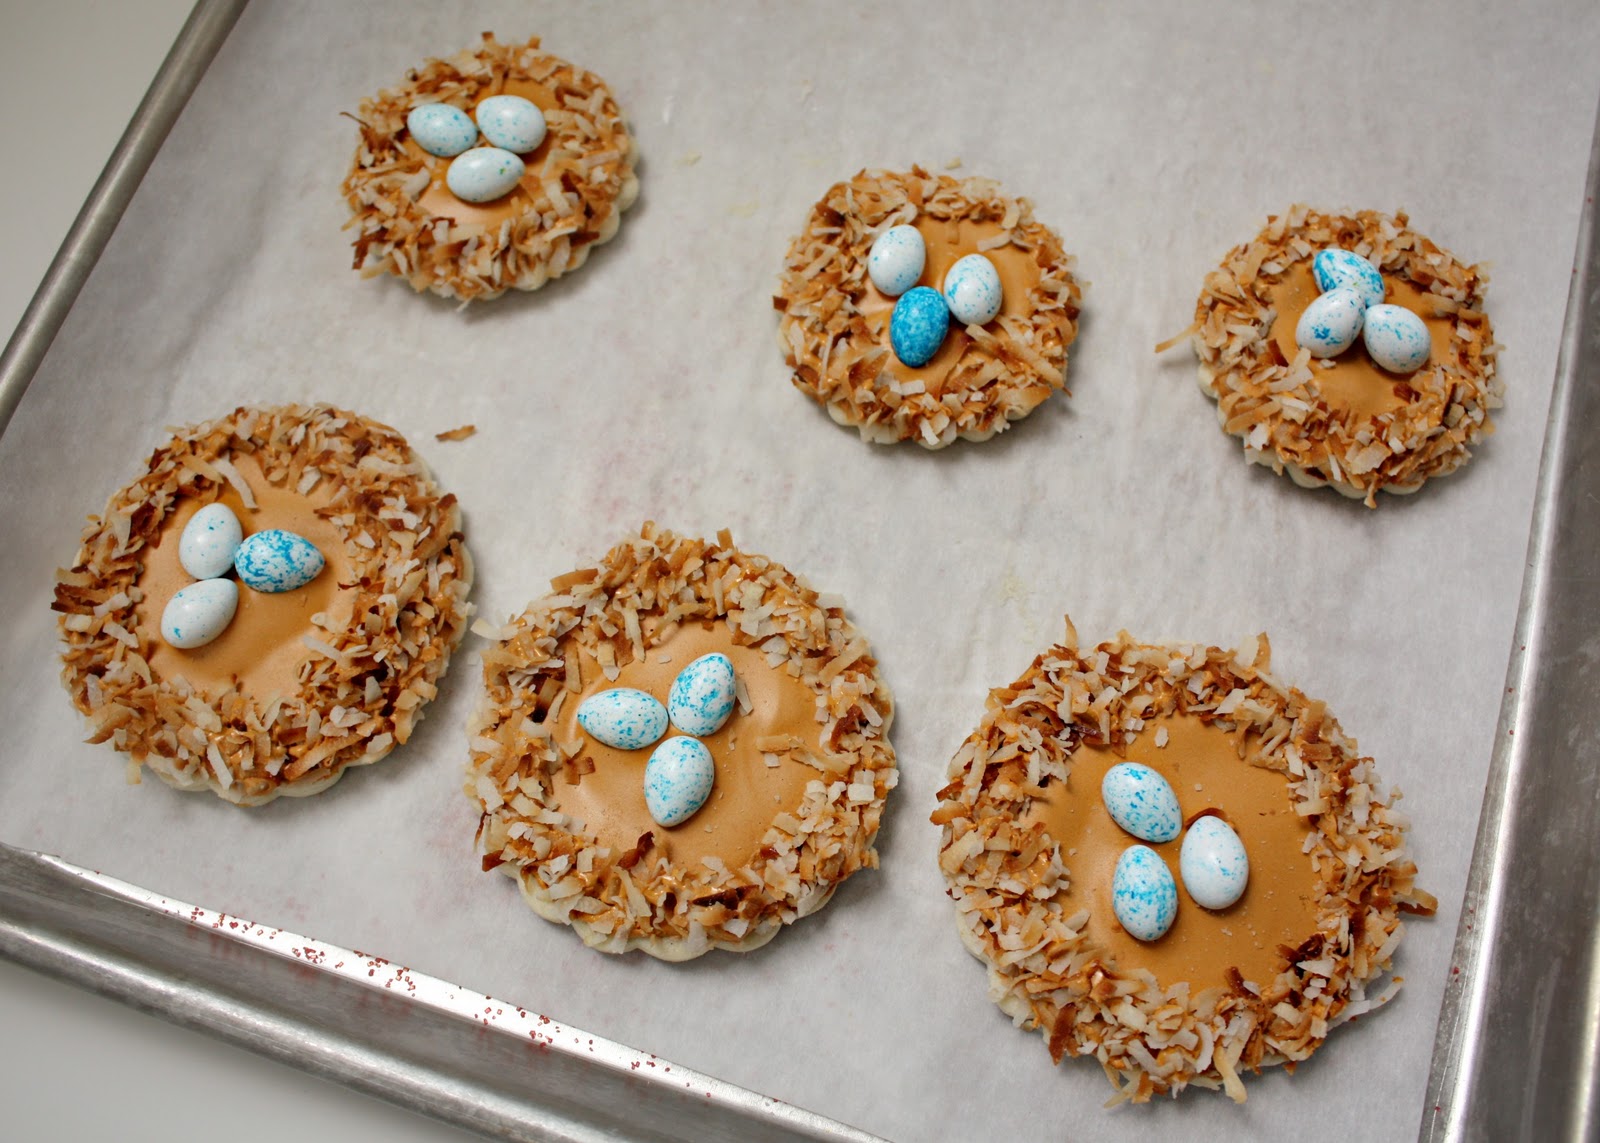
They look adorable accented with simple but pretty birdie cookies.
?
?
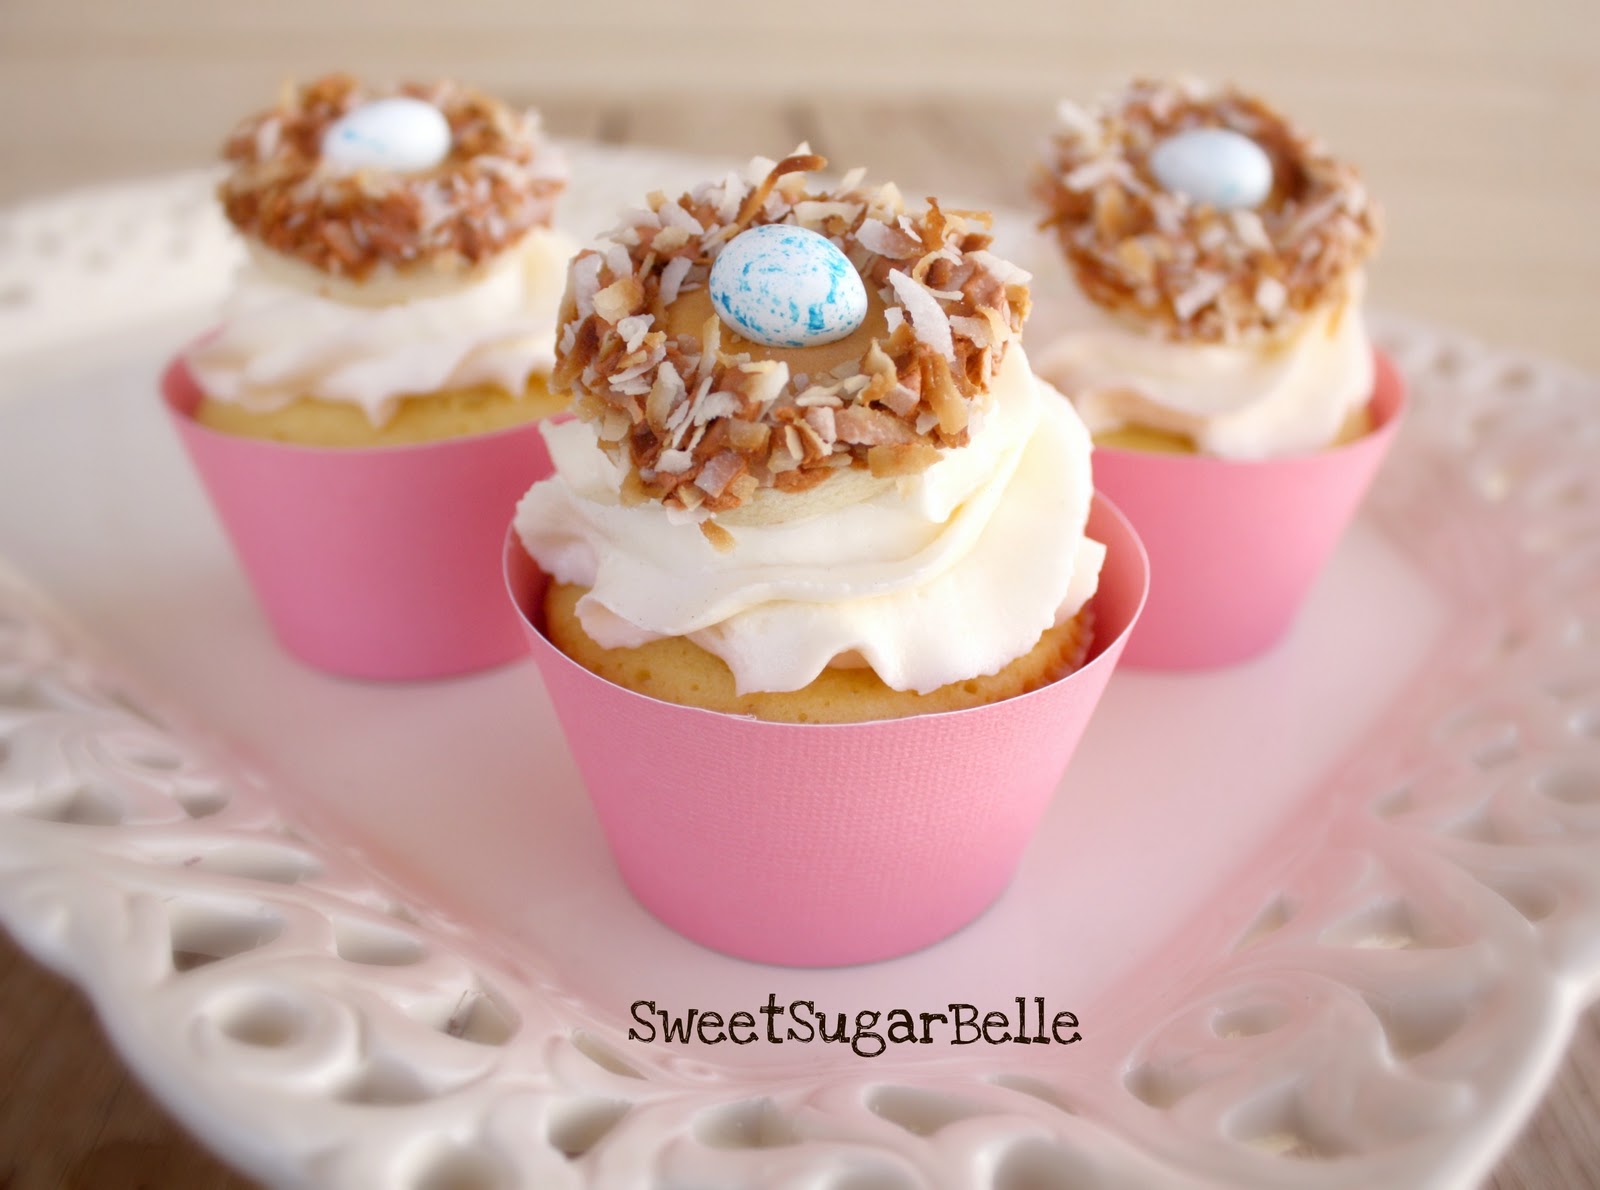
This is the point as which my idea got out of hand…I made different sizes of birdies and nests just for fun, but when I looked at my final cookies and realized I had some really cute mini-cookies, I instantly thought of cupcakes!

One or both would make gorgeous toppers, but, these were my personal fave…
?
If you haven’t noticed, I am a little obsessed with DIY cupcake wrappers. I first discovered these through another blog, Glorious Treats, and I have been hooked ever since.
Not only are they free, they also include a very cool Photoshop tutorial about using them with digital scrapbooking paper.
Now, I am REALLY not that savvy when it comes to Photoshop, BUT, it’s a pretty neat lesson. To check it out, and to get your own wrapper templates, click on the photo below.

No matter what size you make these, you should definitely try them. They are very forgiving {if you can manage not to burn the coconut} and they are easy to personalize!
Happy Monday!


Your birds in a nest look fantastic. I'm sure they would be so popular at a kids party. Well done.
These are wonderful! I have to know, what kind of cookie cutter did you use for the birds?!
Excellent post. I was checking continuously this blog and I’m impressed!
So cute! I love them!! How did you attach the birds to the nests without a giant blob of icing showing?
Pingback: Bird's nest desserts for Easter | Chickabug
Hi Callye! I just love these, both as cookies and as cupcake toppers!! I included the cookie in a round-up on my blog today:
http://www.chickabug.com/blog/2012/03/birds-nest-desserts-for-easter.html
Thank you for the inspiration, as always! : ) Happy Easter!
Very eye catching Easter treat! LOVE them! So, are you not offering the recipes for the sugar cookies and frosting you used? Or am I just missing it?
Pingback: HomeGoods | A Dozen Nature-Inspired Treats to Sweeten Up Your Summer Parties
Pingback: 51 Easter Sweets Made Simple with Tutorials and Recipes