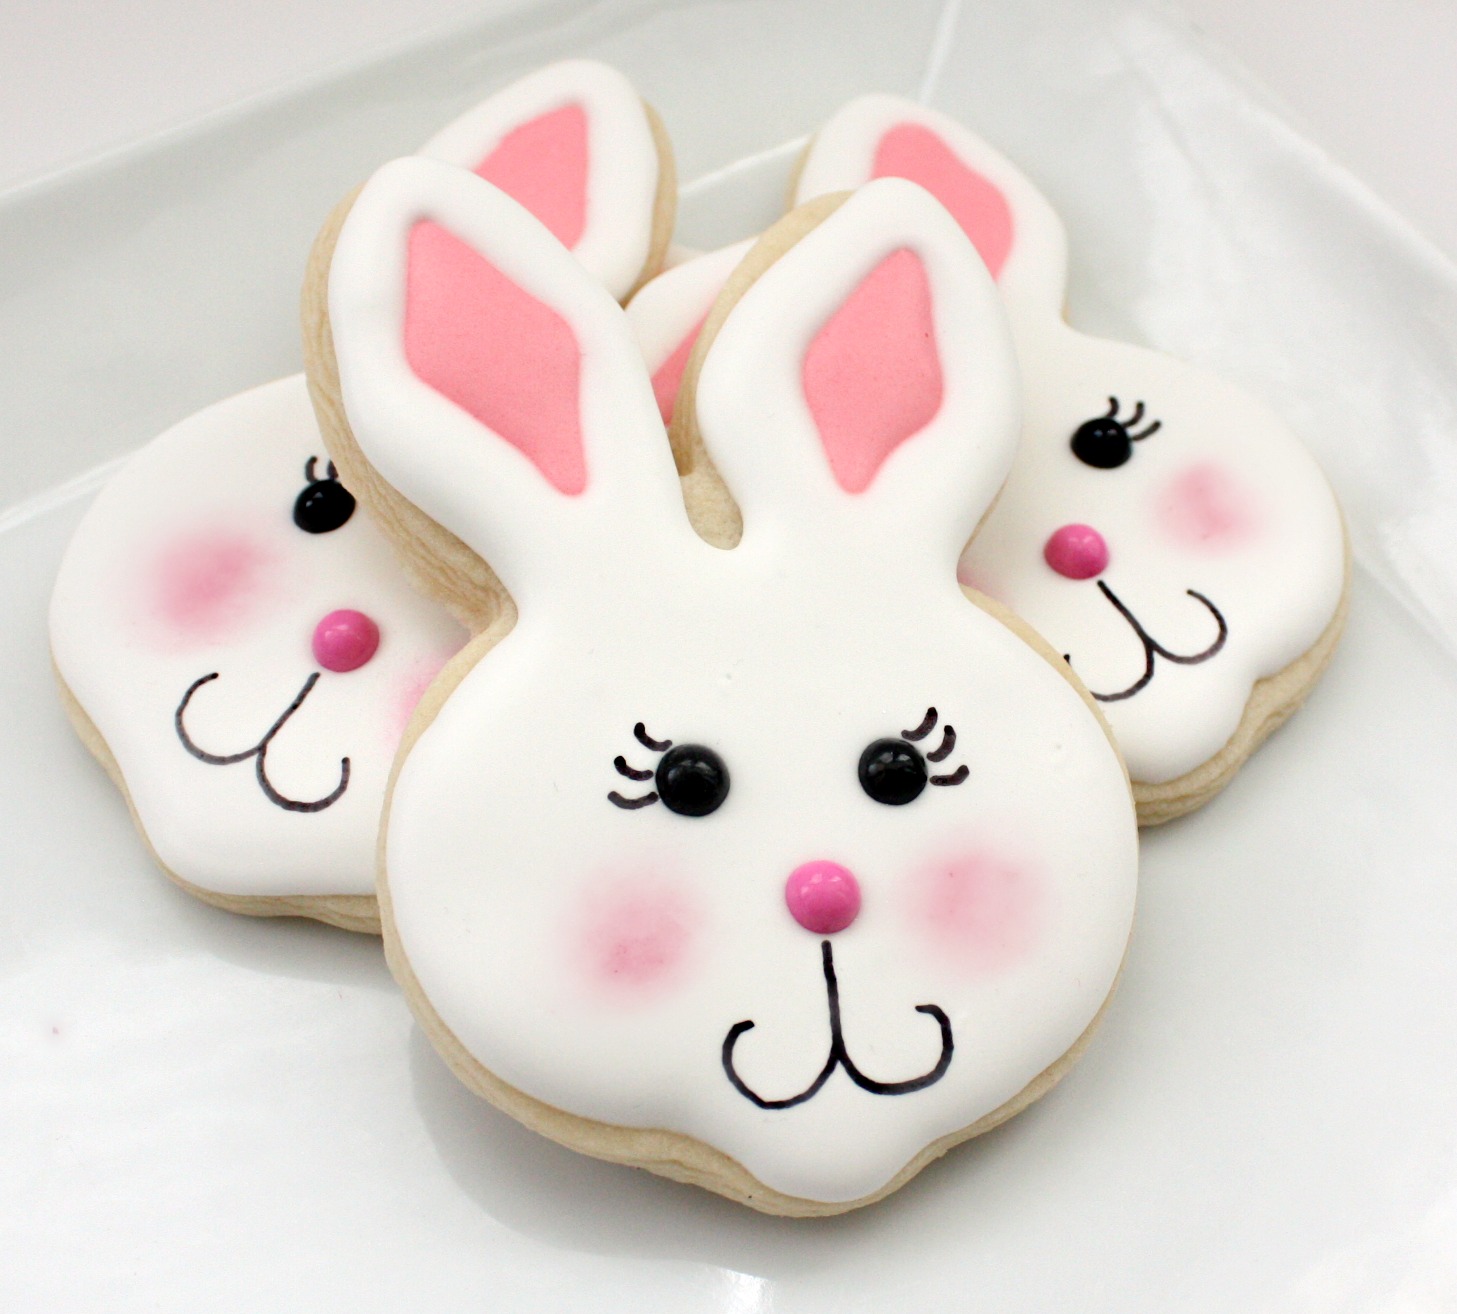
Blushing Bunnies
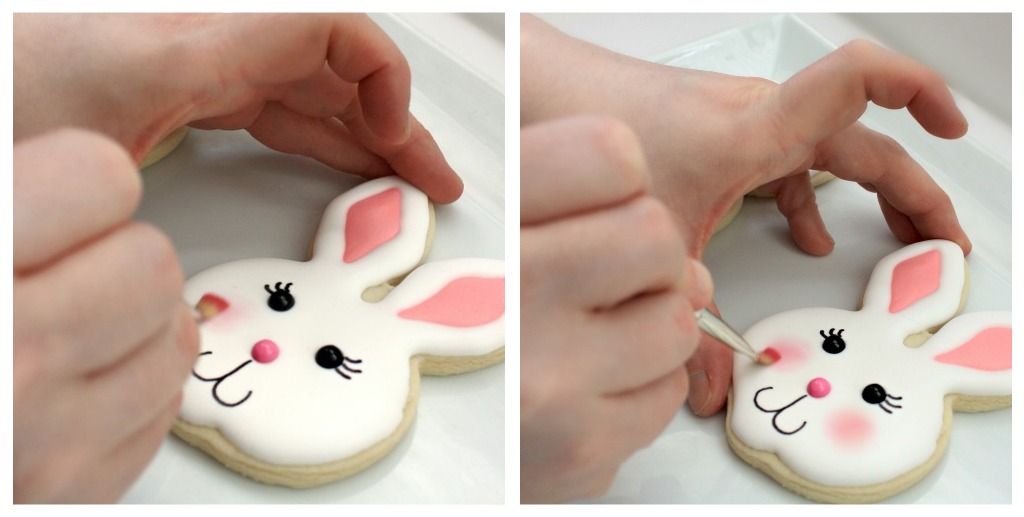
Normally, I’m one to figure things out for myself, whether it be trial and error, or Google-ing it to death. However, this little trick was one of those things that COMPLETELY eluded me.
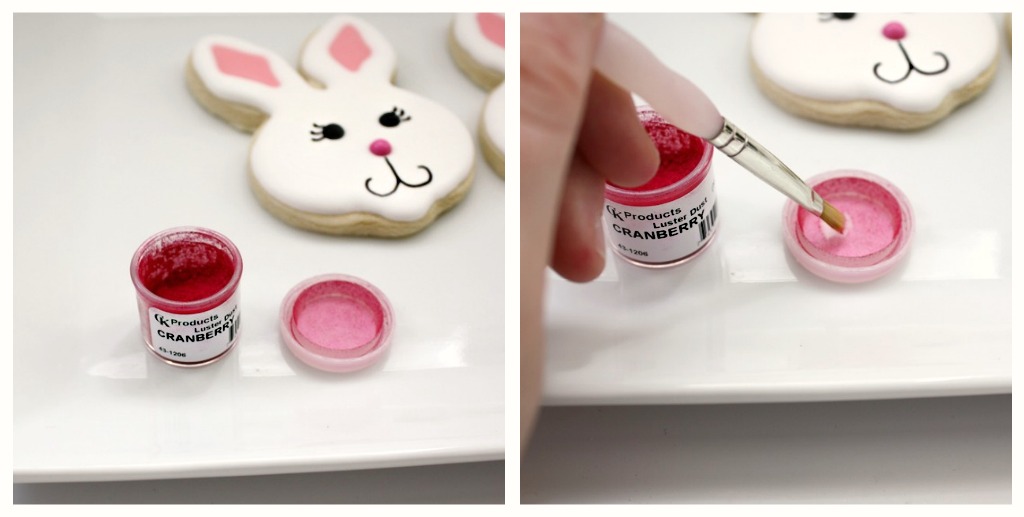
For the life of me, I could NOT figure out HOW everyone was blushing those adorable little cheeks. So, I asked my friend, Fiona, the maker of these cuties, how it was done…
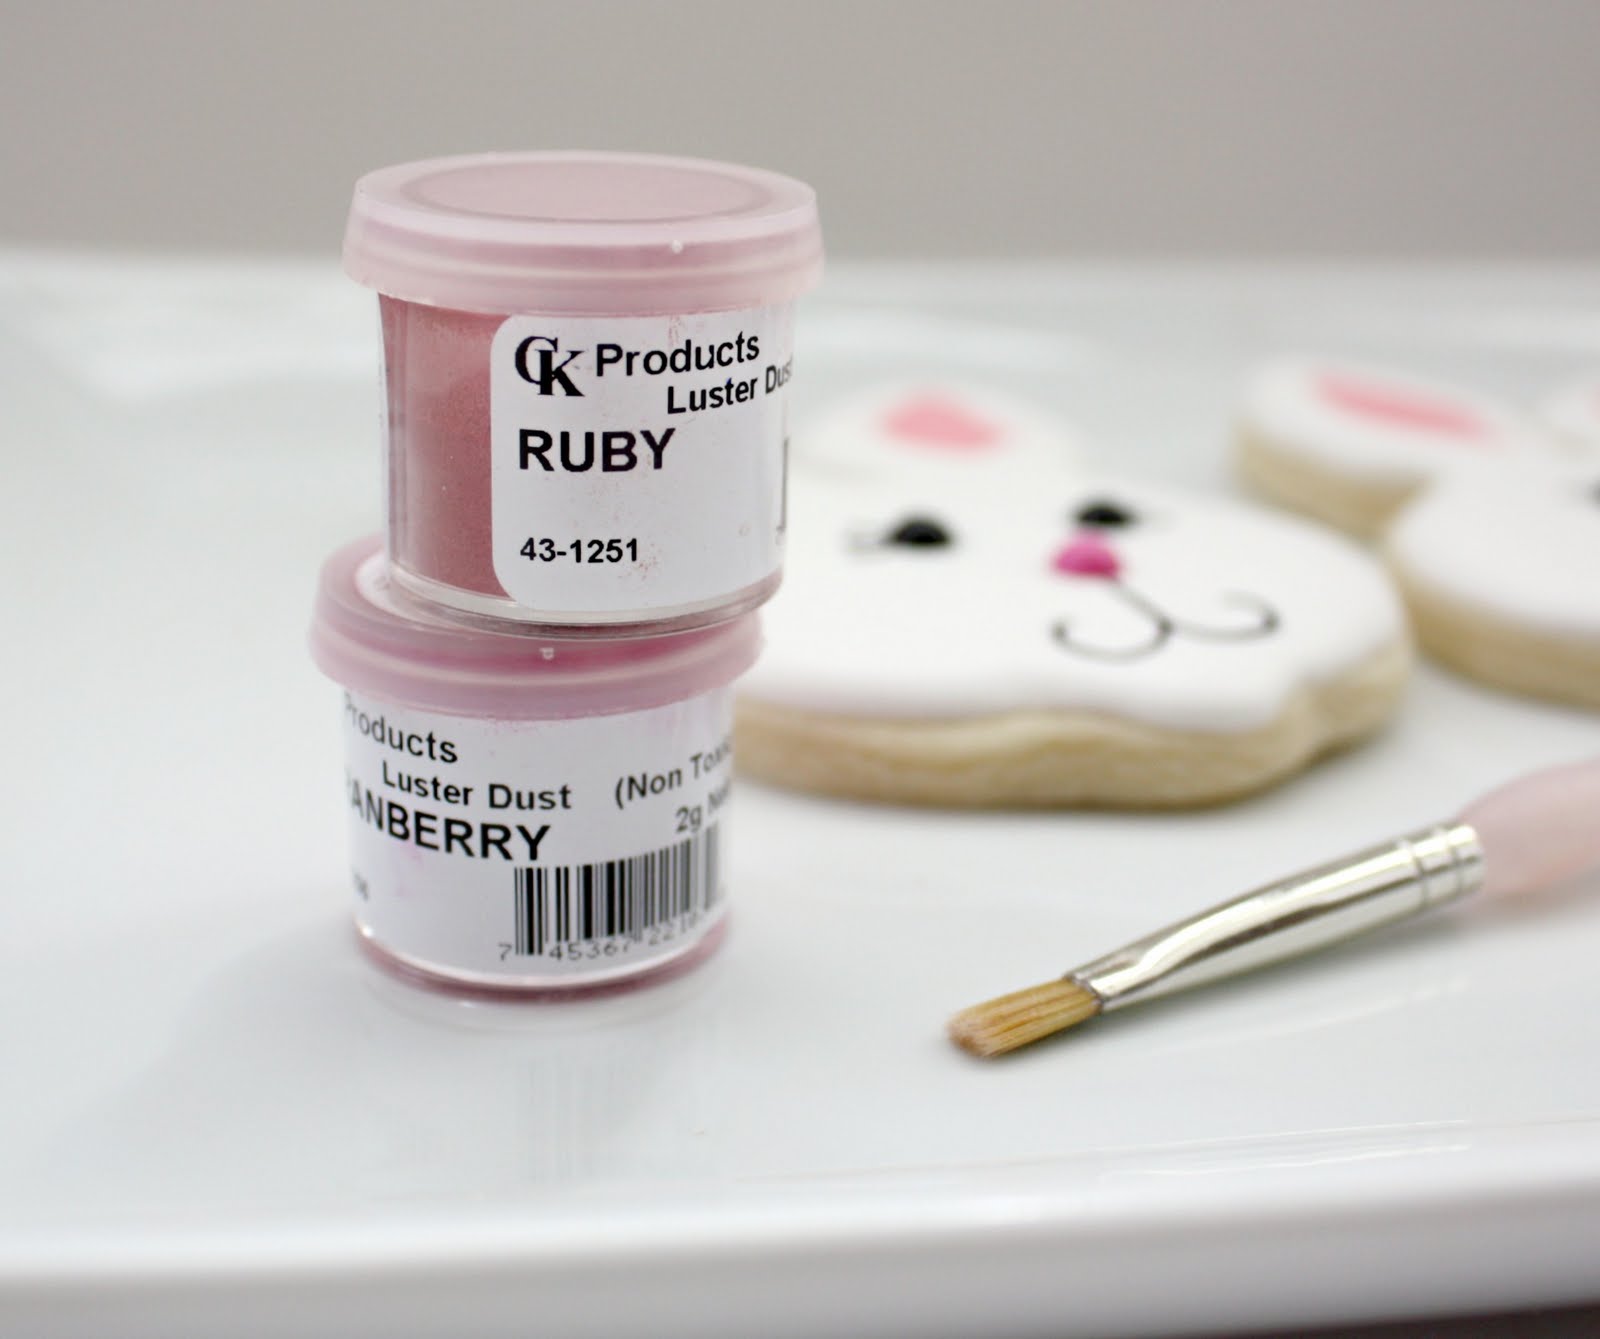
For those of you not familiar with lustre dust, it’s a non-toxic, tasteless, edible powder that can be used to decorate cakes, cookies, candy or anything else to which you would like to add a little sparkle {stole borrowed that definition straight off of Google, BTW}
If you would like to get some, all of my favorite stores, Karen’s Cookies, Fancy Flours, Country Kitchen Sweet Art, Sweet Baking and Candy Making Supply, Global Sugar Art, AND many others carry it =)
It can really be any shade of pink, but I happened to have these on hand, and I chose them for two reasons…one was because the particular project I bought them for required a little more intense of a color, AND, I am not really patient, and I would rather see immediate results…


davvero deliziosi…baci!!!
Pingback: Cute Little Scarecrow Cookies
Pingback: Make Your Cookies SHINE!!!
Never played with lustre dust. Gotta give it a try. This makes it look super easy and alot less messy than disco dust!
Pingback: Get Well Soon Cookies
Pingback: Elf Cookies with any Elf Face Cutter - The Bearfoot Baker
Thank you, I use the dust all the time, but never thought to use it like this…thank you again, and you are correct, you are the only one I could find to explain this on google?