Angry Birds Cookies Part 1 {Pig}
Since Easter is about to come and go, if you haven’t snagged these from Target, you better do it quick. Besides being cute Easter cutters, I also used the bunny to make the first cookie in my Angry Birds collection.

If you don’t already know what Angry Birds is, don’t feel bad. Neither did I until my seven year old son enlightened me. Long story short, it’s a cell phone game where killer birds are on a mission to destroy little green pigs hiding in random structures…
Okay, maybe that makes the game sound a little violent, but in reality, it’s very cute and from what I hear, VERY addictive.
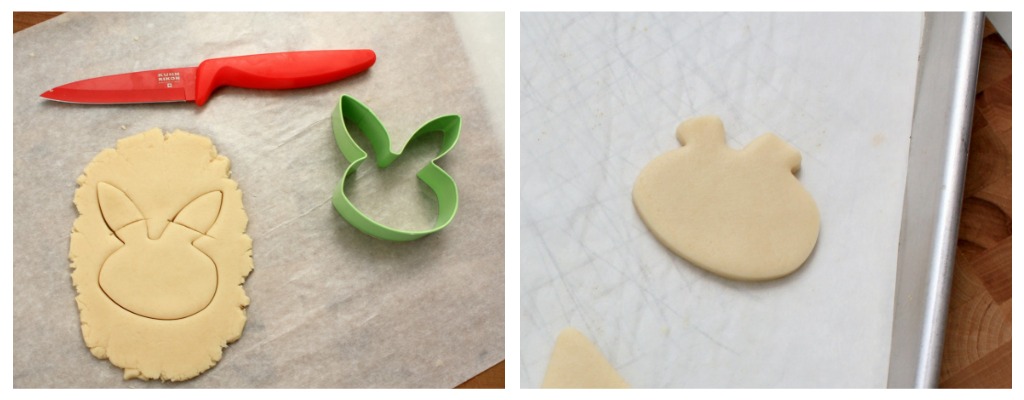
To make the Angry Bird Pig I used the bunny cutter from my Target Easter set, and trimmed him up a little.
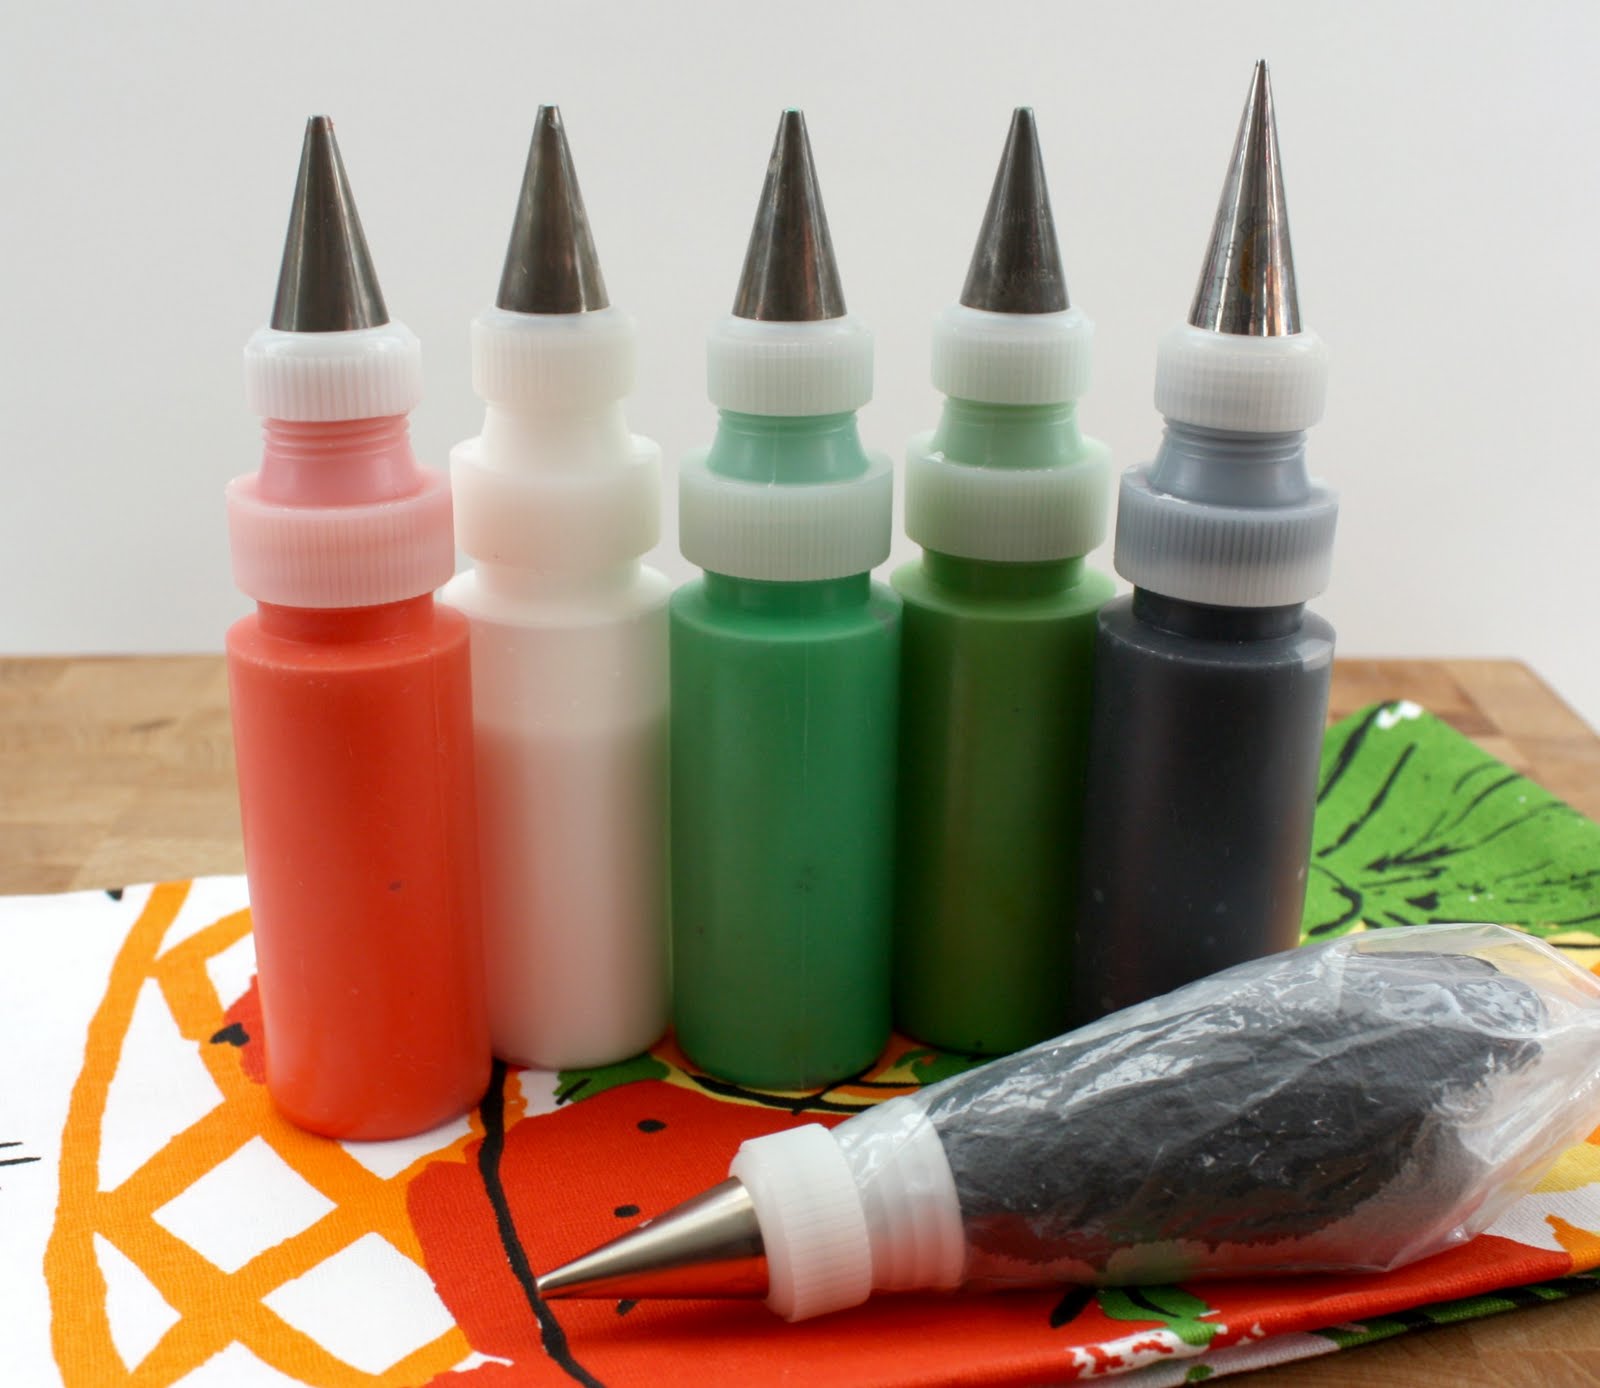
After allowing my cookie to completely cool, I prepared my icing. For this I needed:
-
black icing for piping outline
-
red, white, lime green, leaf green and black flood icing
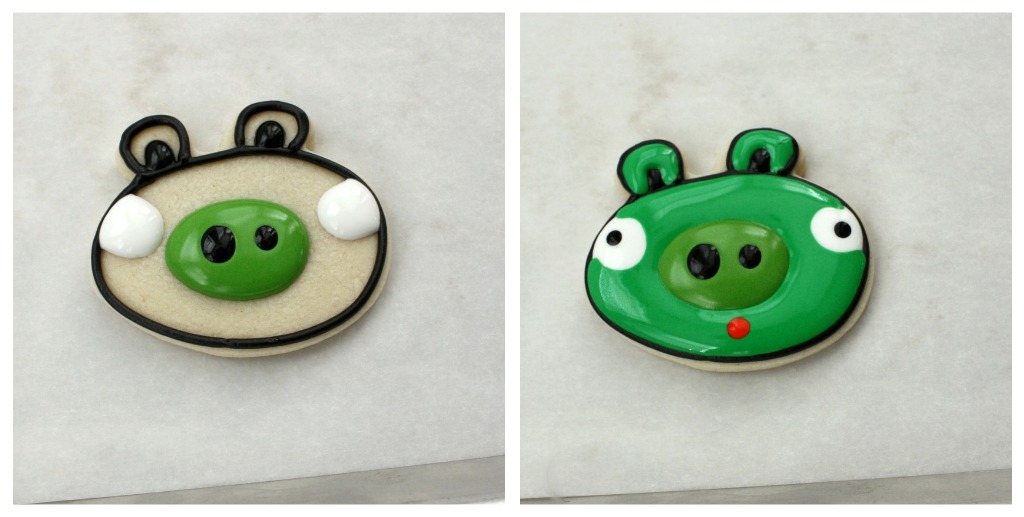
To begin, outline the cookie as shown. Then, using light green flood icing, add the snout and use black for the insides of the ears.?

Let the first steps set for about five minutes, then using black flood icing, quickly add eyeballs, and nostrils. If you are worried about bleeding, skip the black areas and add them LATER after the cookie is completely dry?.
To finish up the flooding steps, fill in the remaining areas with leaf green flood icing, and add a small drop of red for a mouth. Let dry overnight.
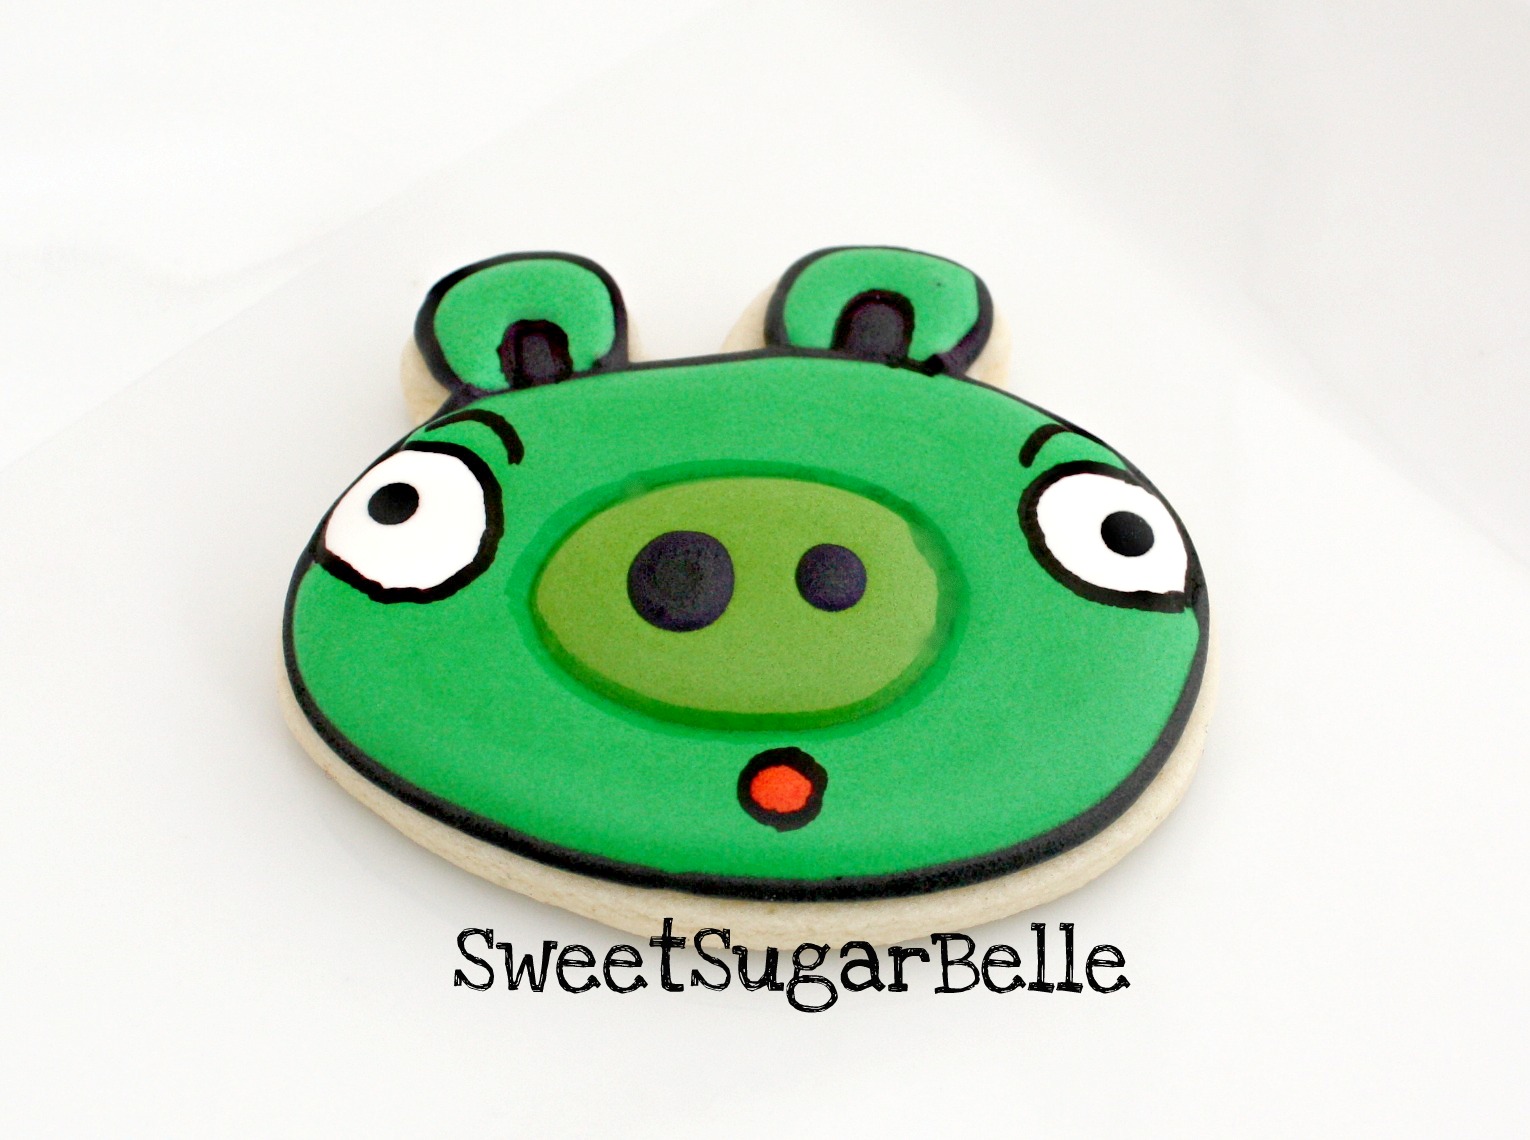
To finish up Mr. Pig, use food color markers to add the final details.
I outlined his eyes and mouth, and went around his snout with green, although it was okay without it {I tend to get a little hung up on details like that}
When you are finished, you will have this little guy…
Easter will be here tommorrow! I hope everyone is safe
and spending time with the people they love the most!
and spending time with the people they love the most!


You have so many great ideas! I love this pig your little details make the difference!!
What an adorable collection! I will absolutely HAVE to make these for my almost-4-year-old son’s birthday; he is obsessed with Angry Birds and is constantly draining the battery on my Android playing the game. I’m fairly new to cookie decorating, so maybe this is a dumb question, but what made you decide to outline the eyes in marker, rather than piping in black before filling the whites of the eyes?
What are the tip numbers do you use for each color? Also where can you get the bottles to store the icing? I love these and want to make them for my nephews!
Thank you so much for posting this tutorial. Because of your suggestions, I used a gift cookie cutter for my Angry Birds pig. With a little bending, it looks pretty close to the Angry Birds pig on the game. And it saved me from having to try to find a pig. I love your site. I scrolled around all over the place the day I found you.
I am sure my cookies won’t be as beautiful as yours are, but my kids haven’t seen your pictures, so I think they will be happy with these party favors. 😉
Pingback: 5 DIY Angry Birds-Inspired Crafts For The Upcoming Holidays | My Blog
Pingback: 5 DIY Angry Birds-Inspired Crafts For The Upcoming Holidays
This is so awesome!
Pingback: Snowball Fight Angry Bird Style
Dumb question.. The flood icing where can I purchase that? Is it a special icing used for cookies? Also where can I get the bottles and tips u used? Thanks for the help!
Pingback: Angry Bird Cookie Cutters | Sweet Hope Cookies
Nuce excellent work u have done can u make others like Mario and friends hello kitty and friends or SpongeBob and friends
Pingback: Fiesta Friday - Angry Birds, Why Are You Angry? - Revel and Glitter