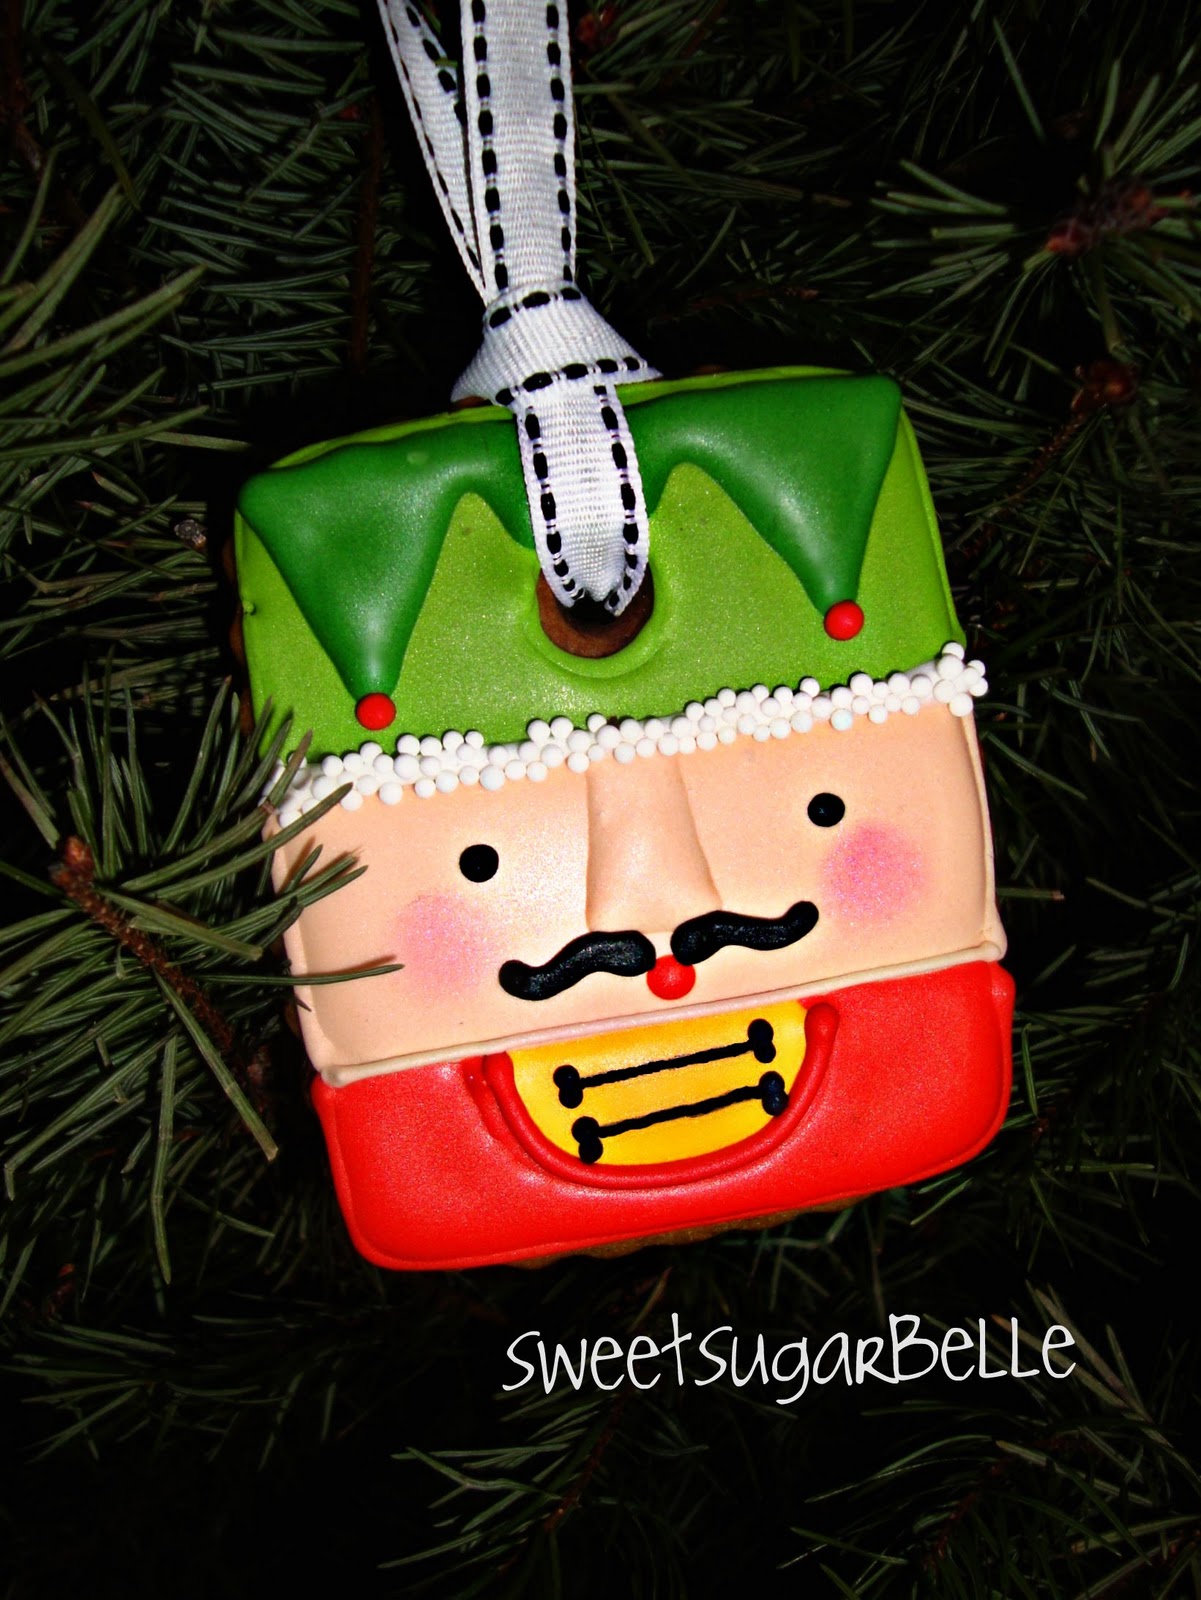
Cookie Ornament How-To {Part2}

To begin, outline and flood your cookies. When filling, fill the middle section in first, let it dry 20-30 minutes, then come back and do the ends (red and green). This way, your sections don’t run over and bleed into one another.
To add the fringe on his hat, use honey consistency flood icing to outline and then fill on top of the first layer of icing. To prevent sinkholes, let the bottom layer dry a few hours before moving on to this step.
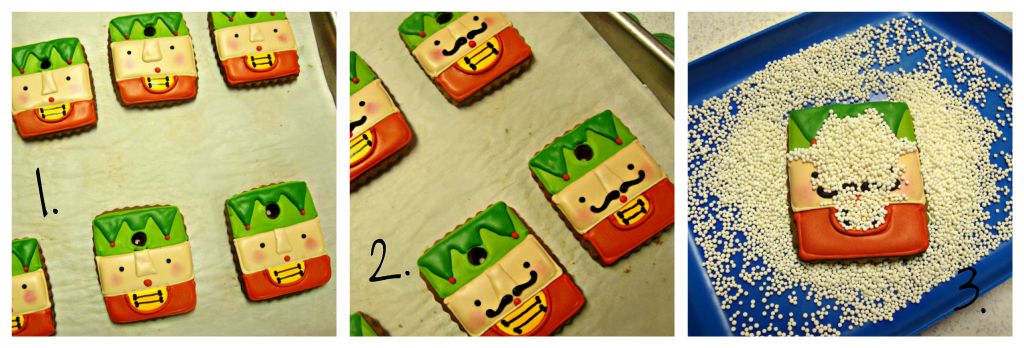
The bottom layer of the ornament will need to dry completely before moving on to the next steps. When it’s dry, add the pom poms to his hat, then add his nose, mouth, and buttons . Using luster dust, blush the cheeks. It’s important to do this before adding his moustache, otherwise you won’t be able to. To complete the decorating step , pipe a line of icing between his face and hat and sprinkle with nonpareils, to give the appearance of a furry band around his hat.
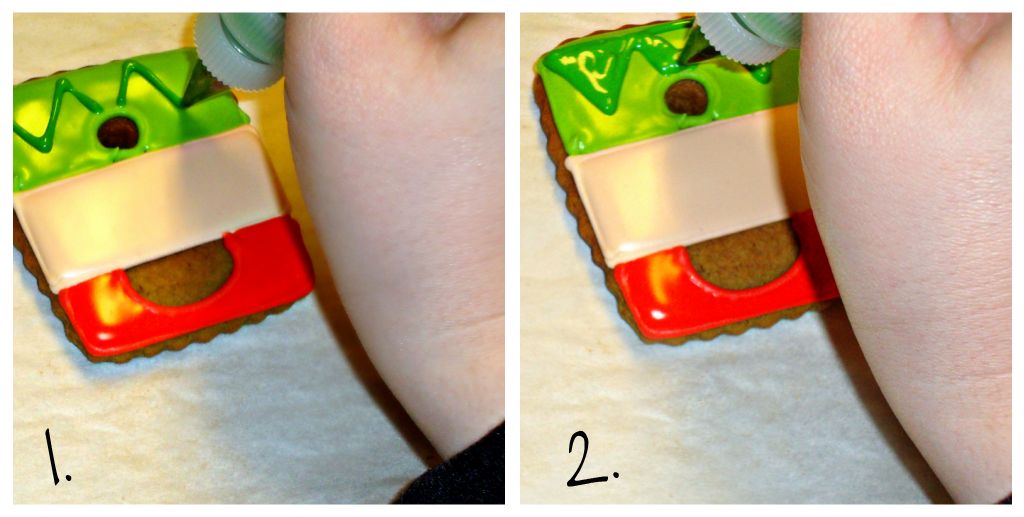
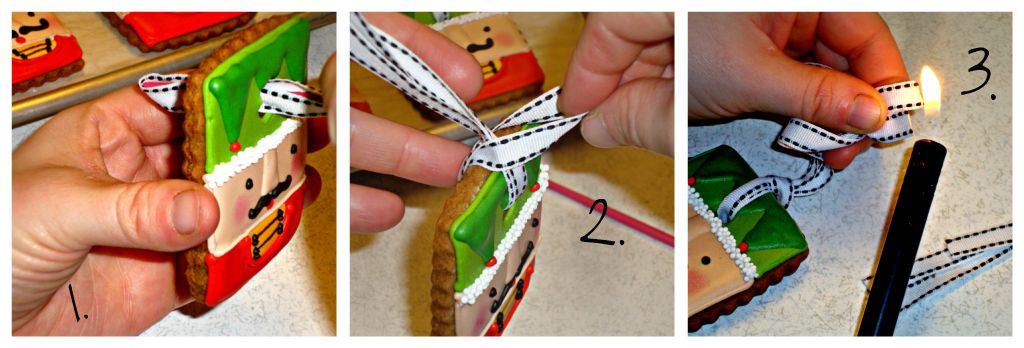
To construct the ornaments, it works best to set up a mini-workstation. You will need coordinating ribbon, a yardstick, a paintbrush for inserting the ornament tie and a lighter to melt the ends of the ribbon.
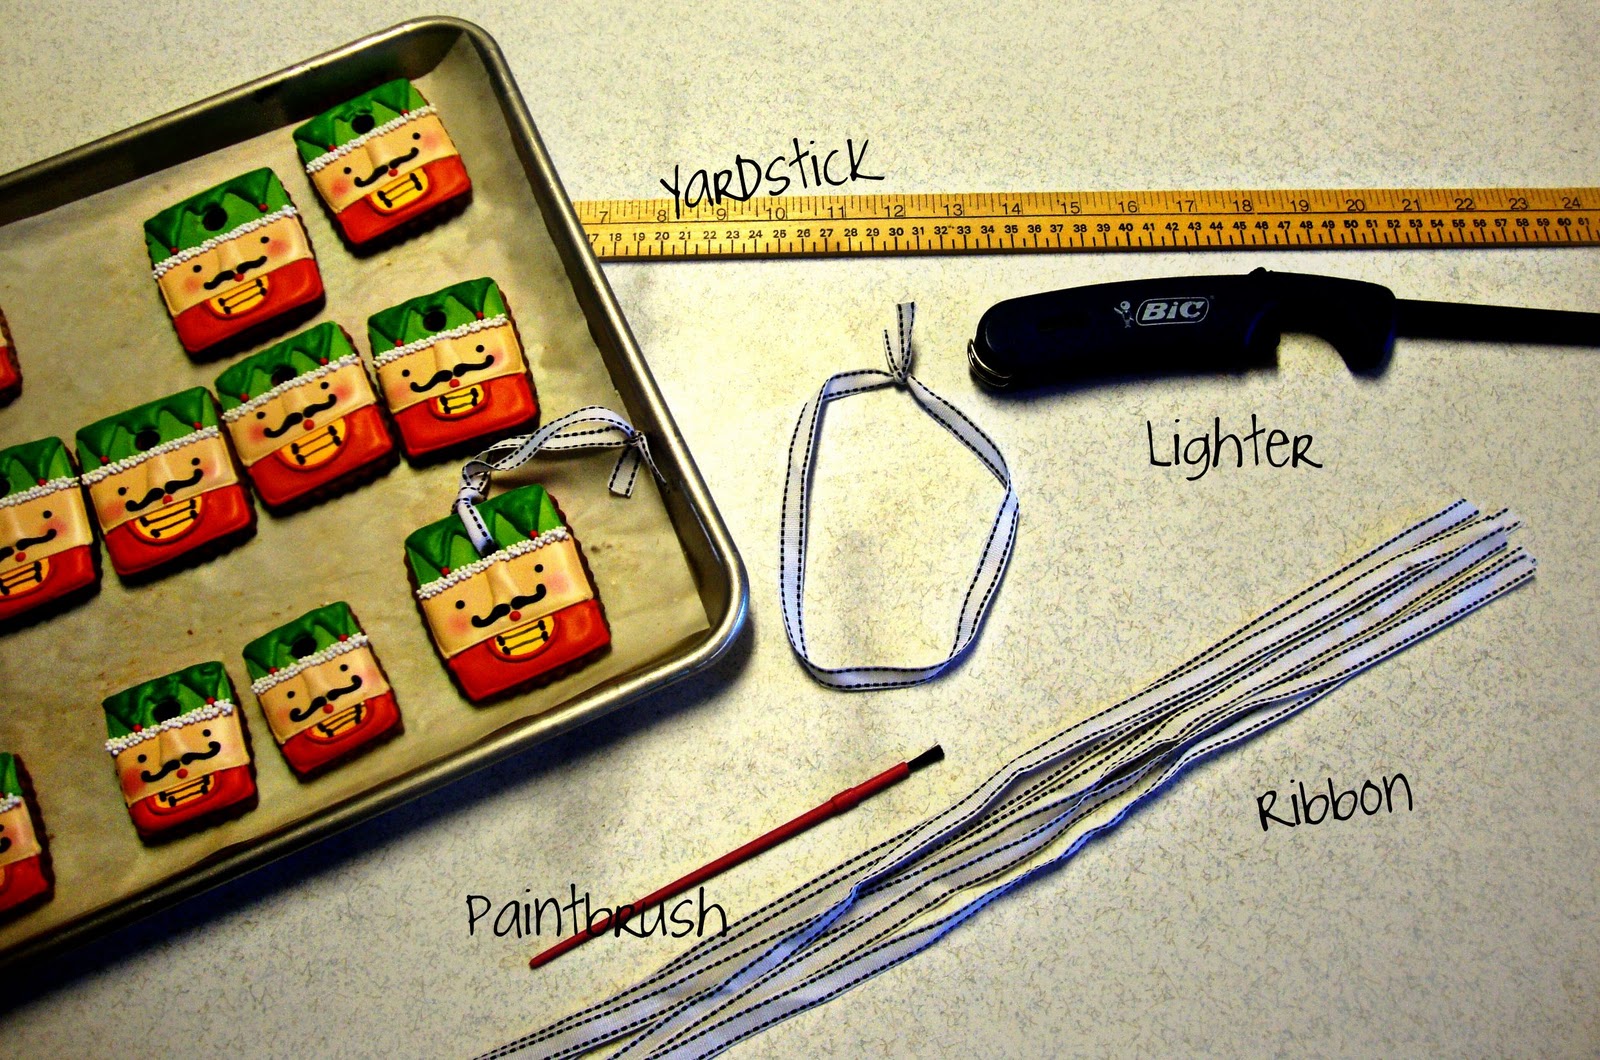
For my ornaments, I needed about 17 inches of ribbon. You’ll probably have to eyeball it based on what cutter you used.
So, there you have it. This is one way to make gingerbread ornaments, I hope that simplified the process enough that everyone is confident enough to try it =)

For a video on how to bake cookie ornaments click HERE!
Happy Christmas Baking!


